Converting a Bedroom into a Dressing Room on a Budget
It all started when a client and friend bought a new house. She moved her family from a 3 bedroom house into a 6 bedroom house and I heard the magic words every stylist wants to hear “there is an extra bedroom to turn into a closet”. The situation got even better when her husband called me saying that he wanted to have this room done for her as a surprise for their anniversary. I have had experience in the past with reorganizing closet spaces and giving advice for closet built ins but this was the first time I was being given an entire empty room to lay out and fill. My mind immediately went all the way into design mode. No way was I just going to make space for clothing and garment racks, I was going to make this a complete fashionista oasis of a dressing room, complete with storage and display space, a seating area and a makeup vanity.
Once the project began I consulted with my client to see what she wanted out of the room and to plan out the space. Her one and only request was to be able to see everything she owned and easily access it. Coming from a former bedroom with her things spilling out of a closet, drawers and bins under the bed, it was important to her to have her items spread out. And being a full time corporate VP and mom of three boys under 10 made it important for things to be quickly accessed and outfits easily assembled. It was also important for me to create a “mom” cave for her. Outnumbered 4-1 as the only female in the household, I wanted to give her the one place she could go to feel girly and feminine solitude.
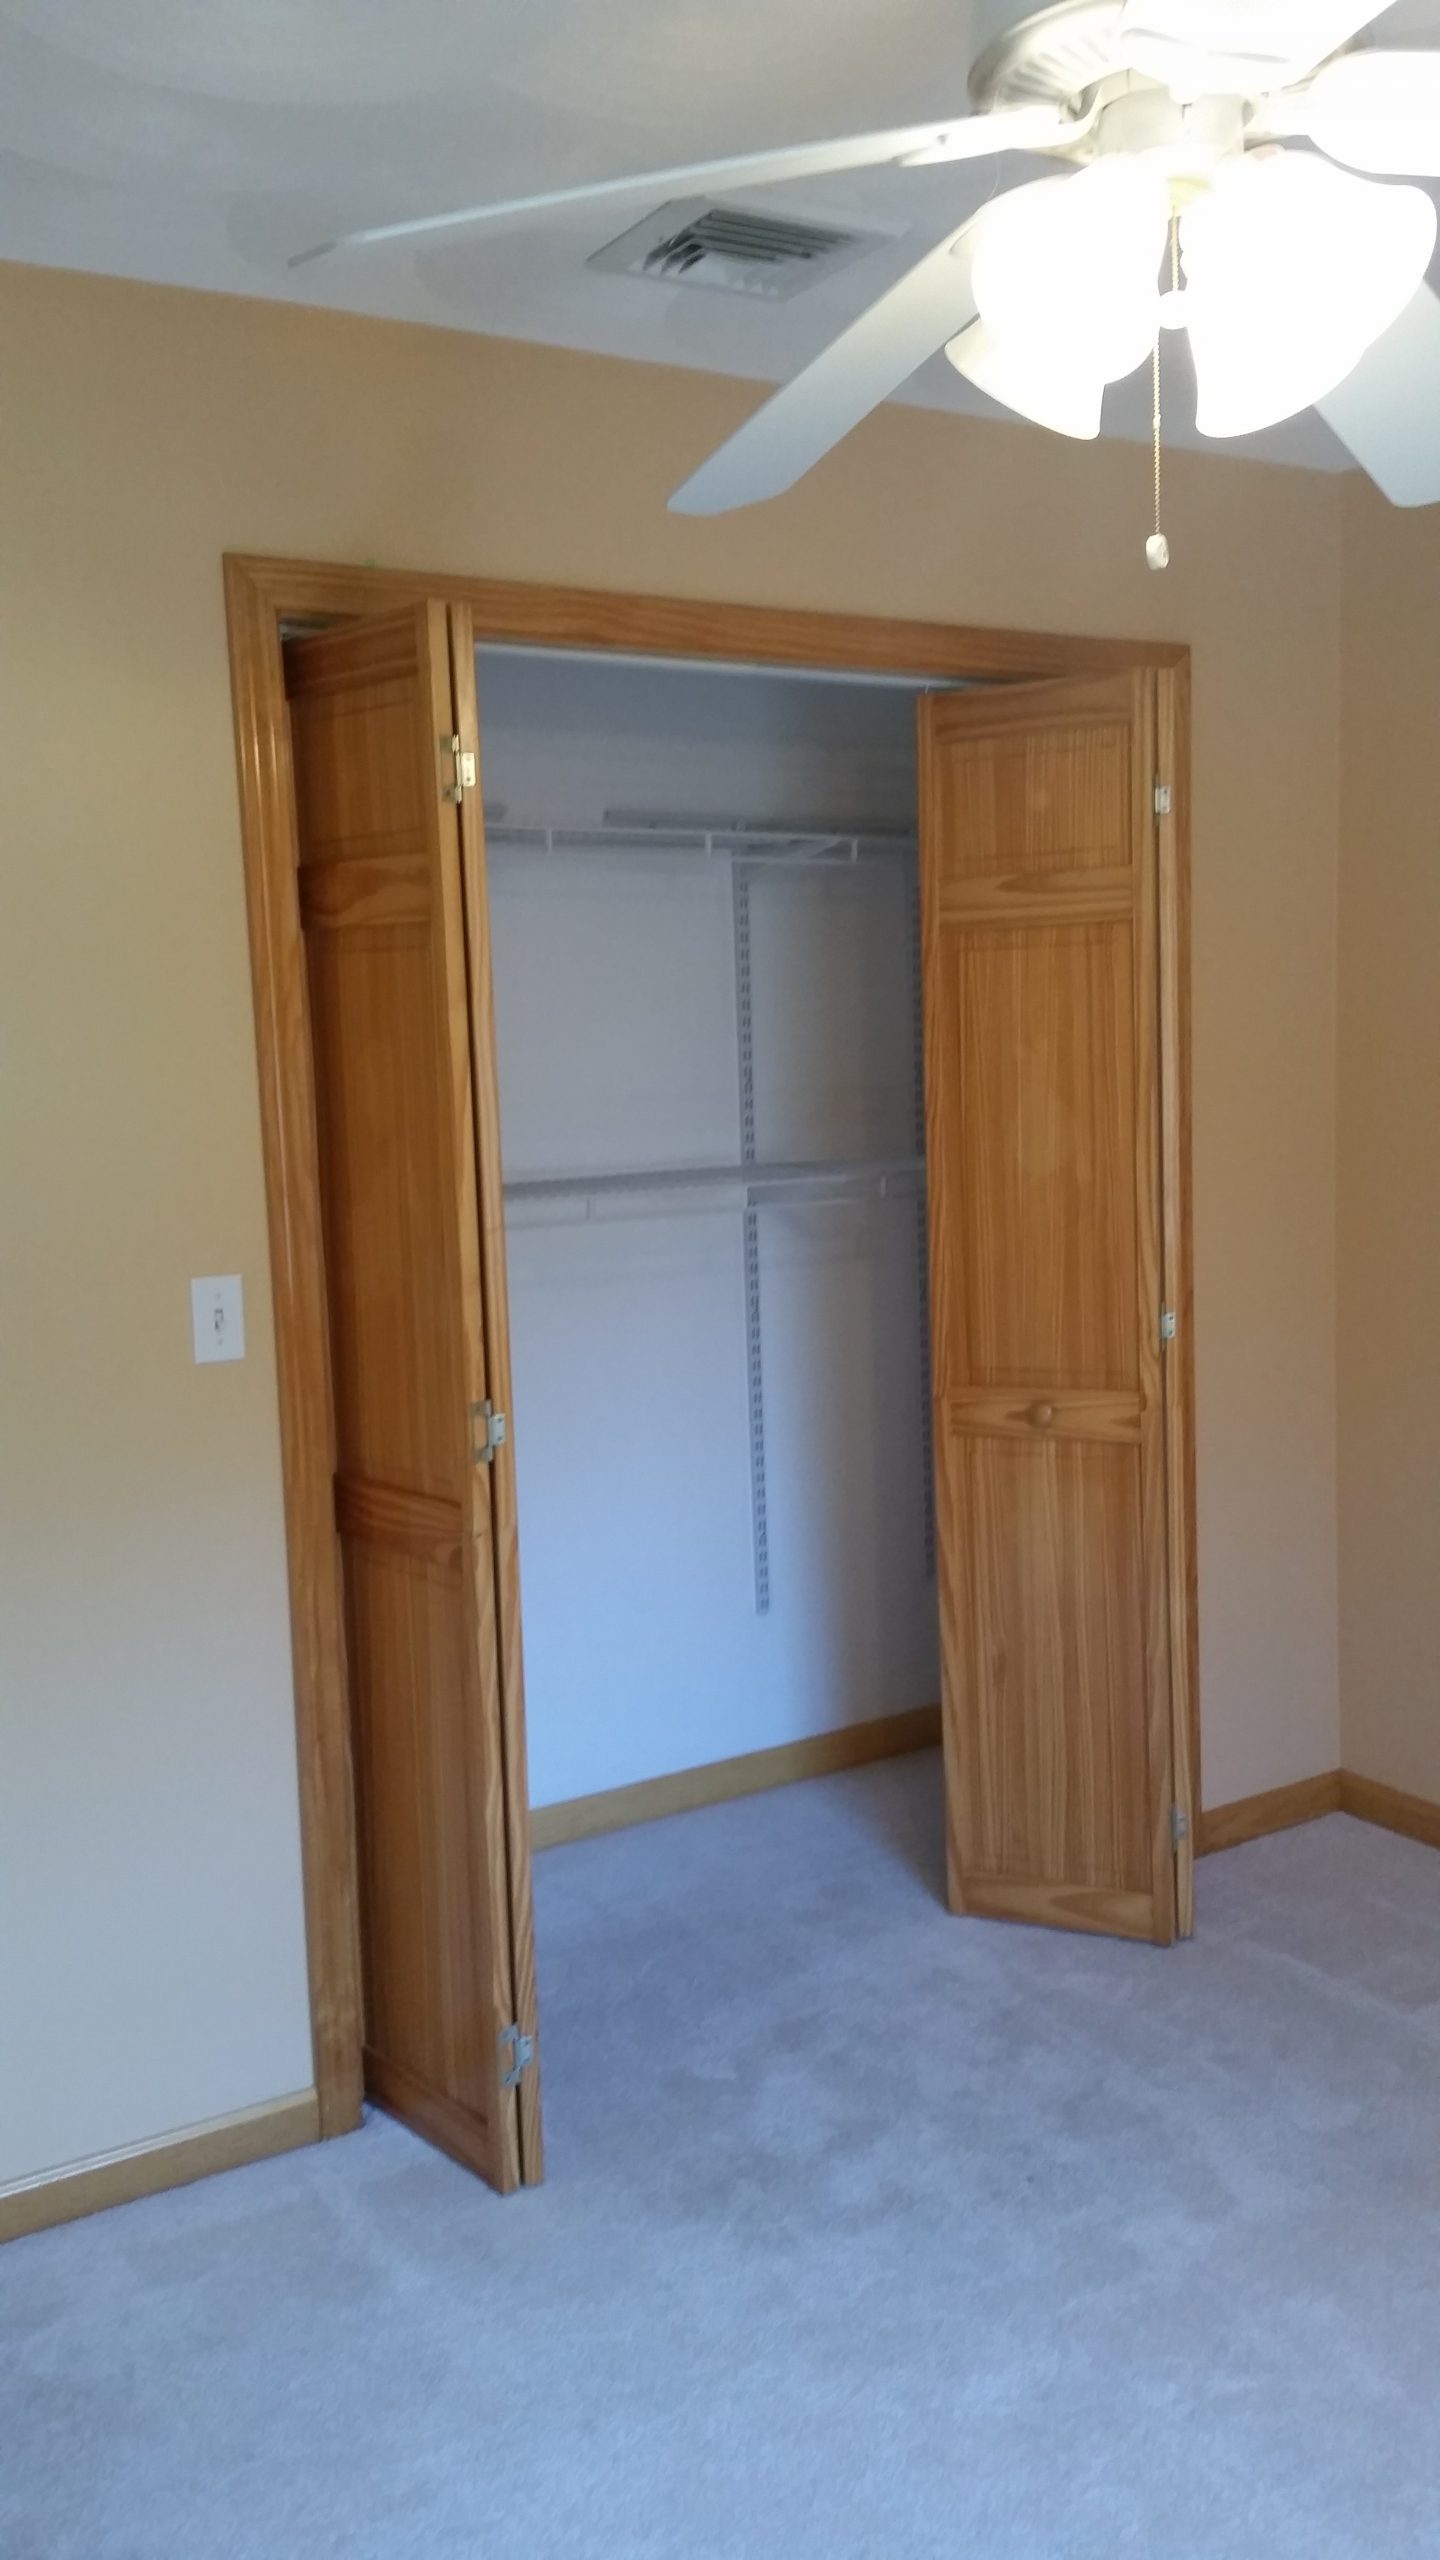
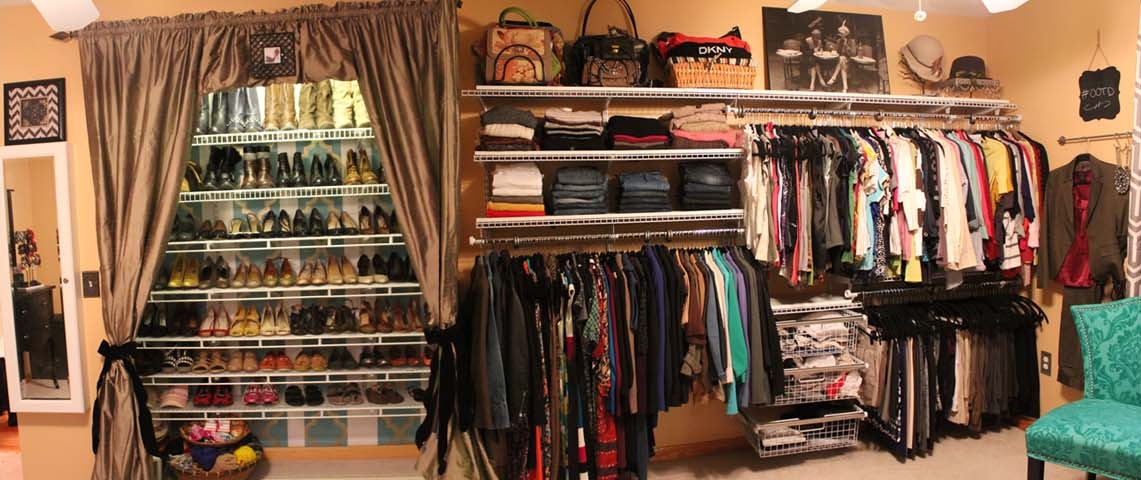
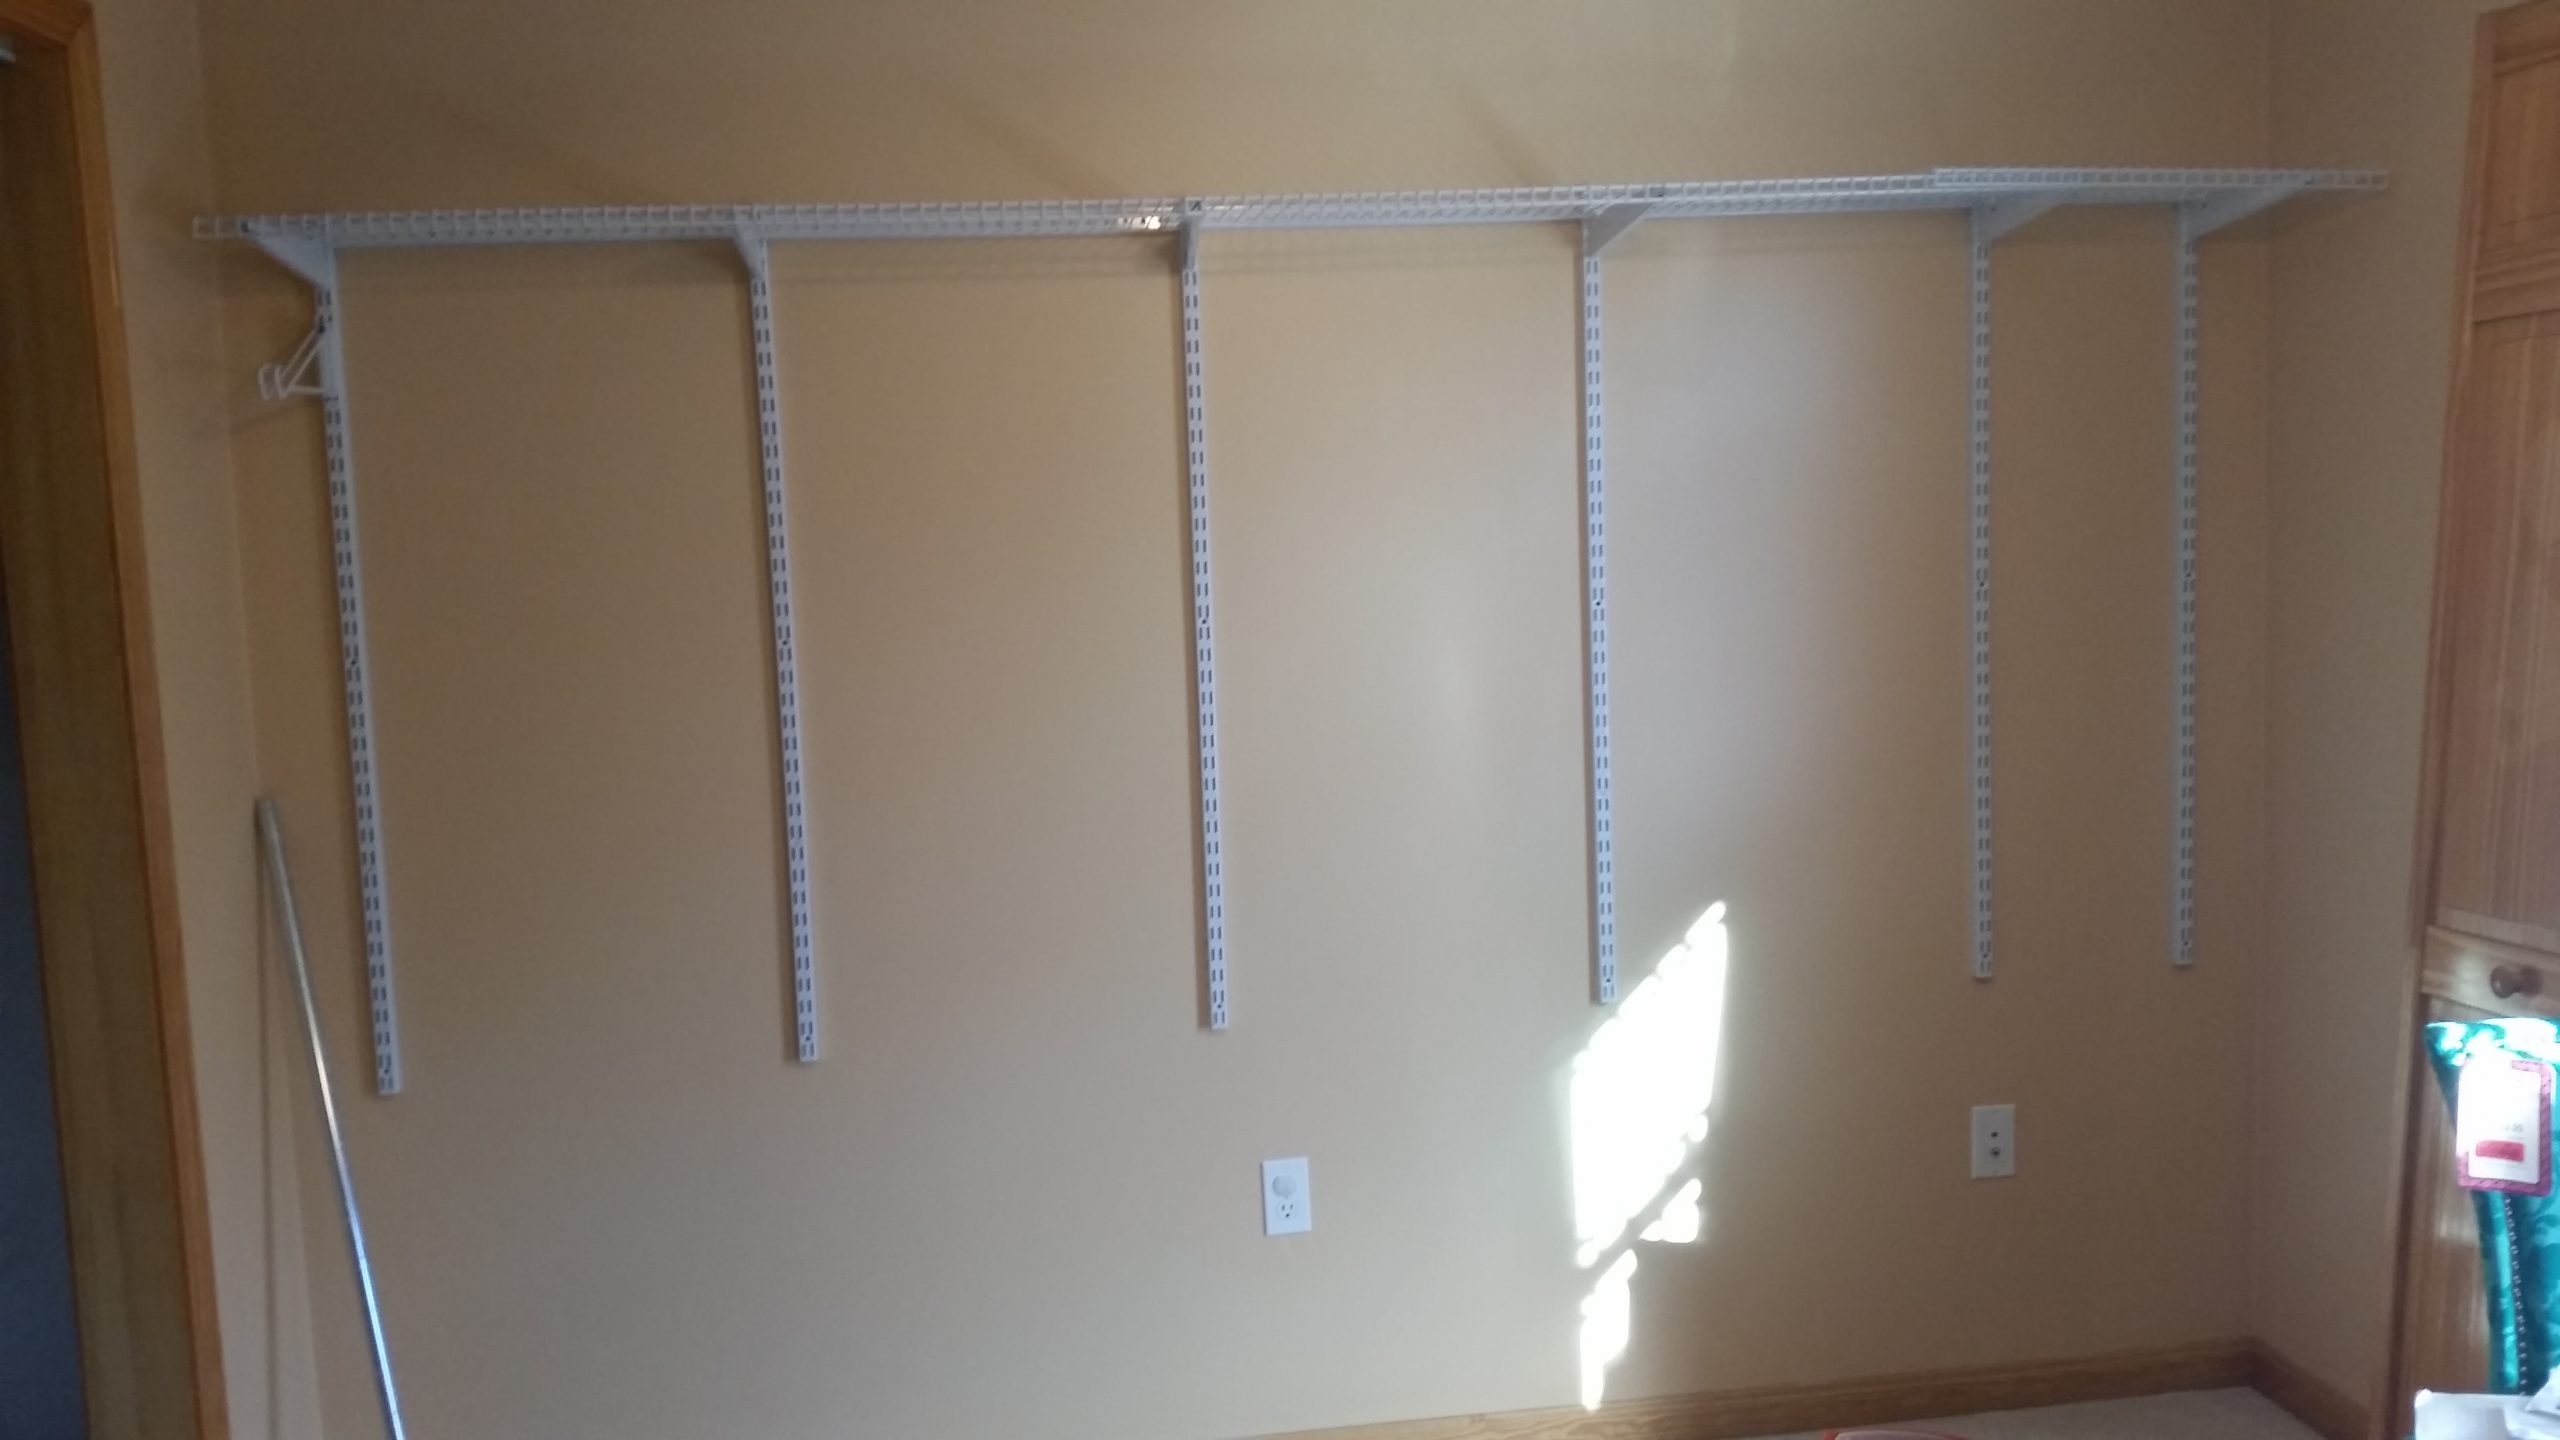
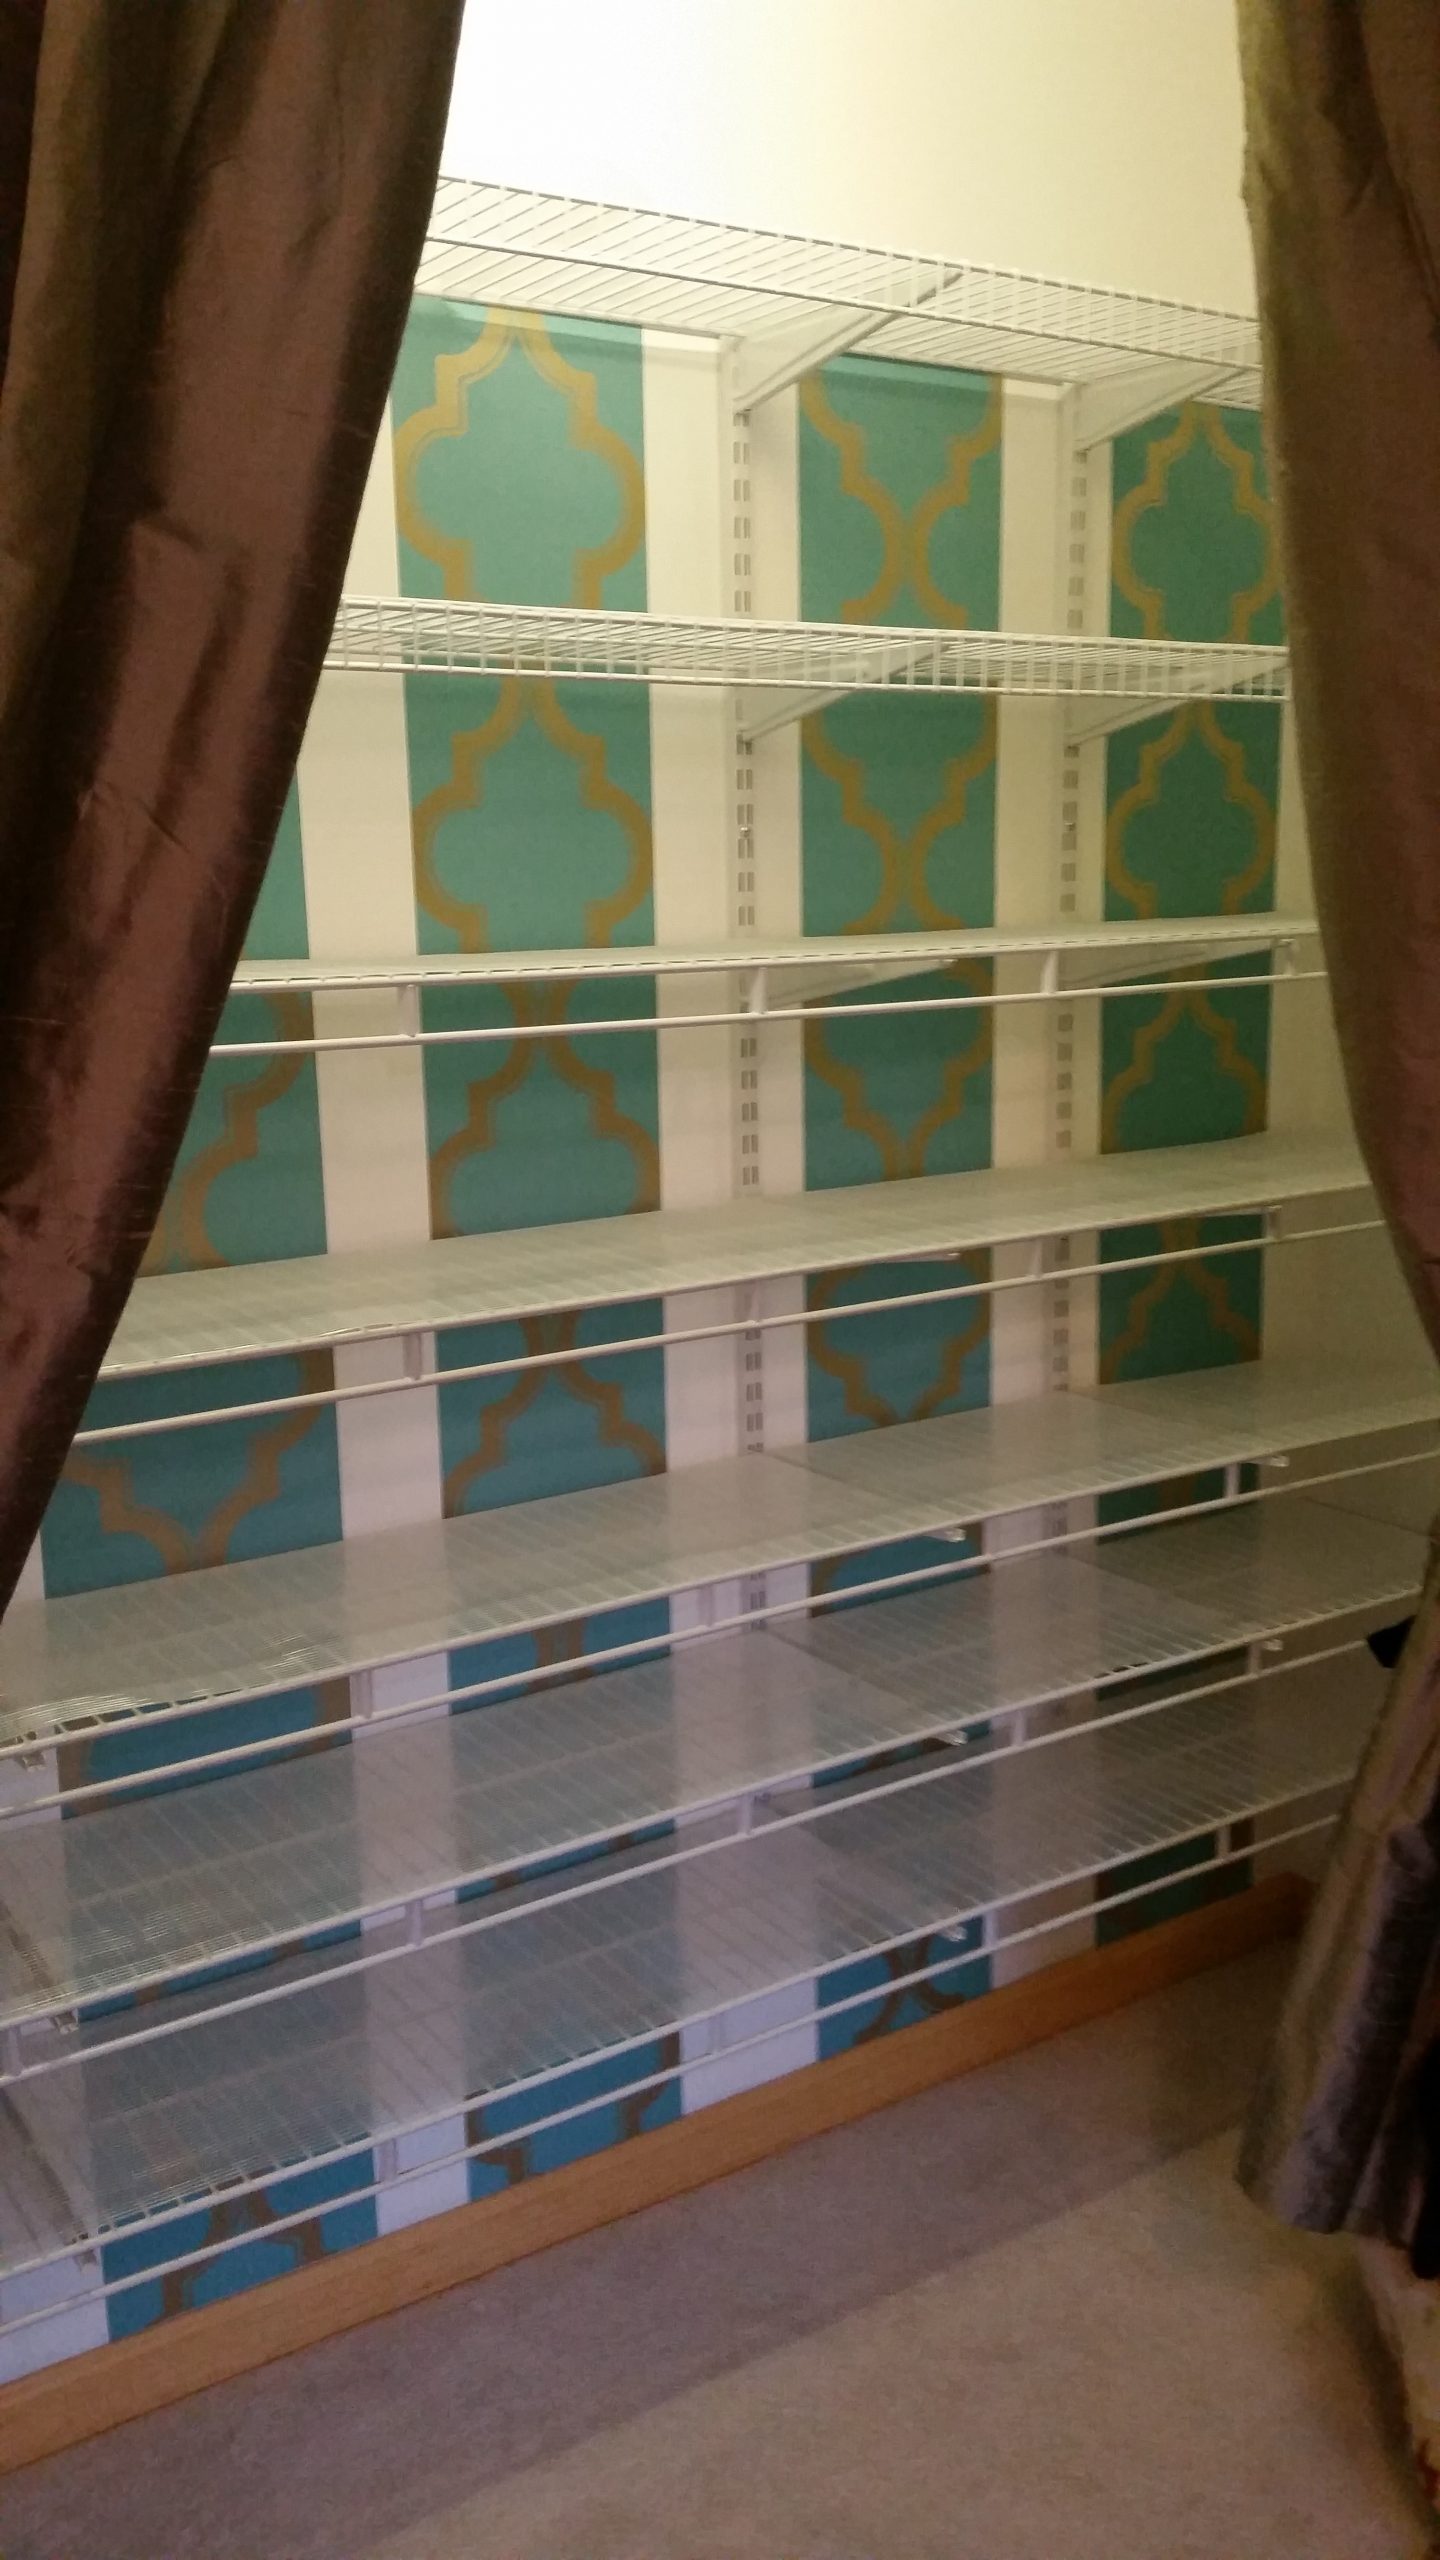
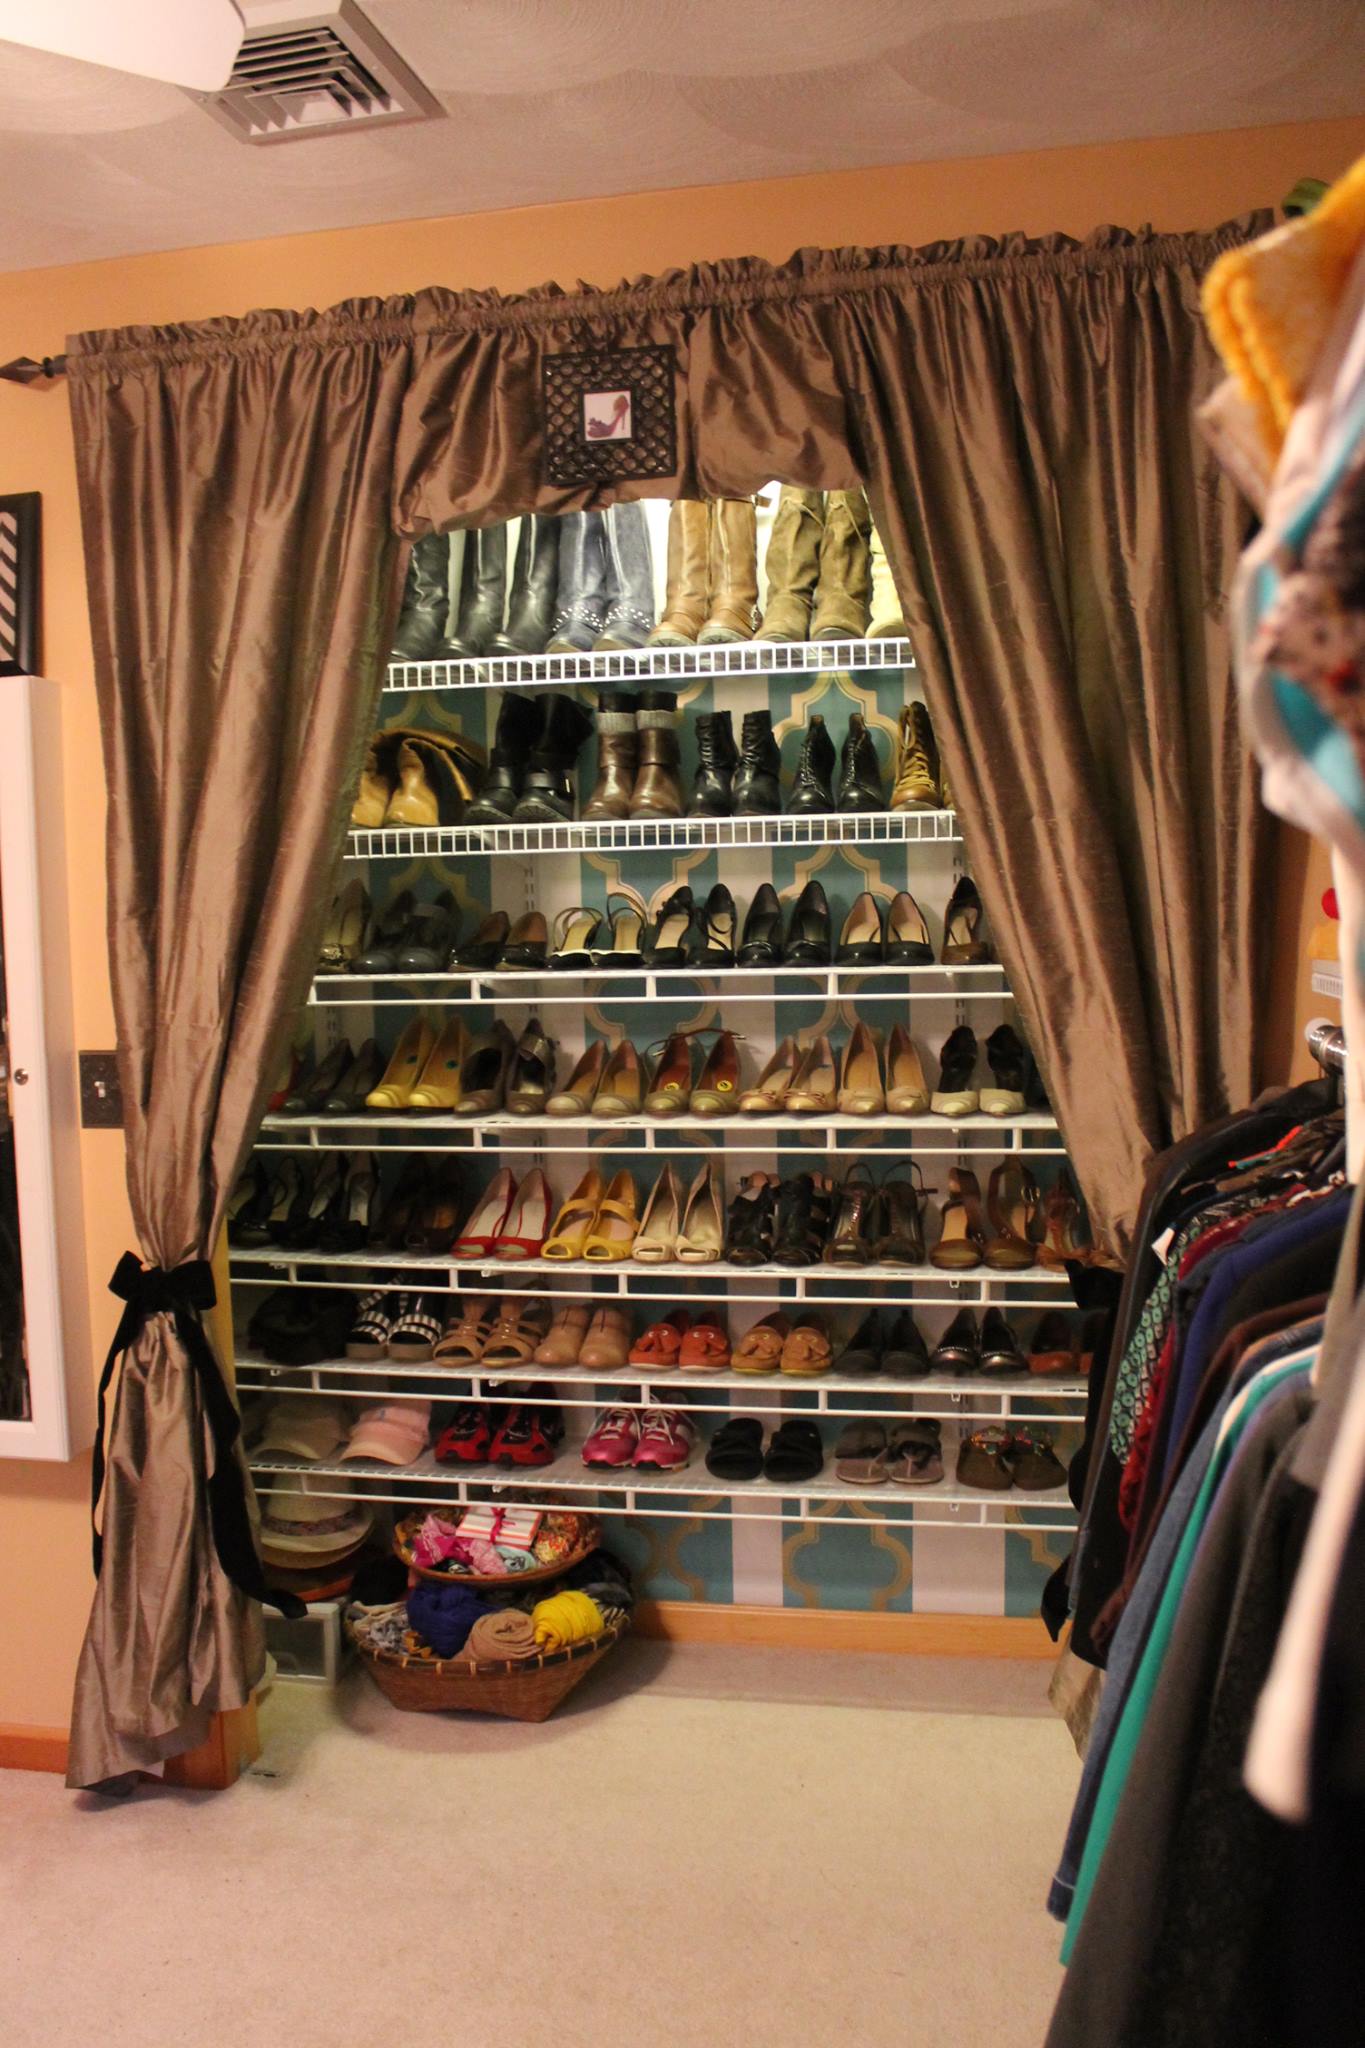
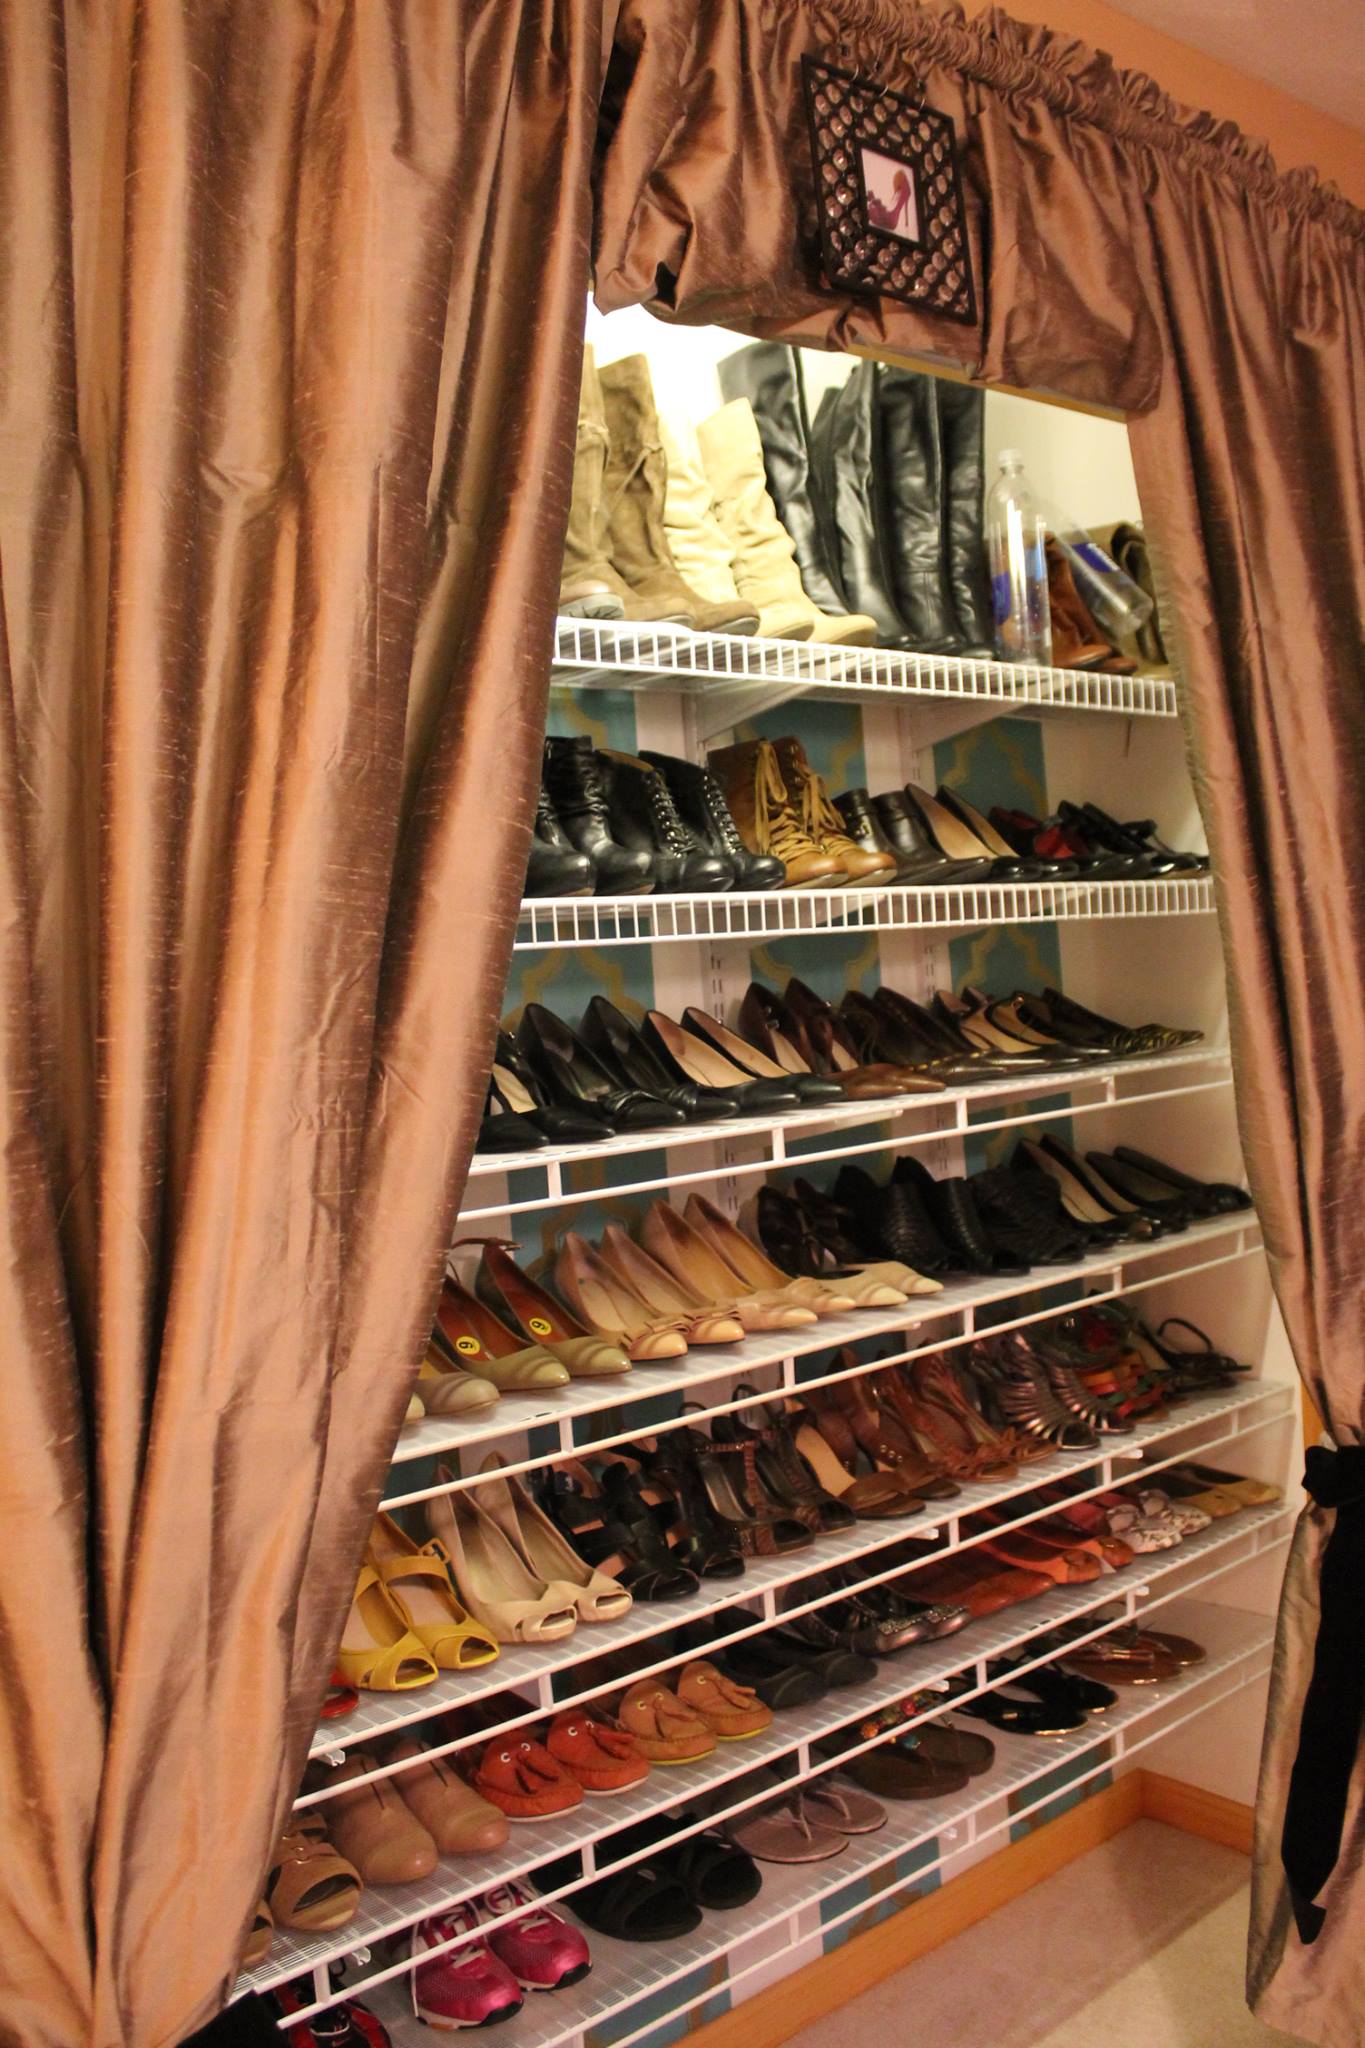
First step was to analyze the space vs what she owns vs her needs. Having worked with her for years I knew she had lots of clothes and shoes for me to create space for! I also knew she was really into makeup and already had a vanity so definitely wanted to incorporate that. The room itself already had a nice sized closet designed with wire shelving. My initial vision was to try to fit all the shoes in the closet but first I had to measure to be sure that all 80+ pairs would fit in there, and that all clothing would fit on the one adjacent wall. And almost immediately I removed the closet doors to open the space and make it flow continuously. I envisioned shoes in the real closet, clothing against the adjacent wall, a seating area under the window and a makeup and accessory area on the 4th wall as soon as you enter the room. Mentally measured out, it all fit! So now with the layout in mind, it was time to shop!
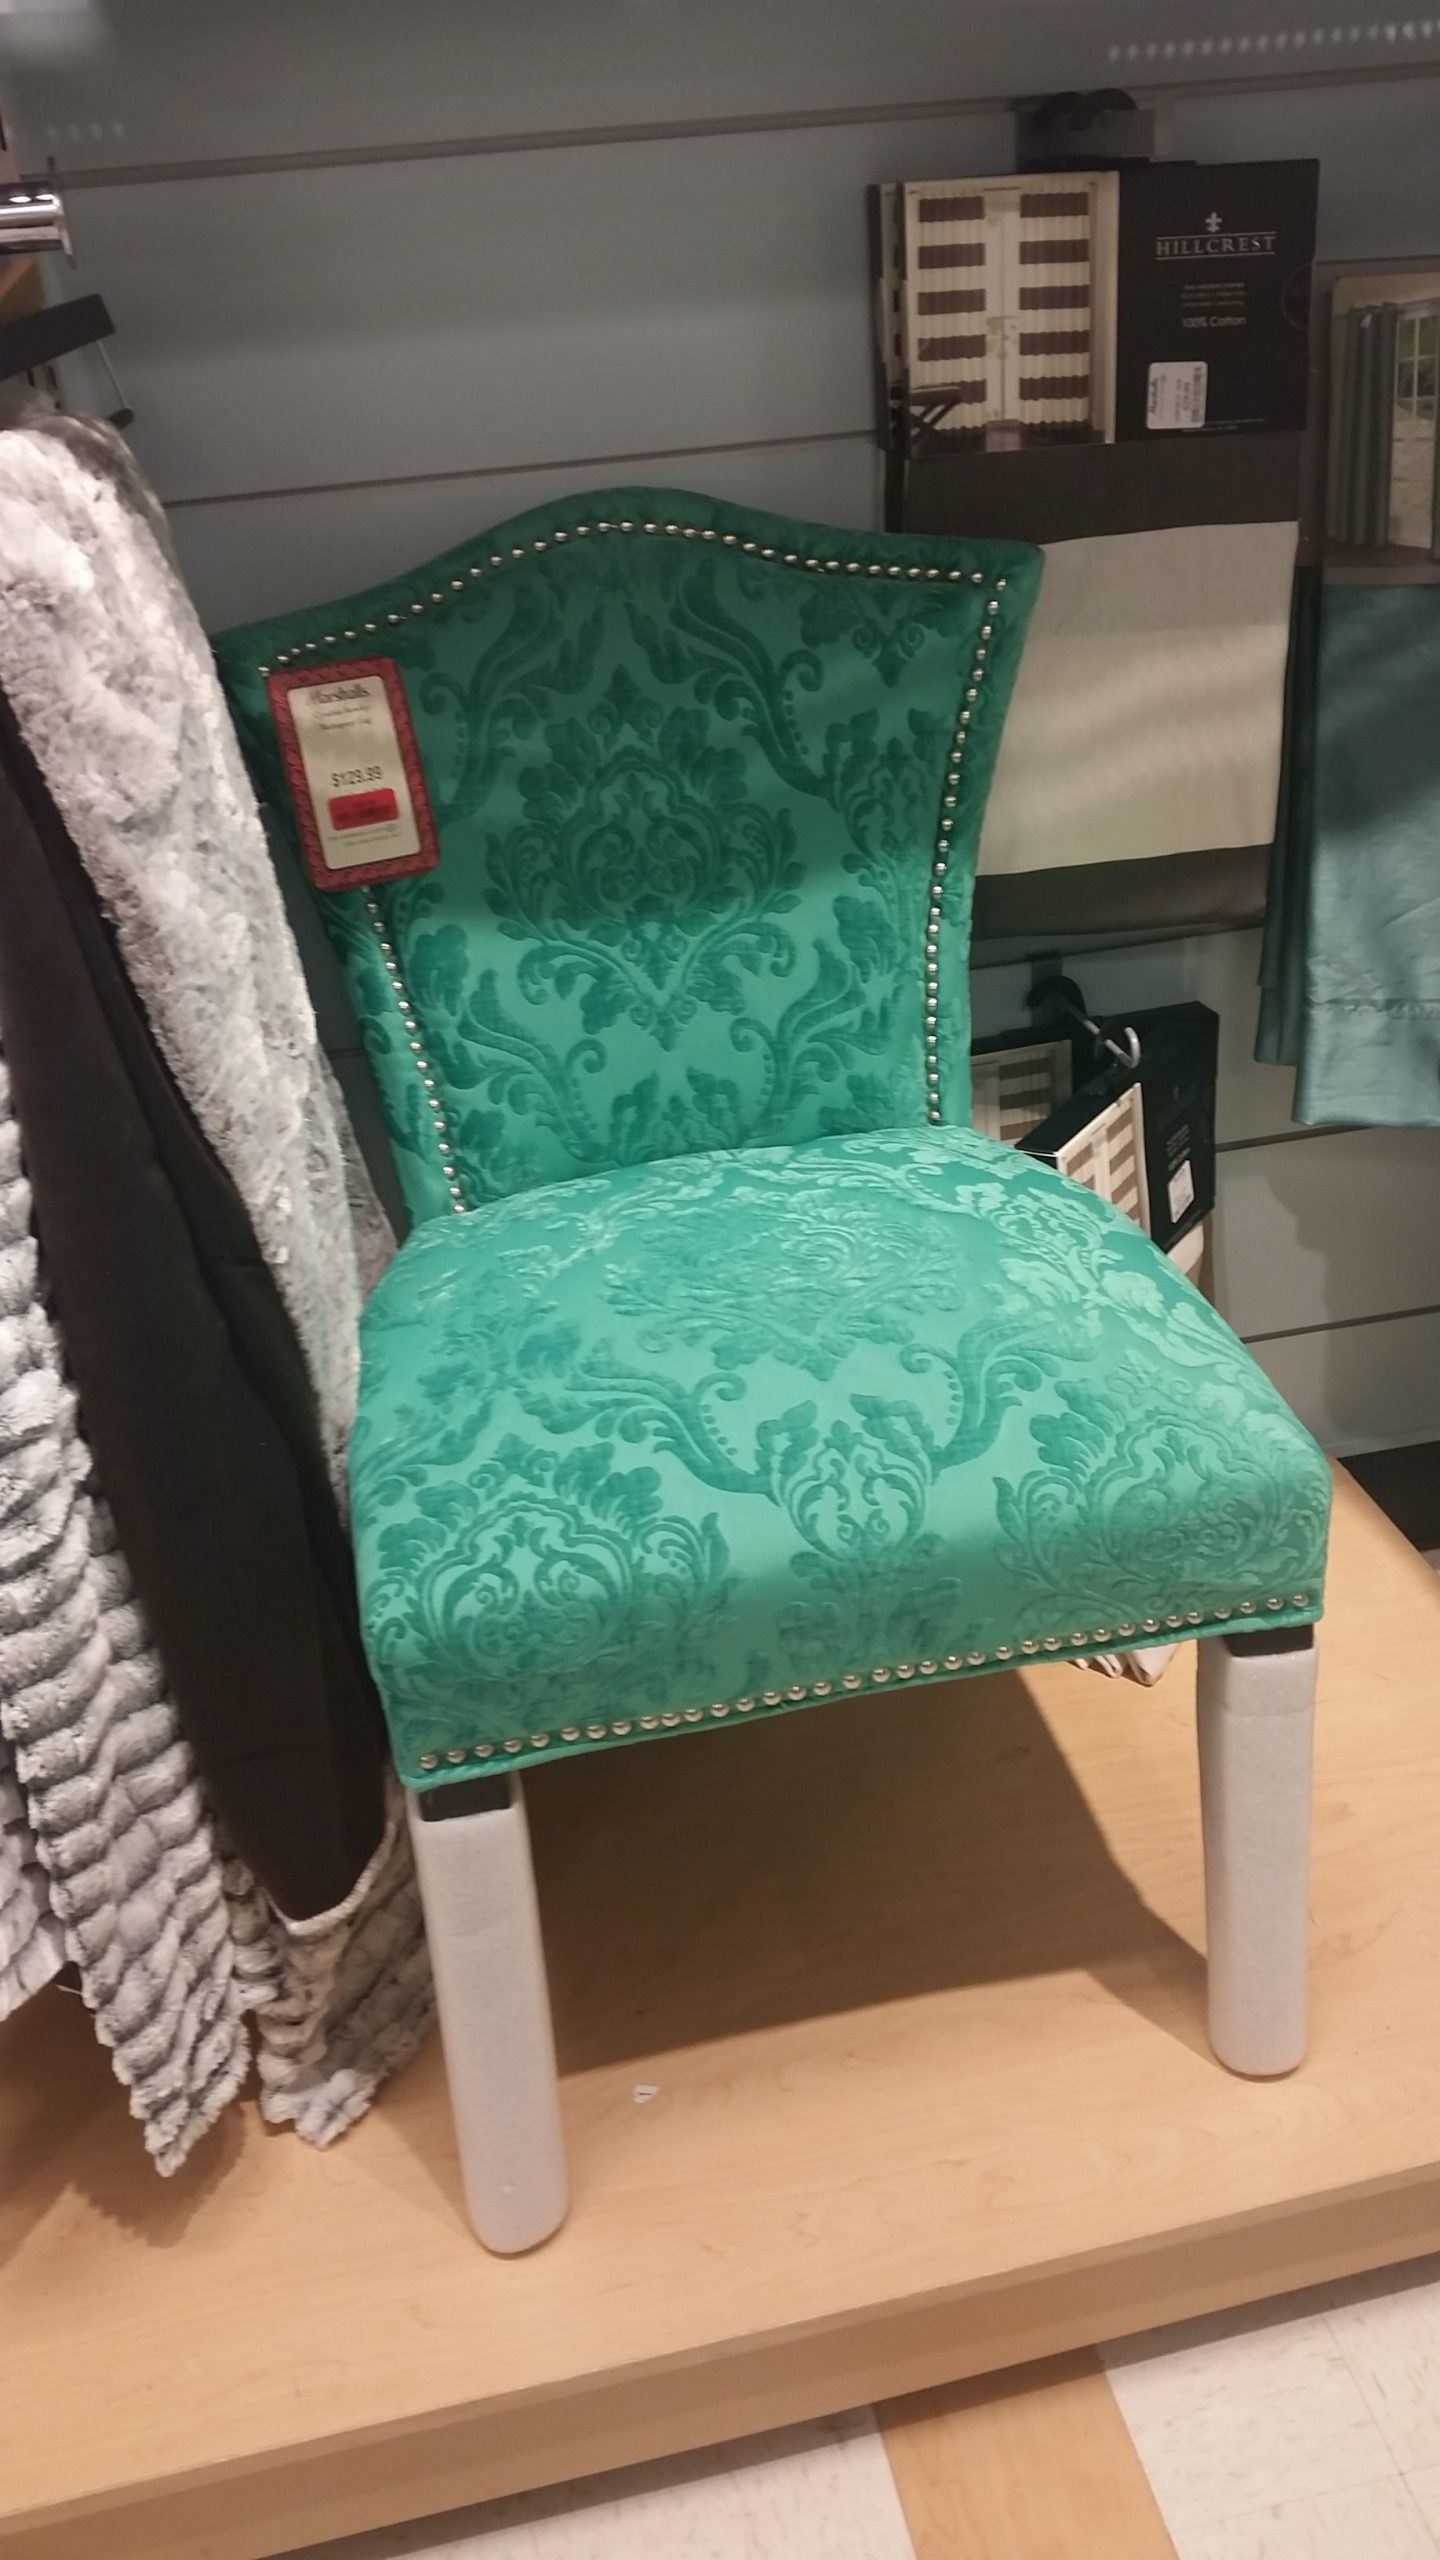
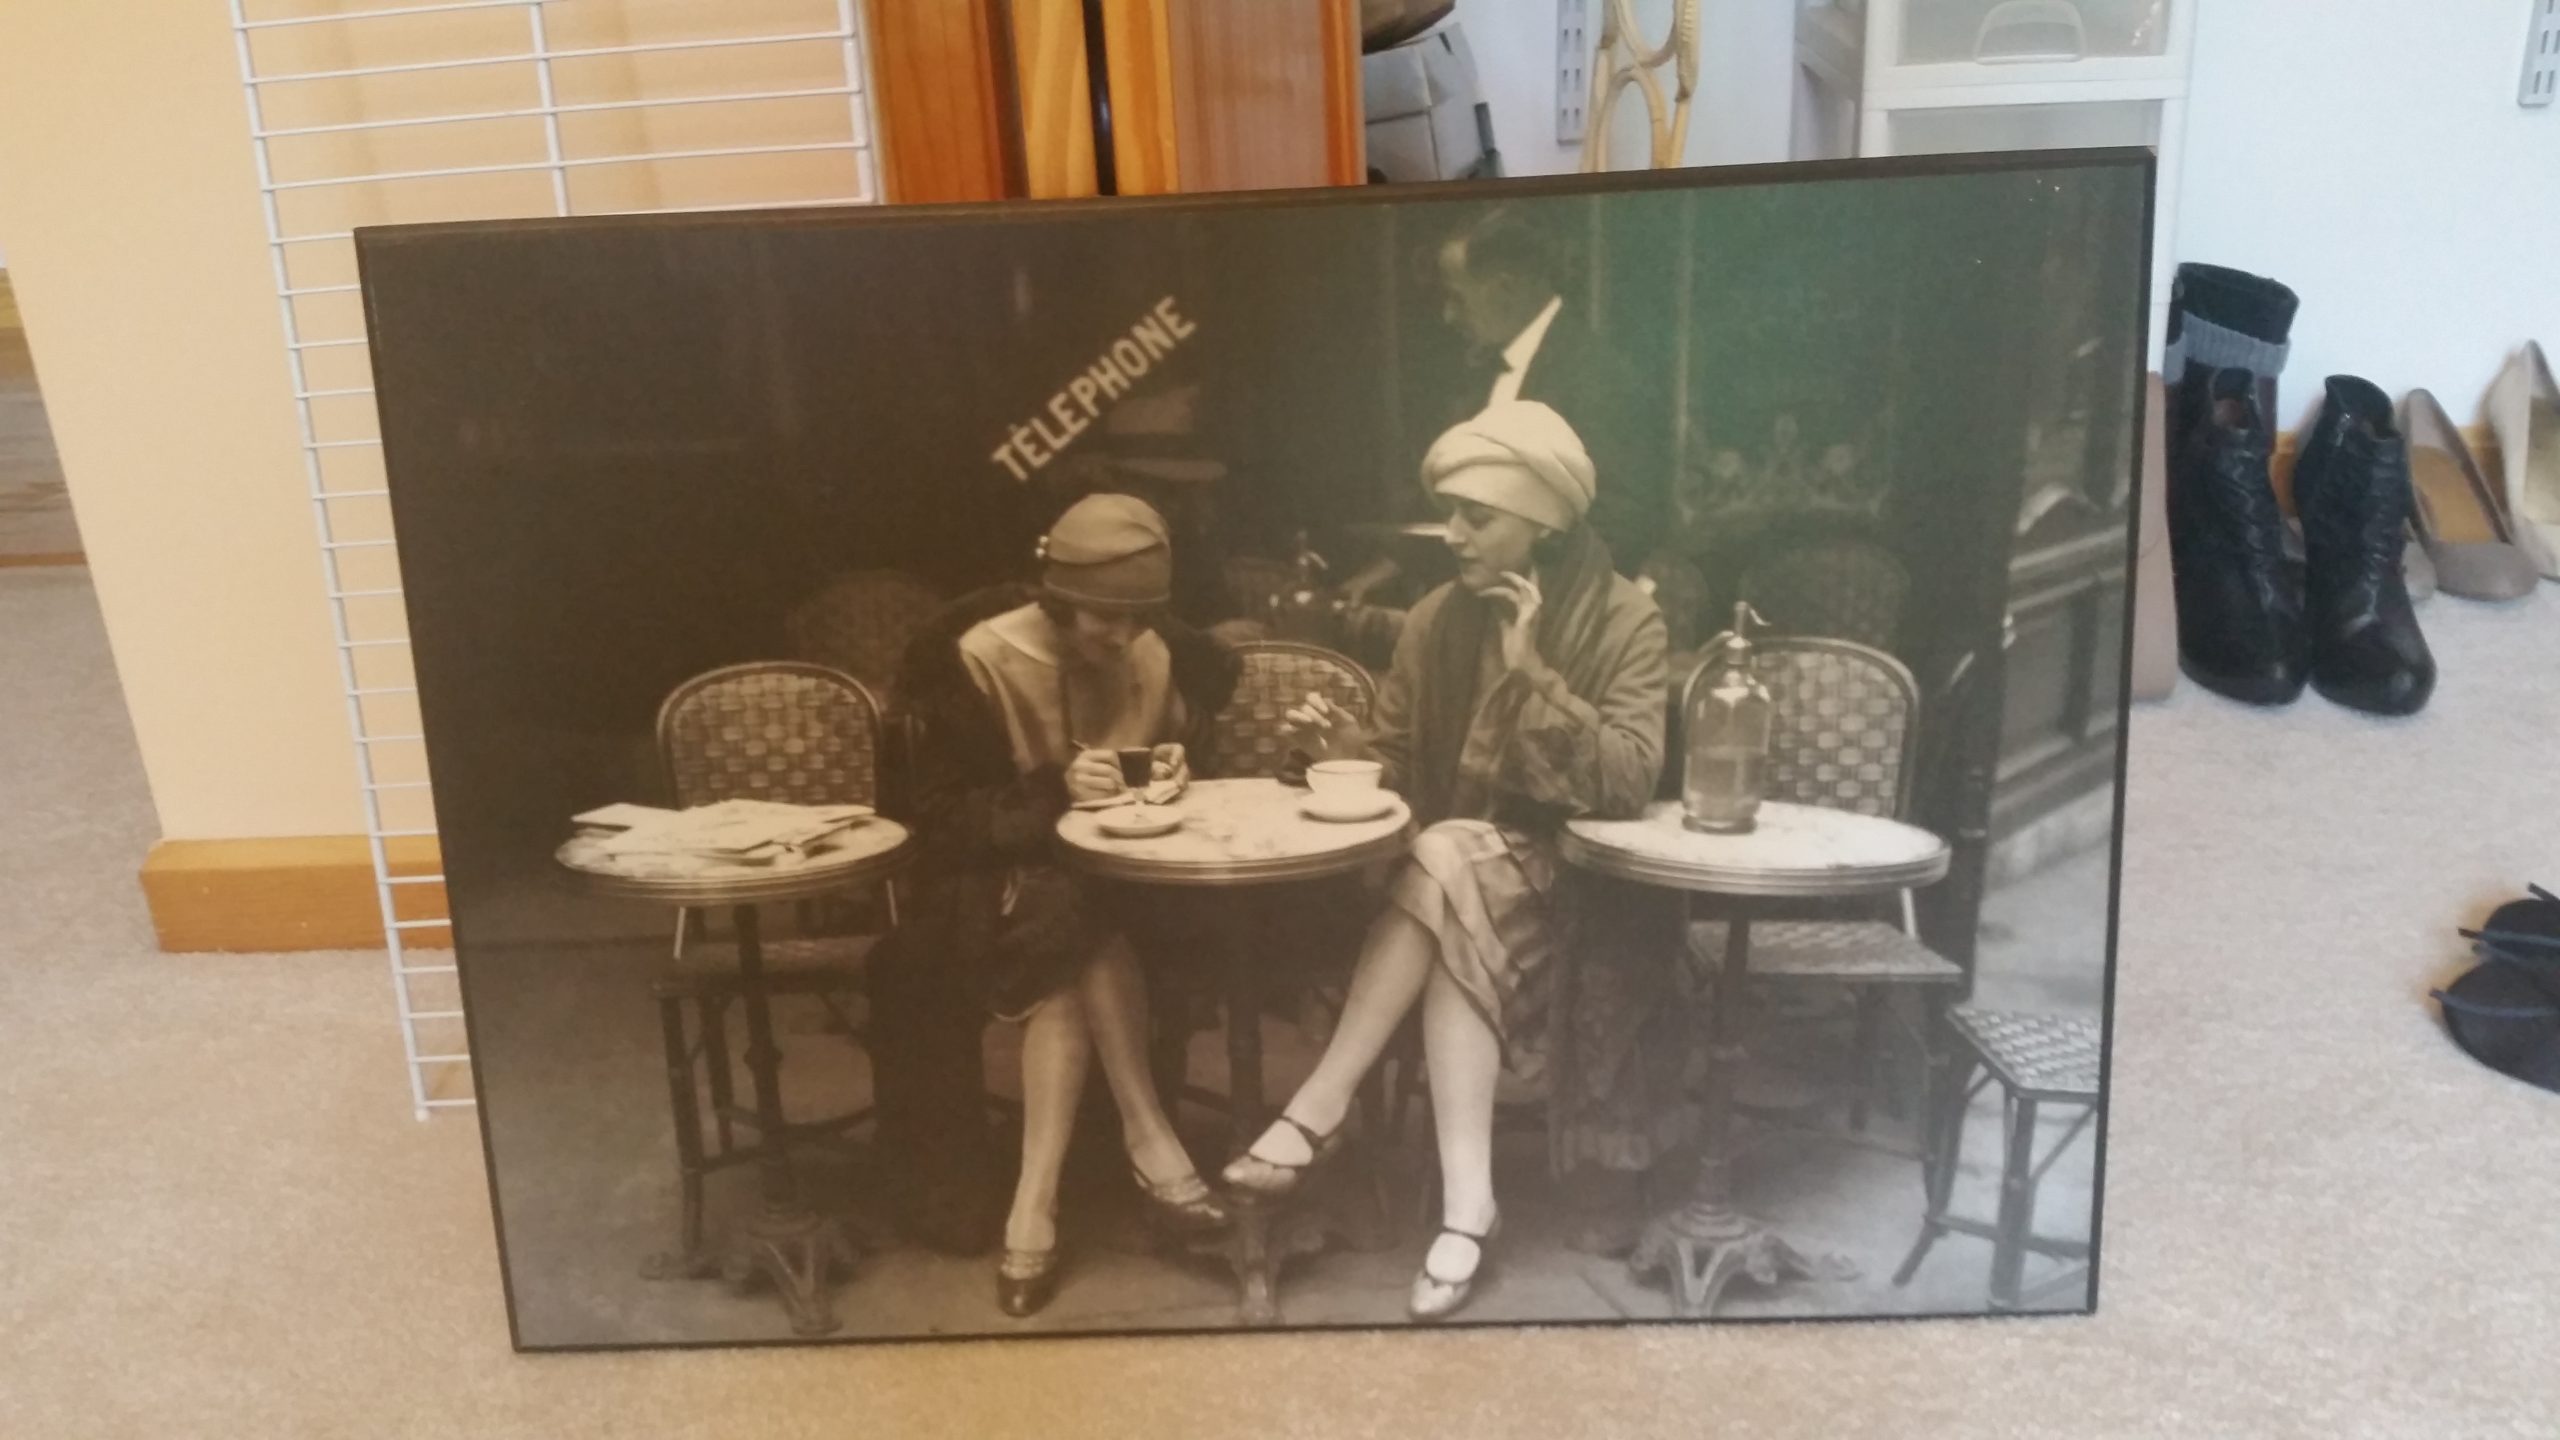
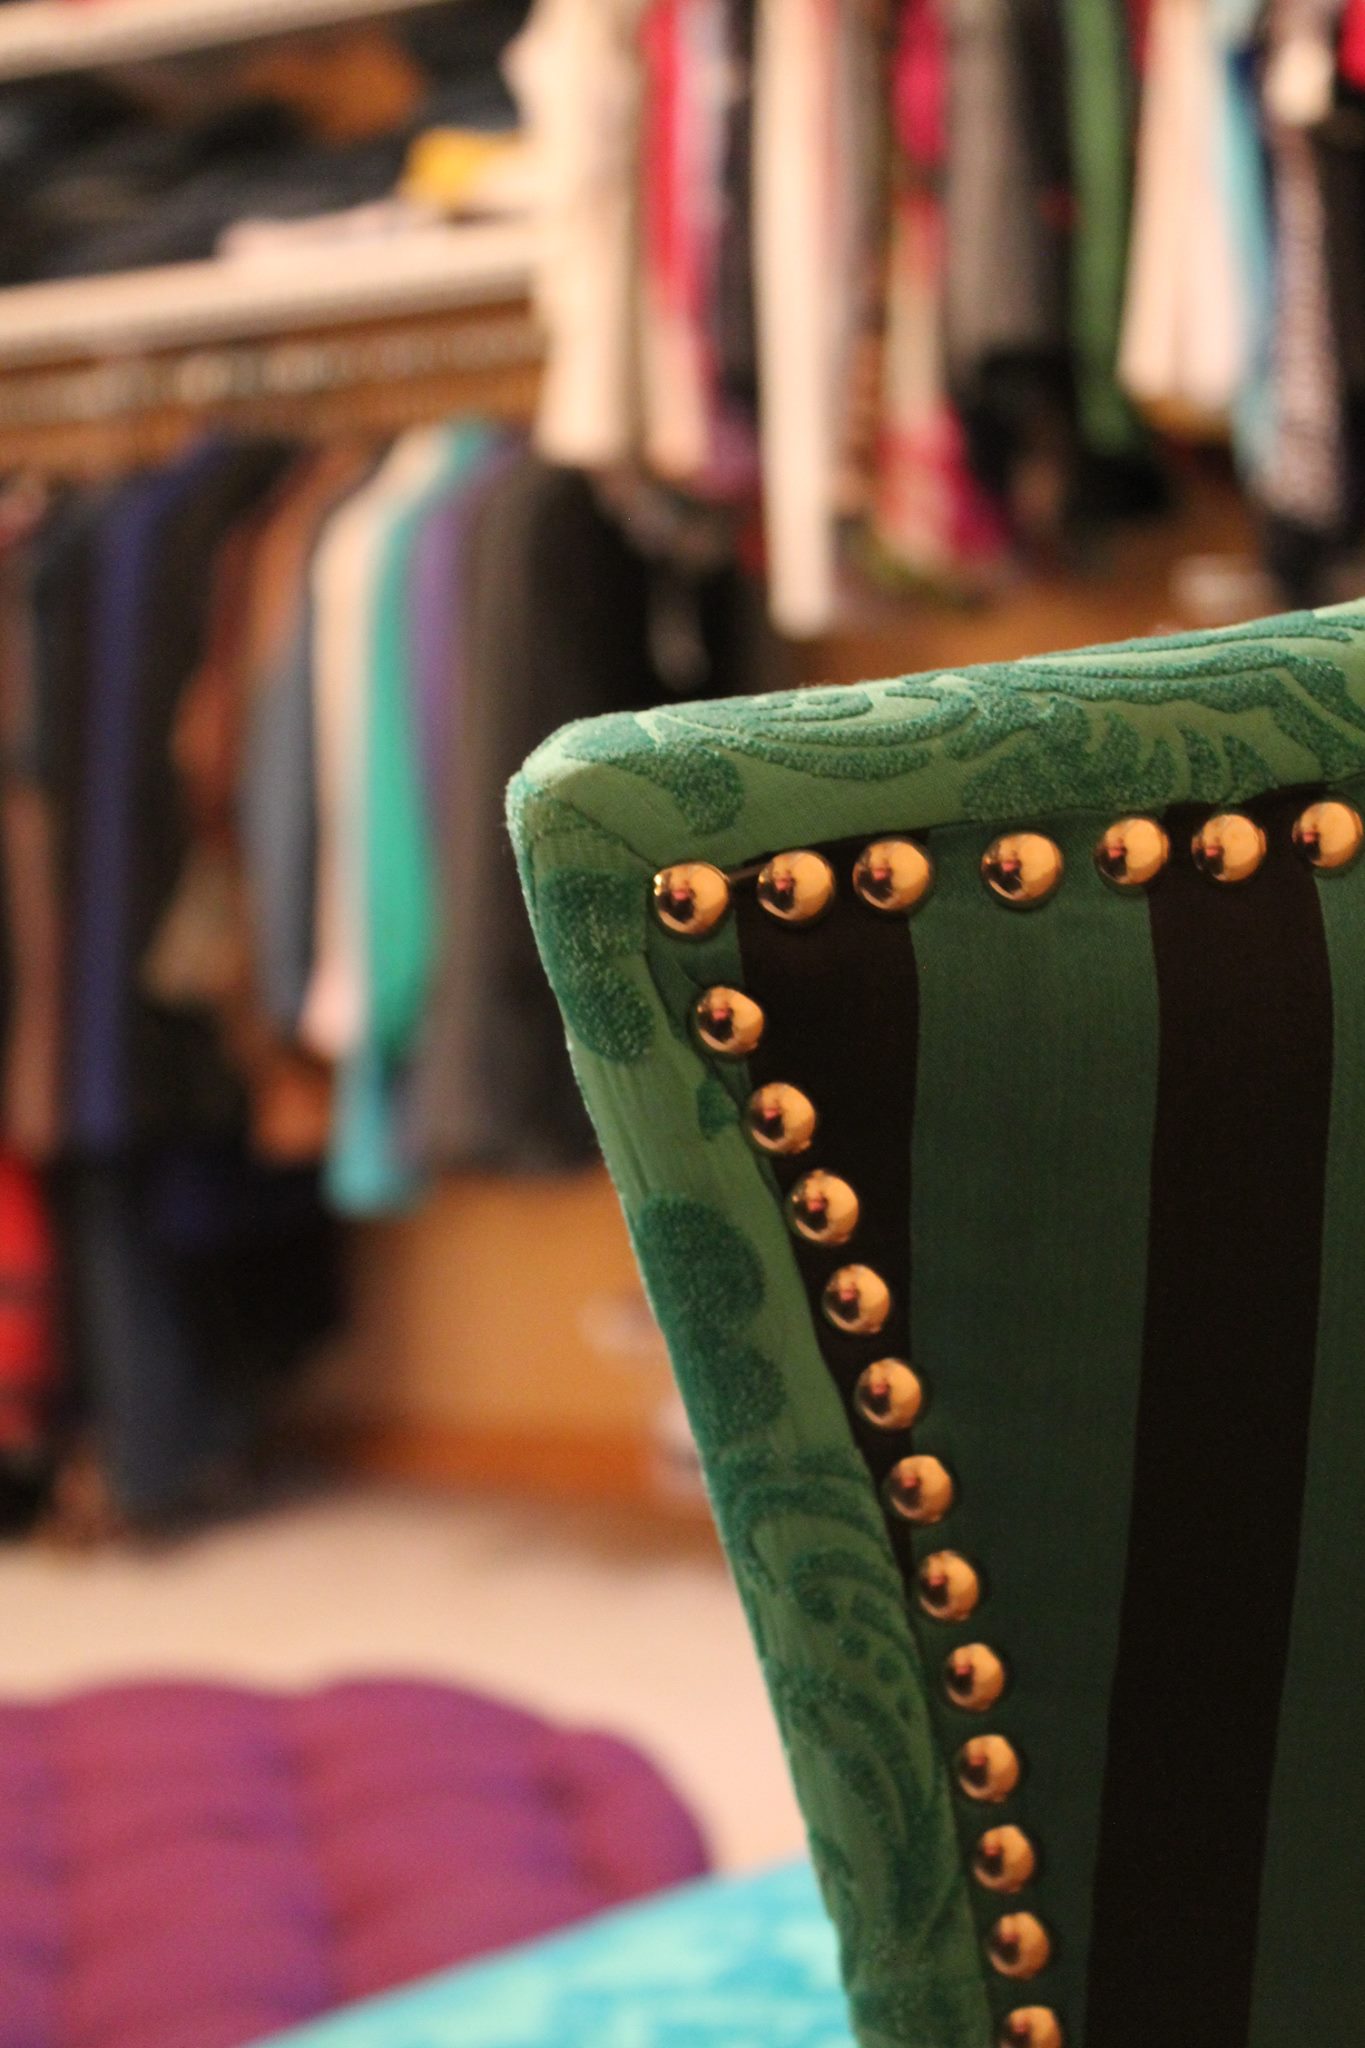
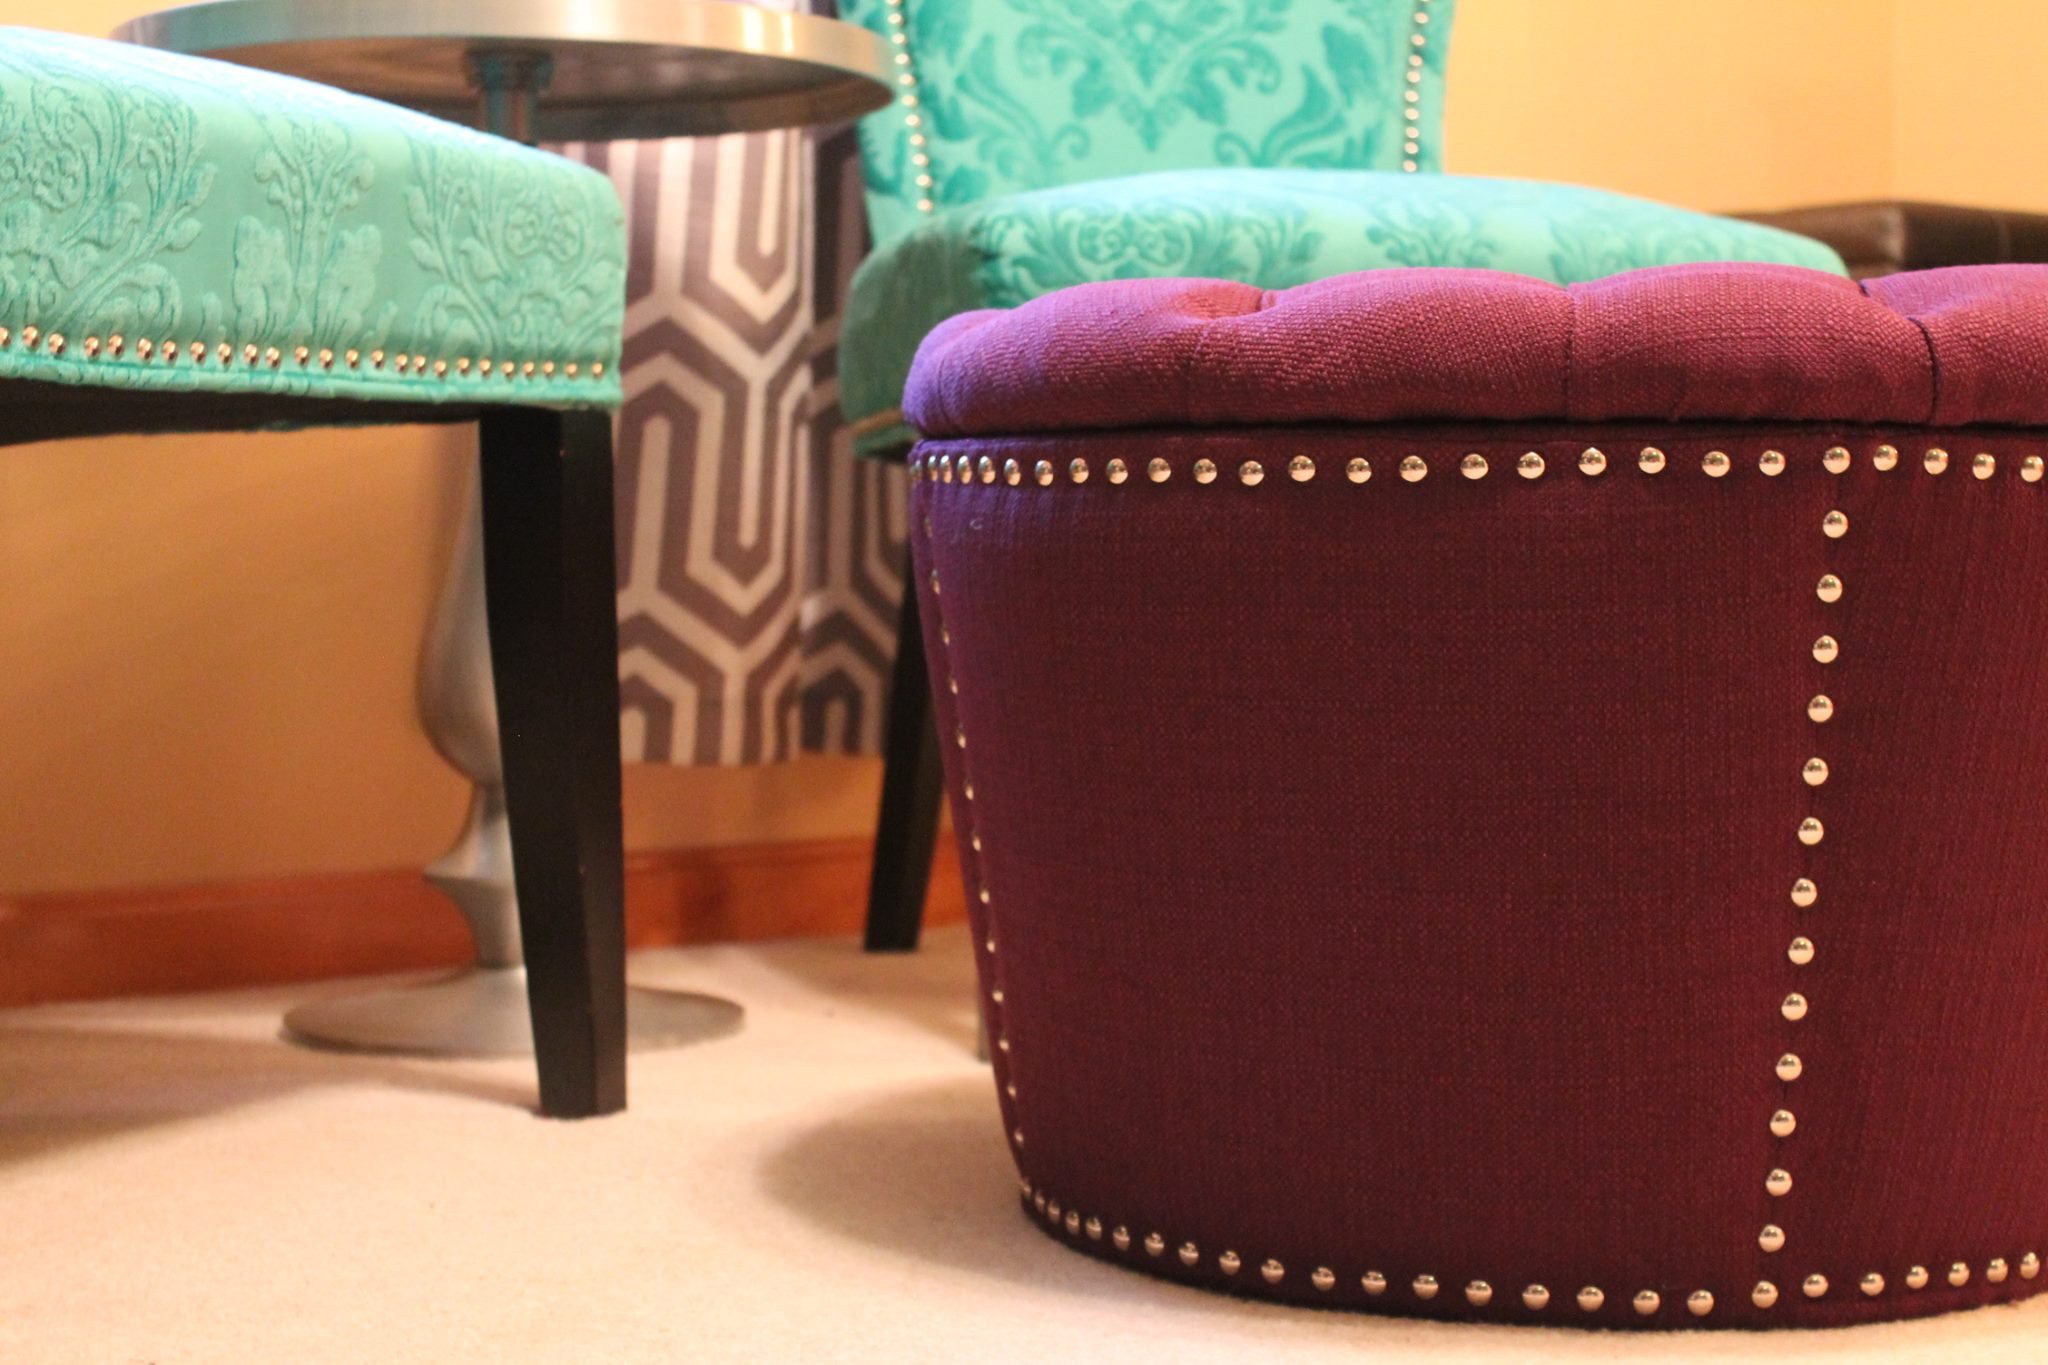
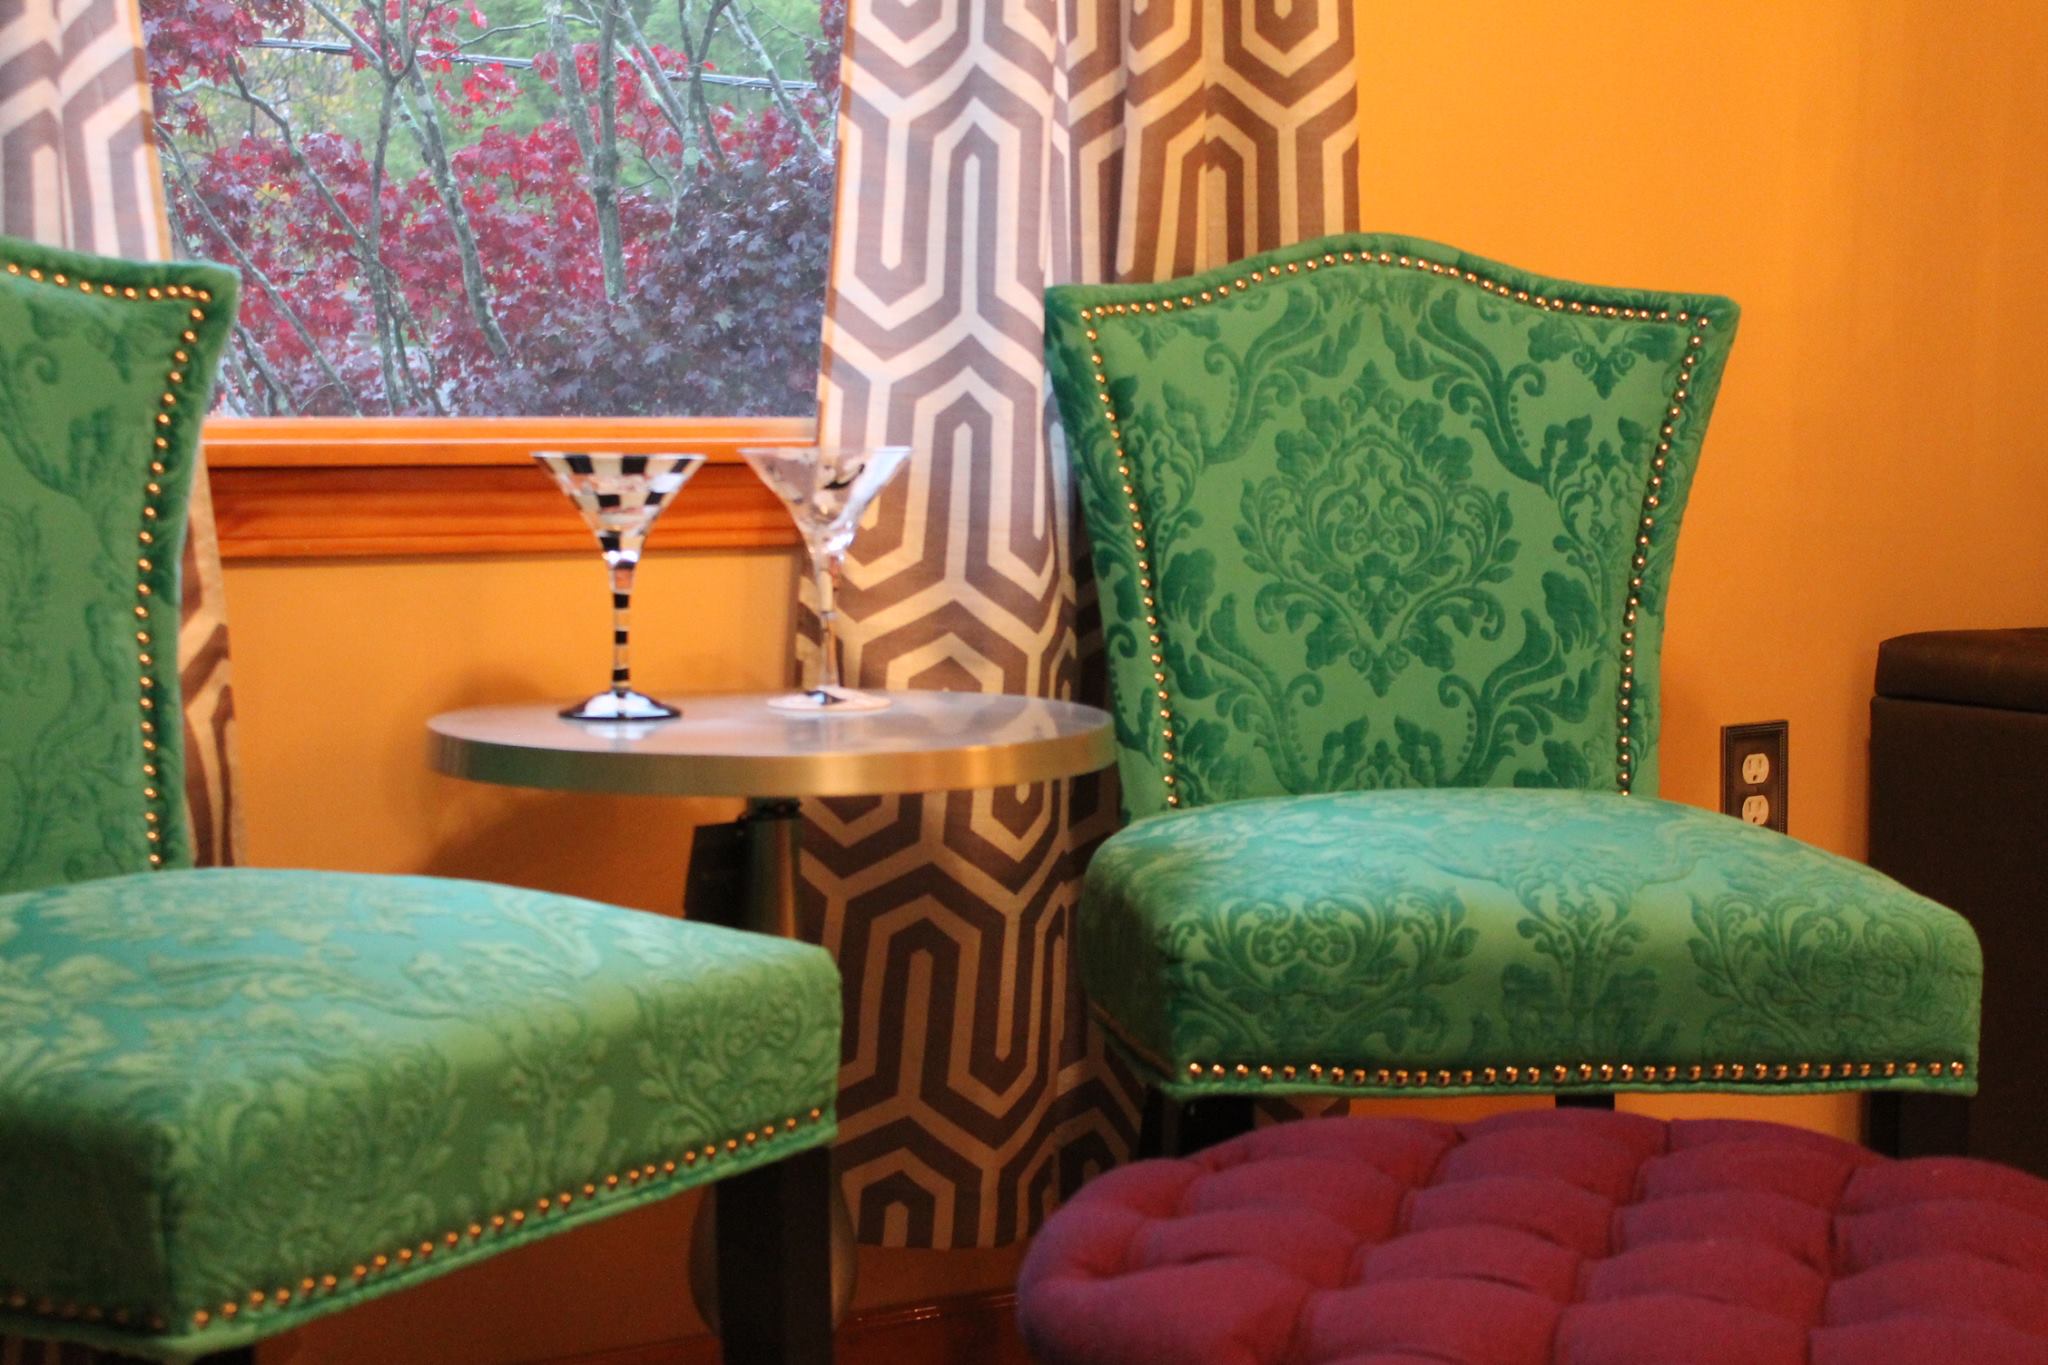
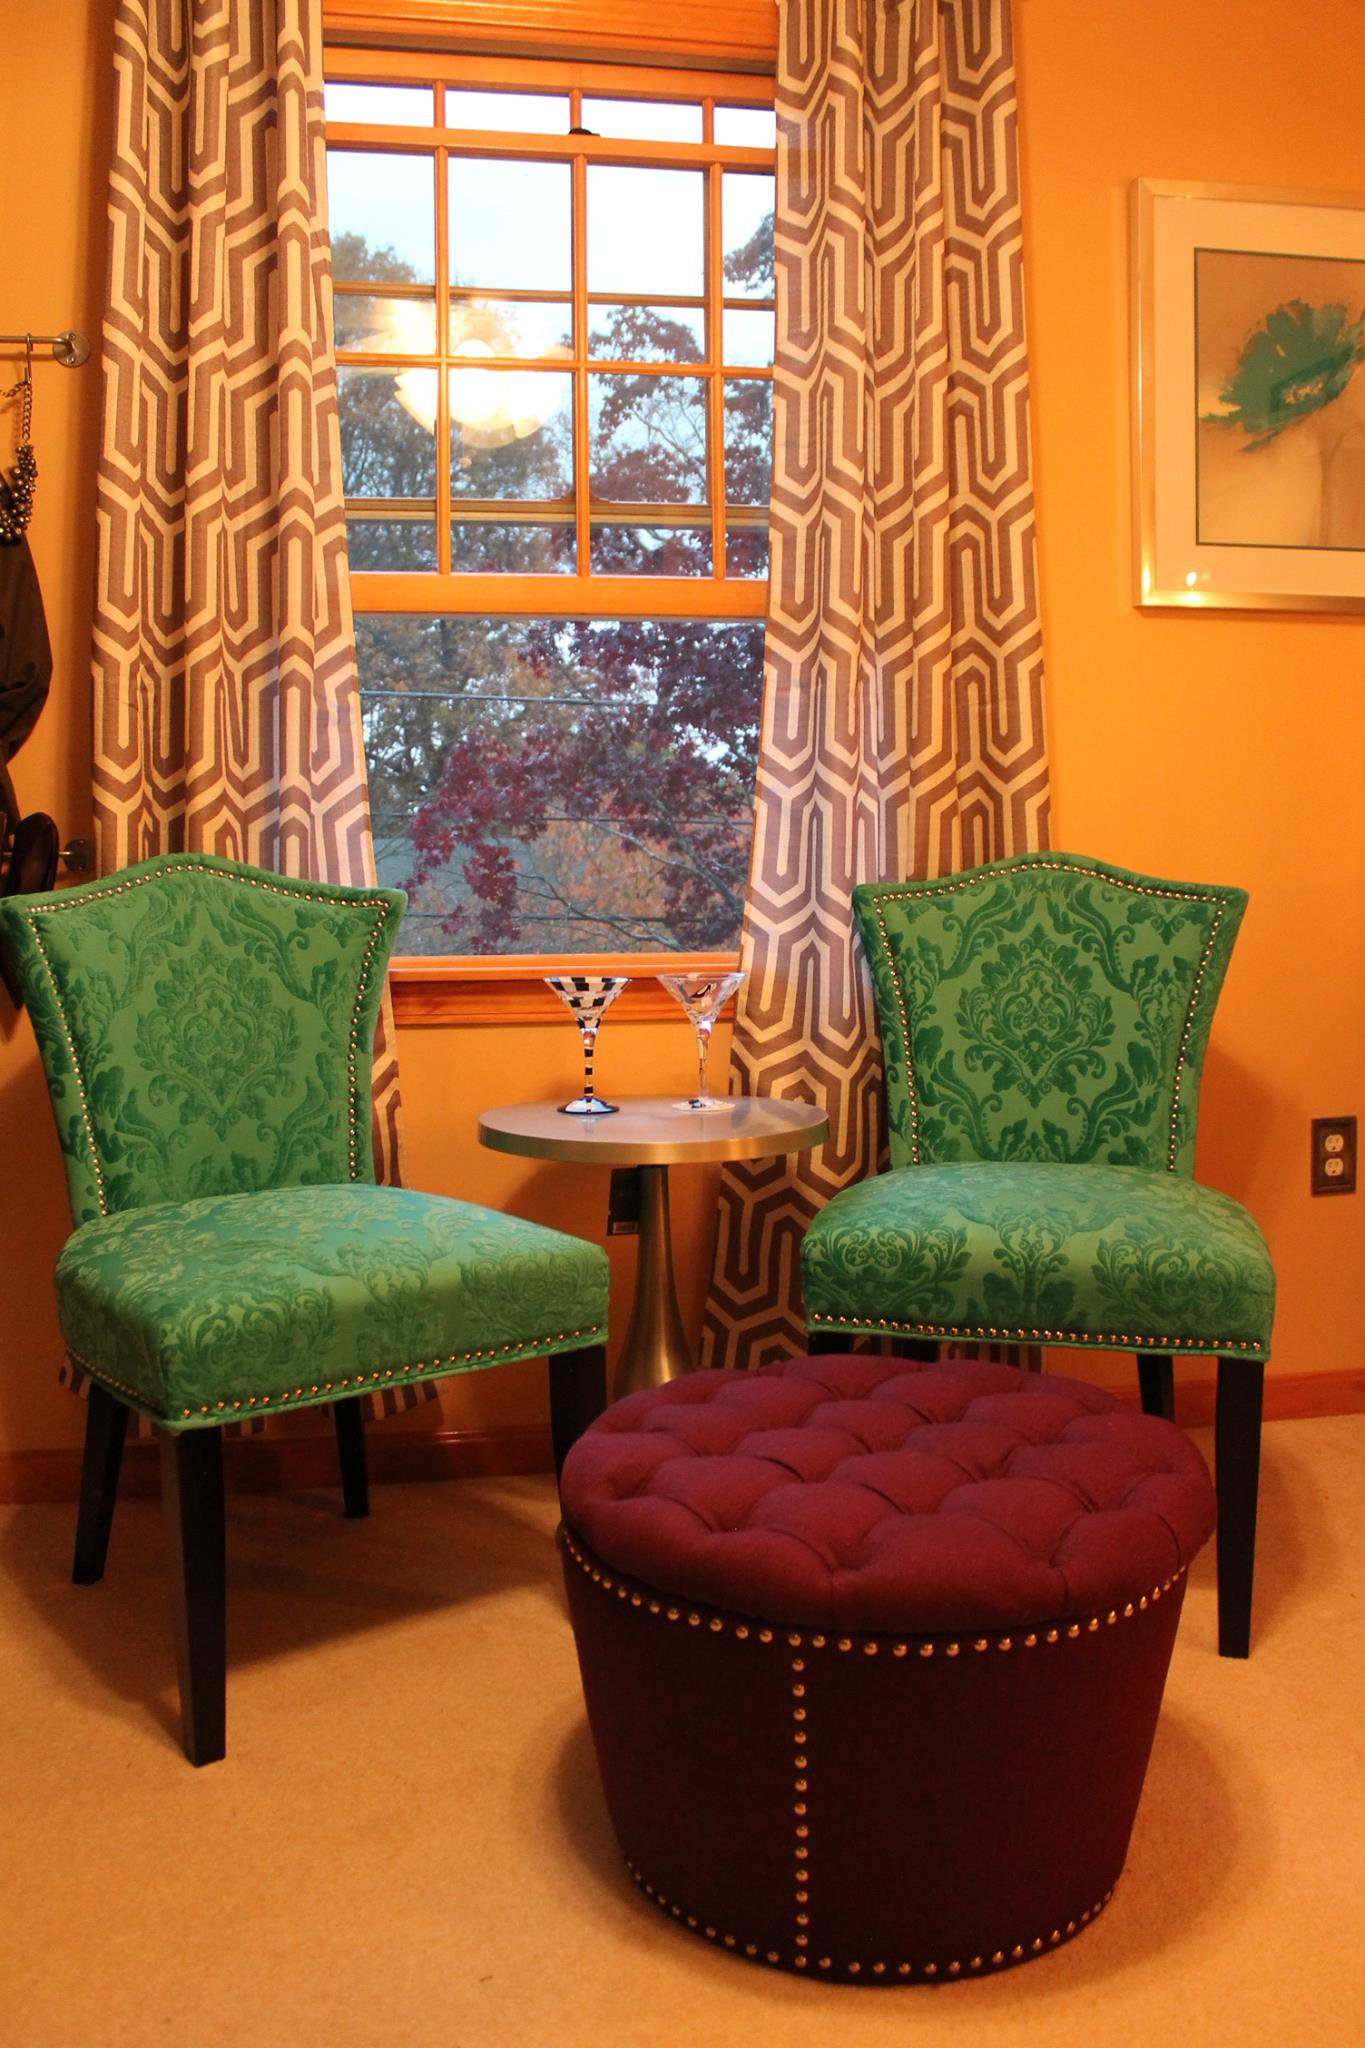
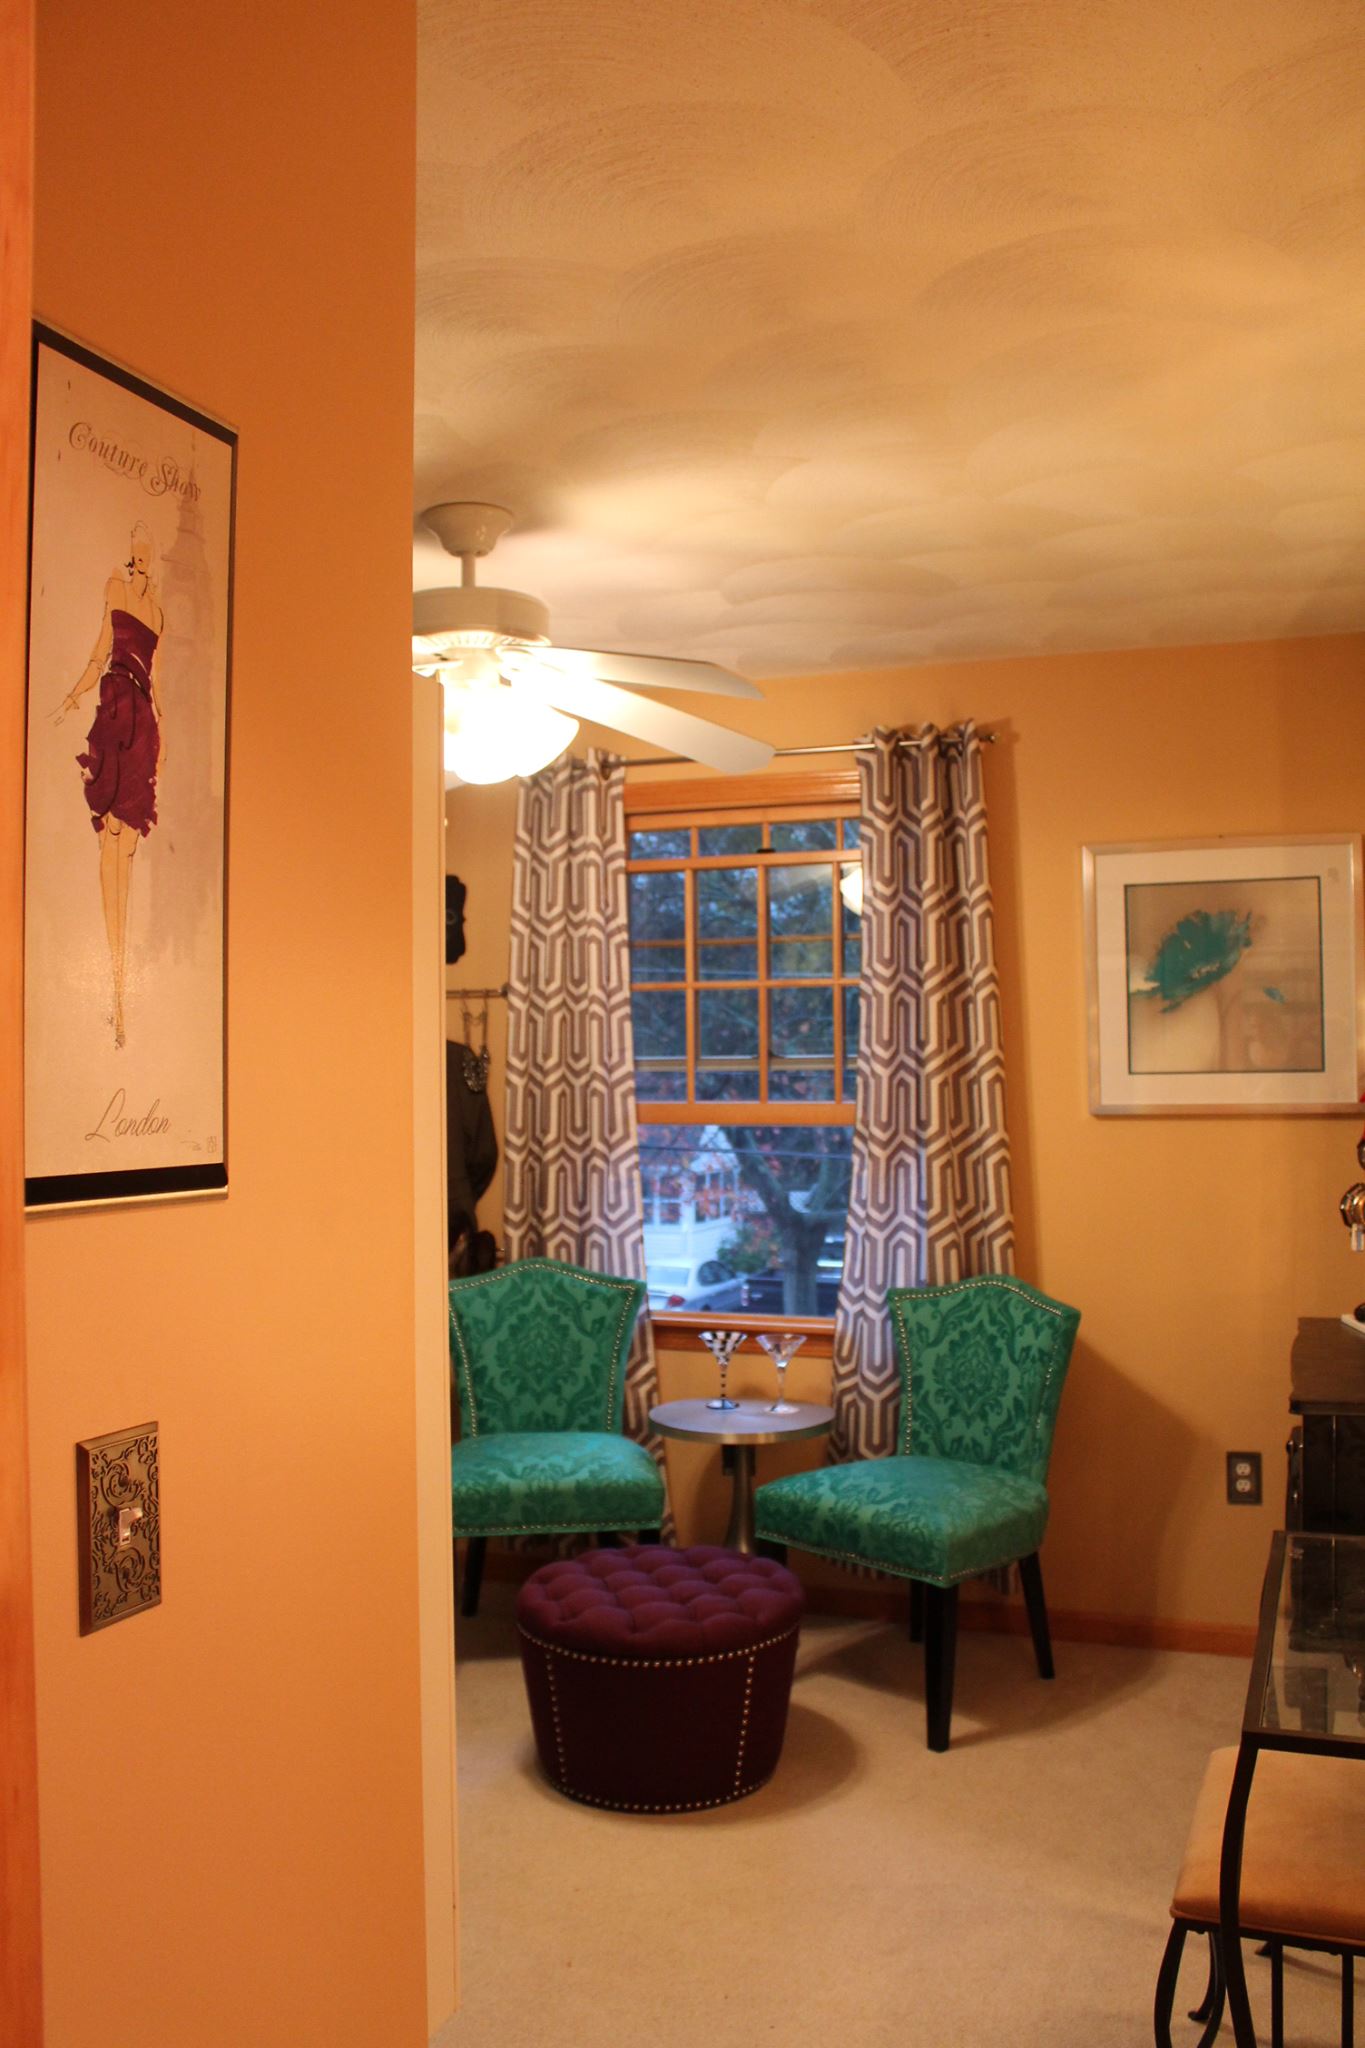
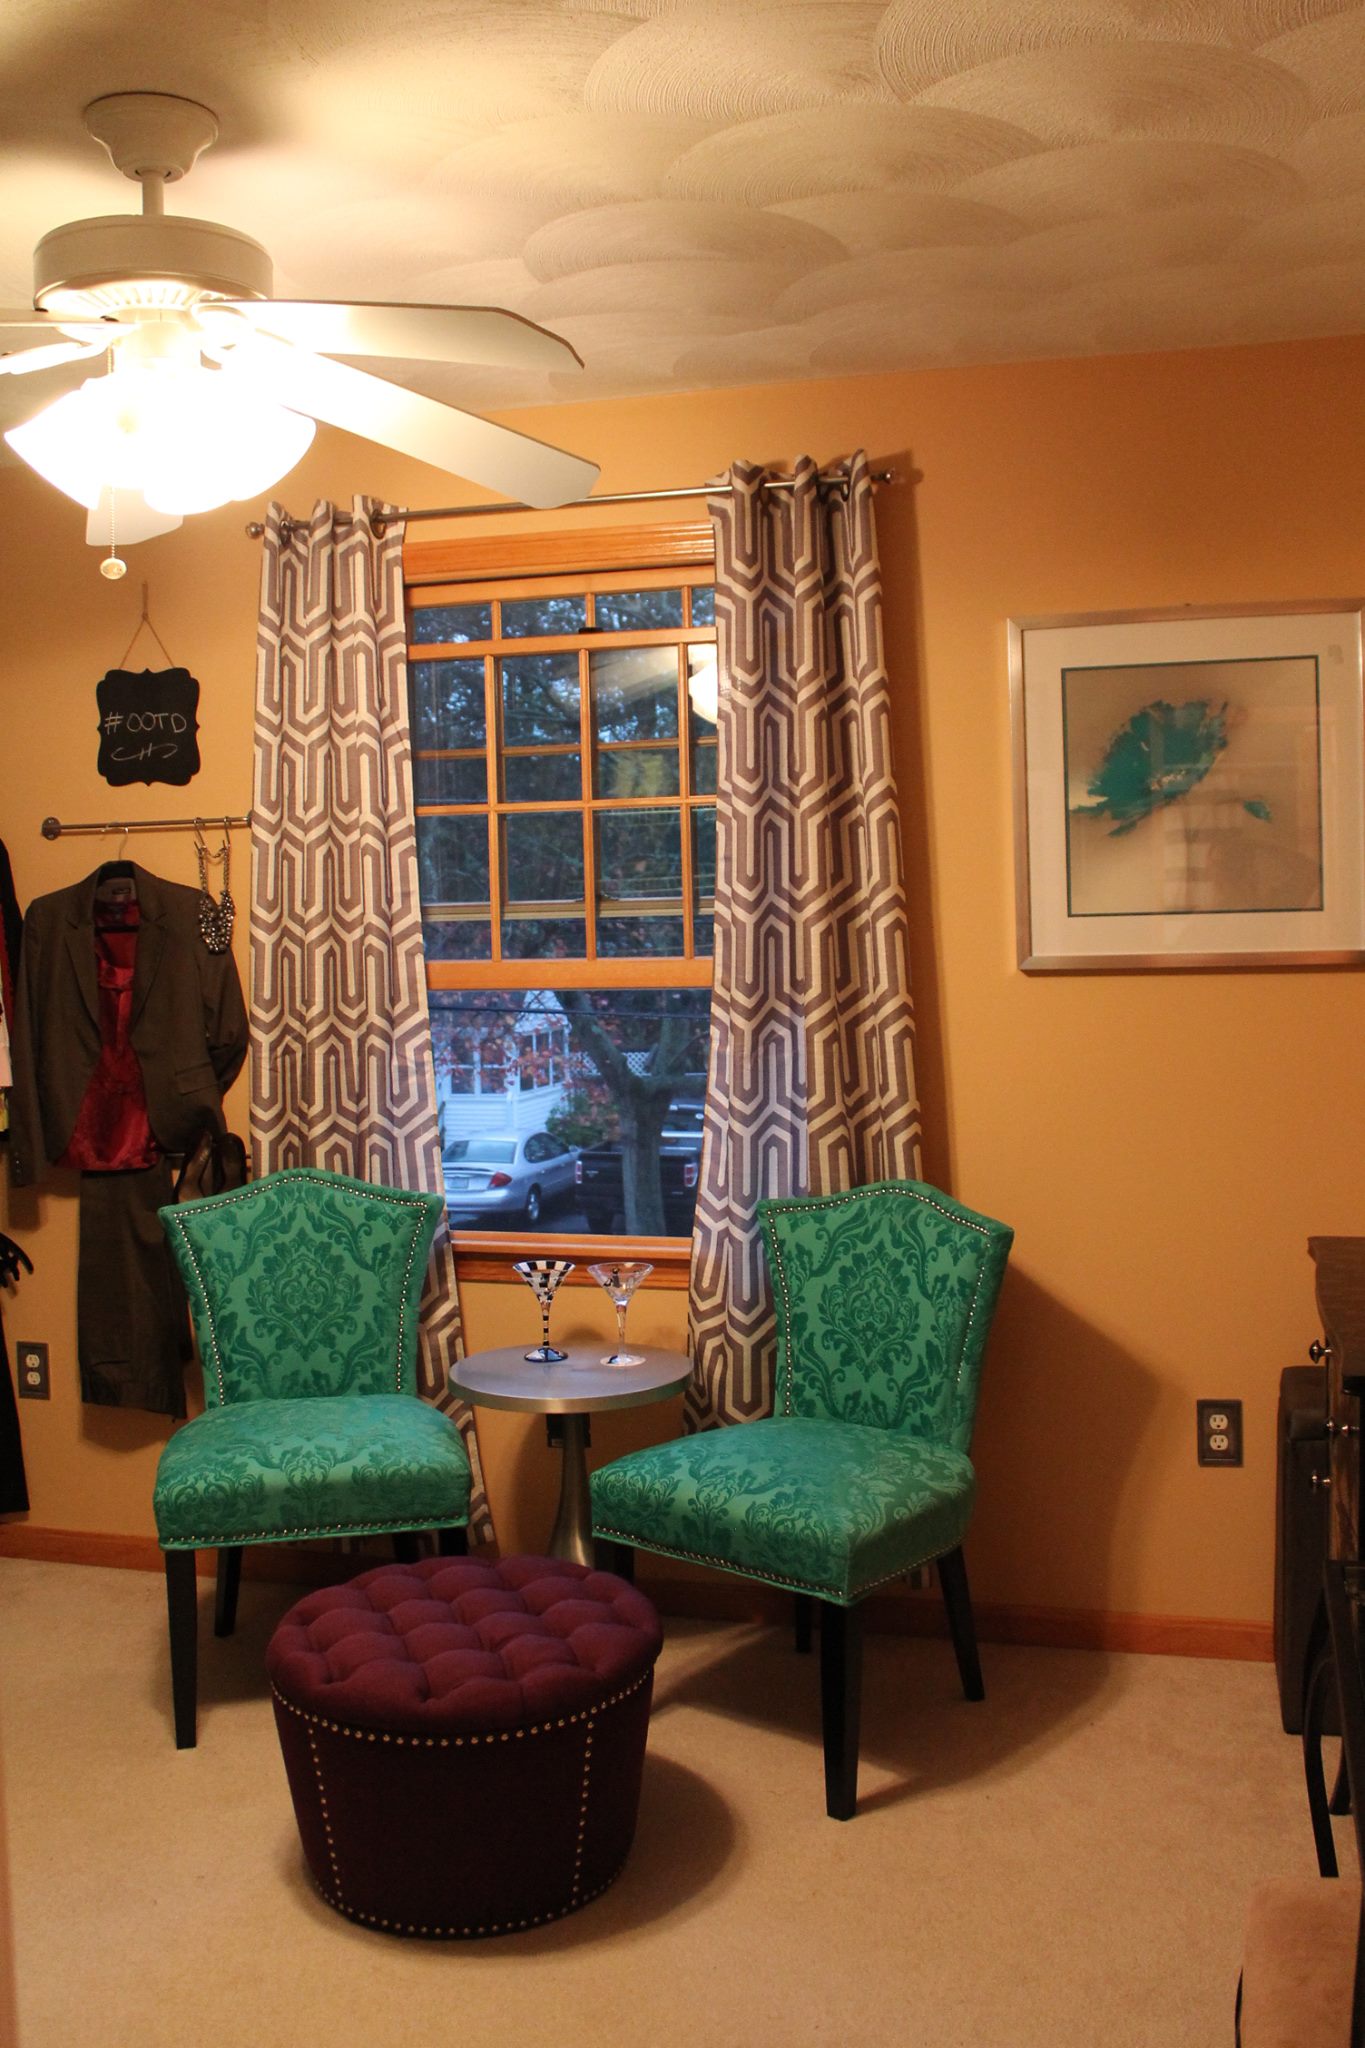
My client, an avid shopper and yard saler, purchased a picture at a yard sale and showed it to me saying she wanted it to be the design inspiration for the room. Perfect- Parisian chic with a modern vibe! Then on a shopping trip to Marshalls we came across an amazingly vibrant emerald green set of chairs that we both immediately rushed to and couldn’t leave the store without. AND they were on clearance! Inspiration pieces #2. We had the picture and the pop of color to base the decor around, now it was time to start getting the functionality of the room in place.
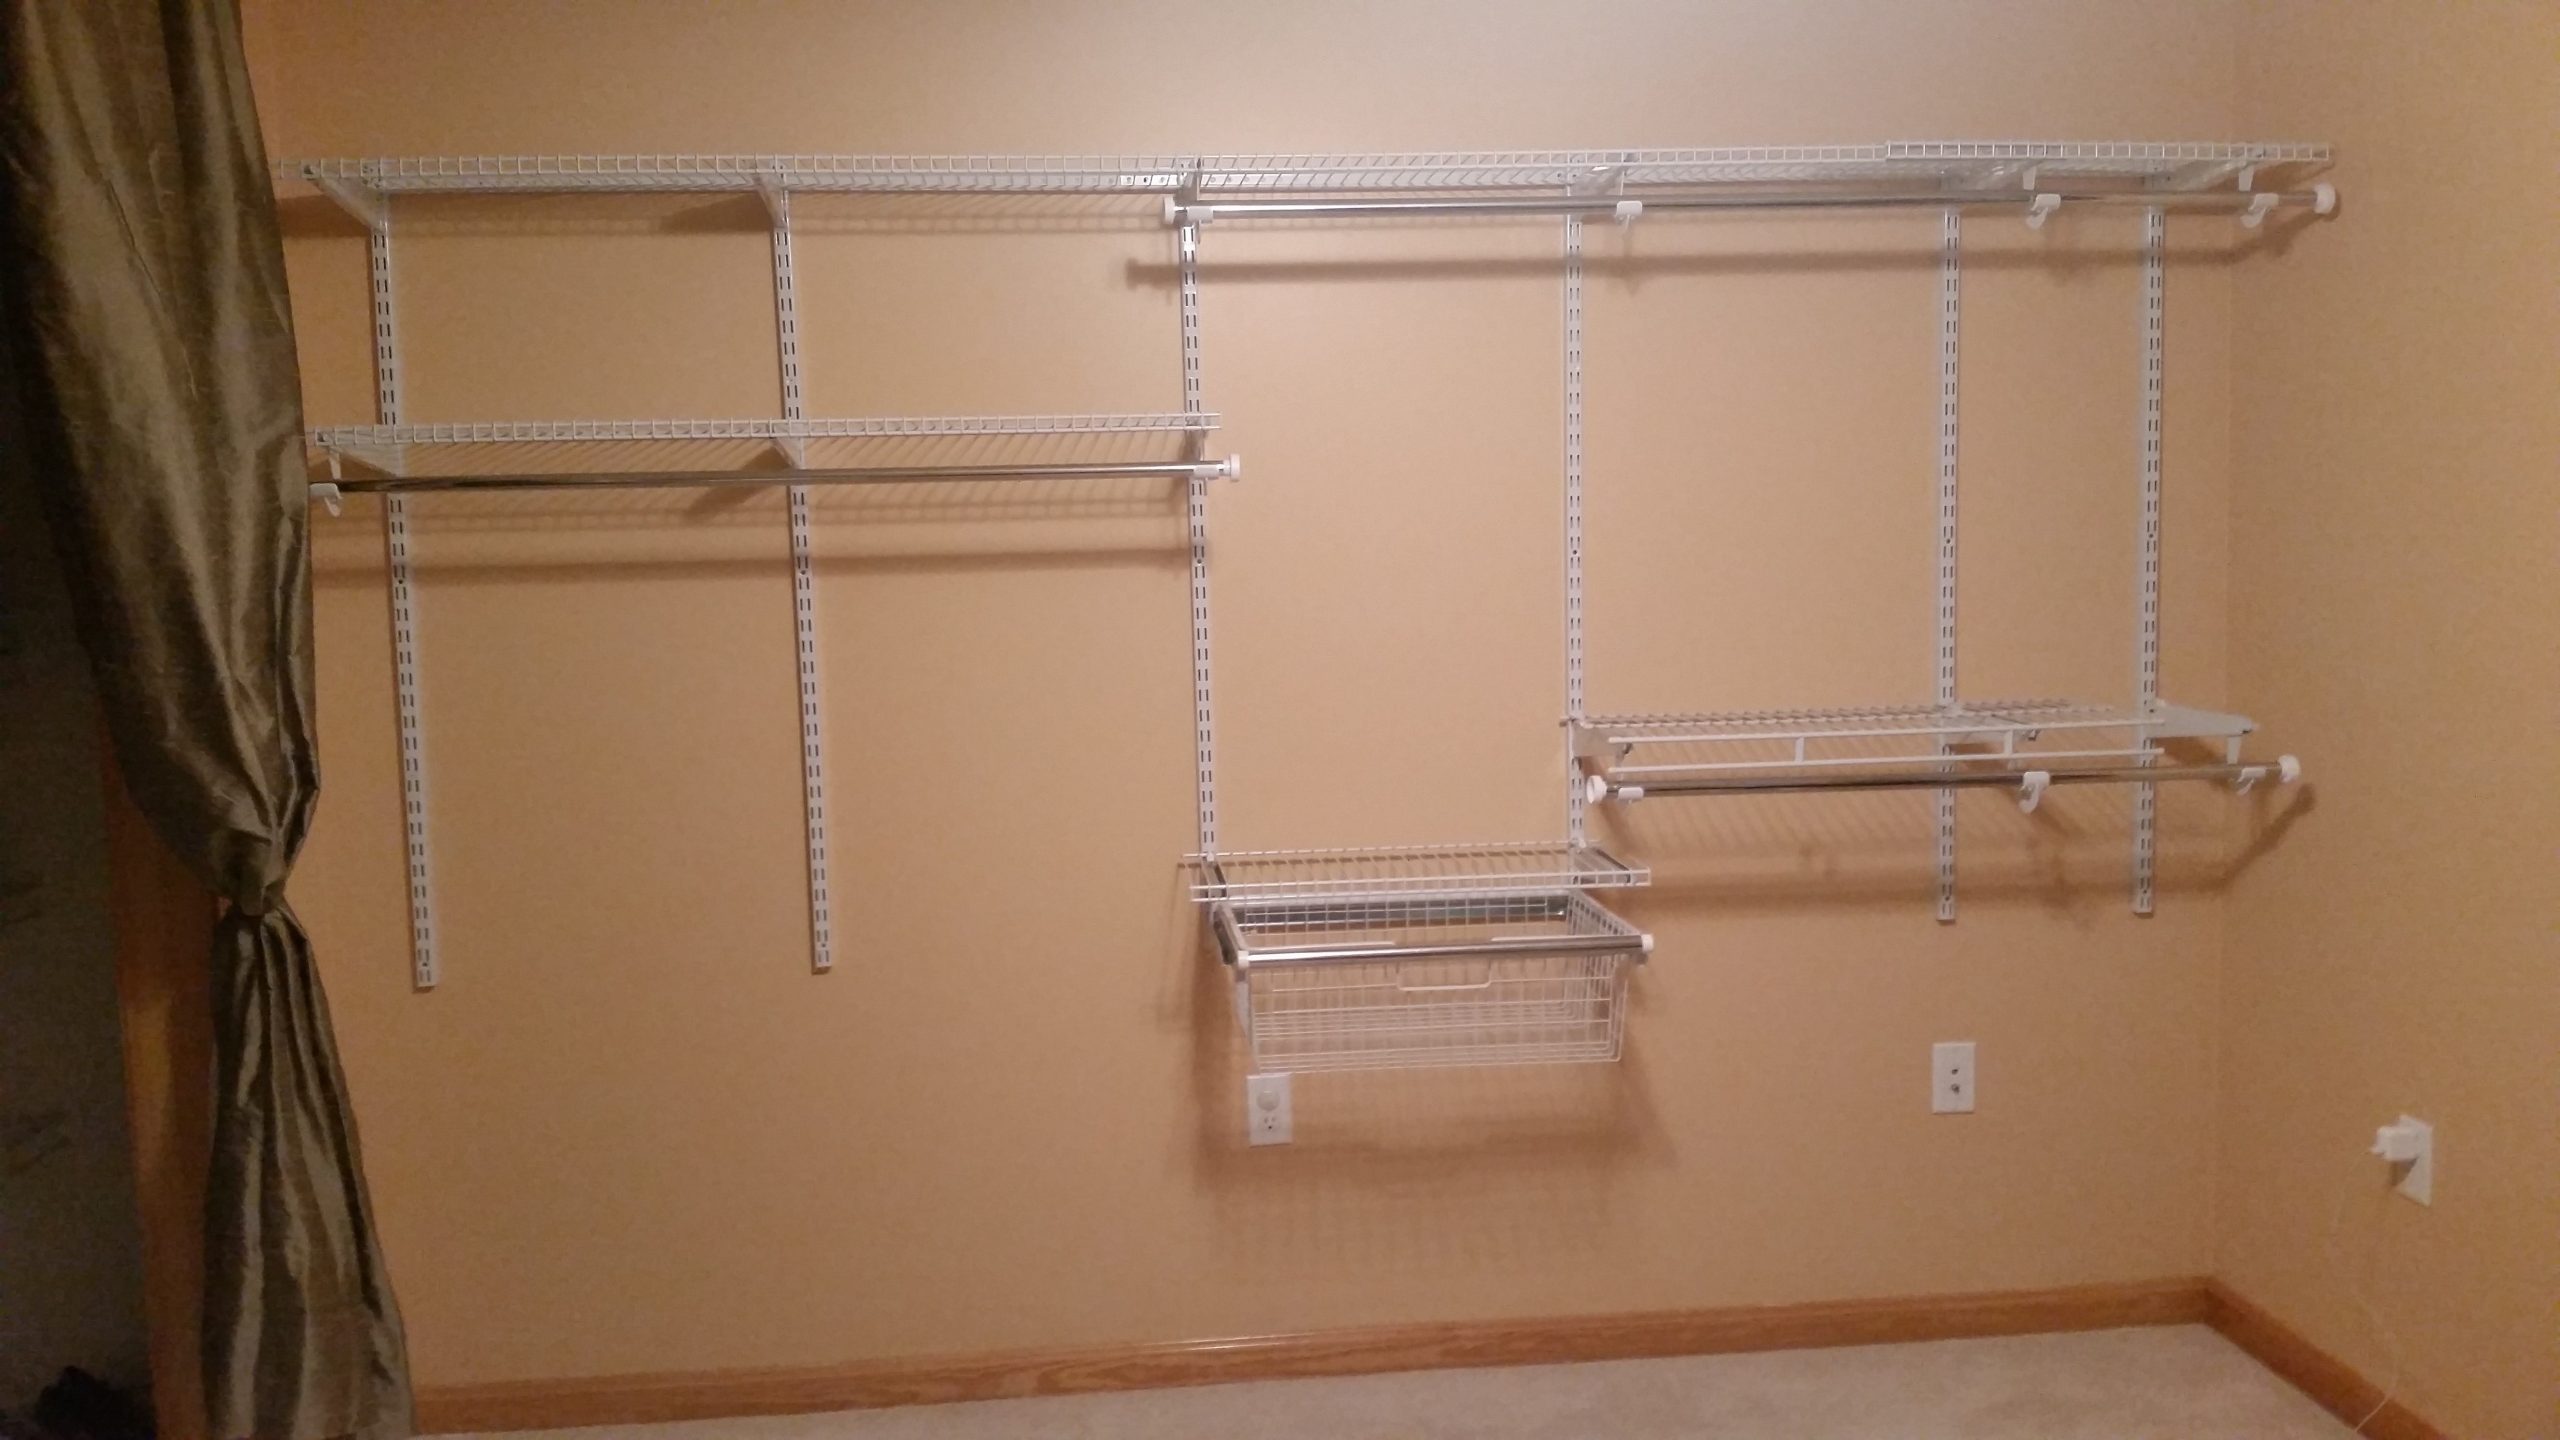
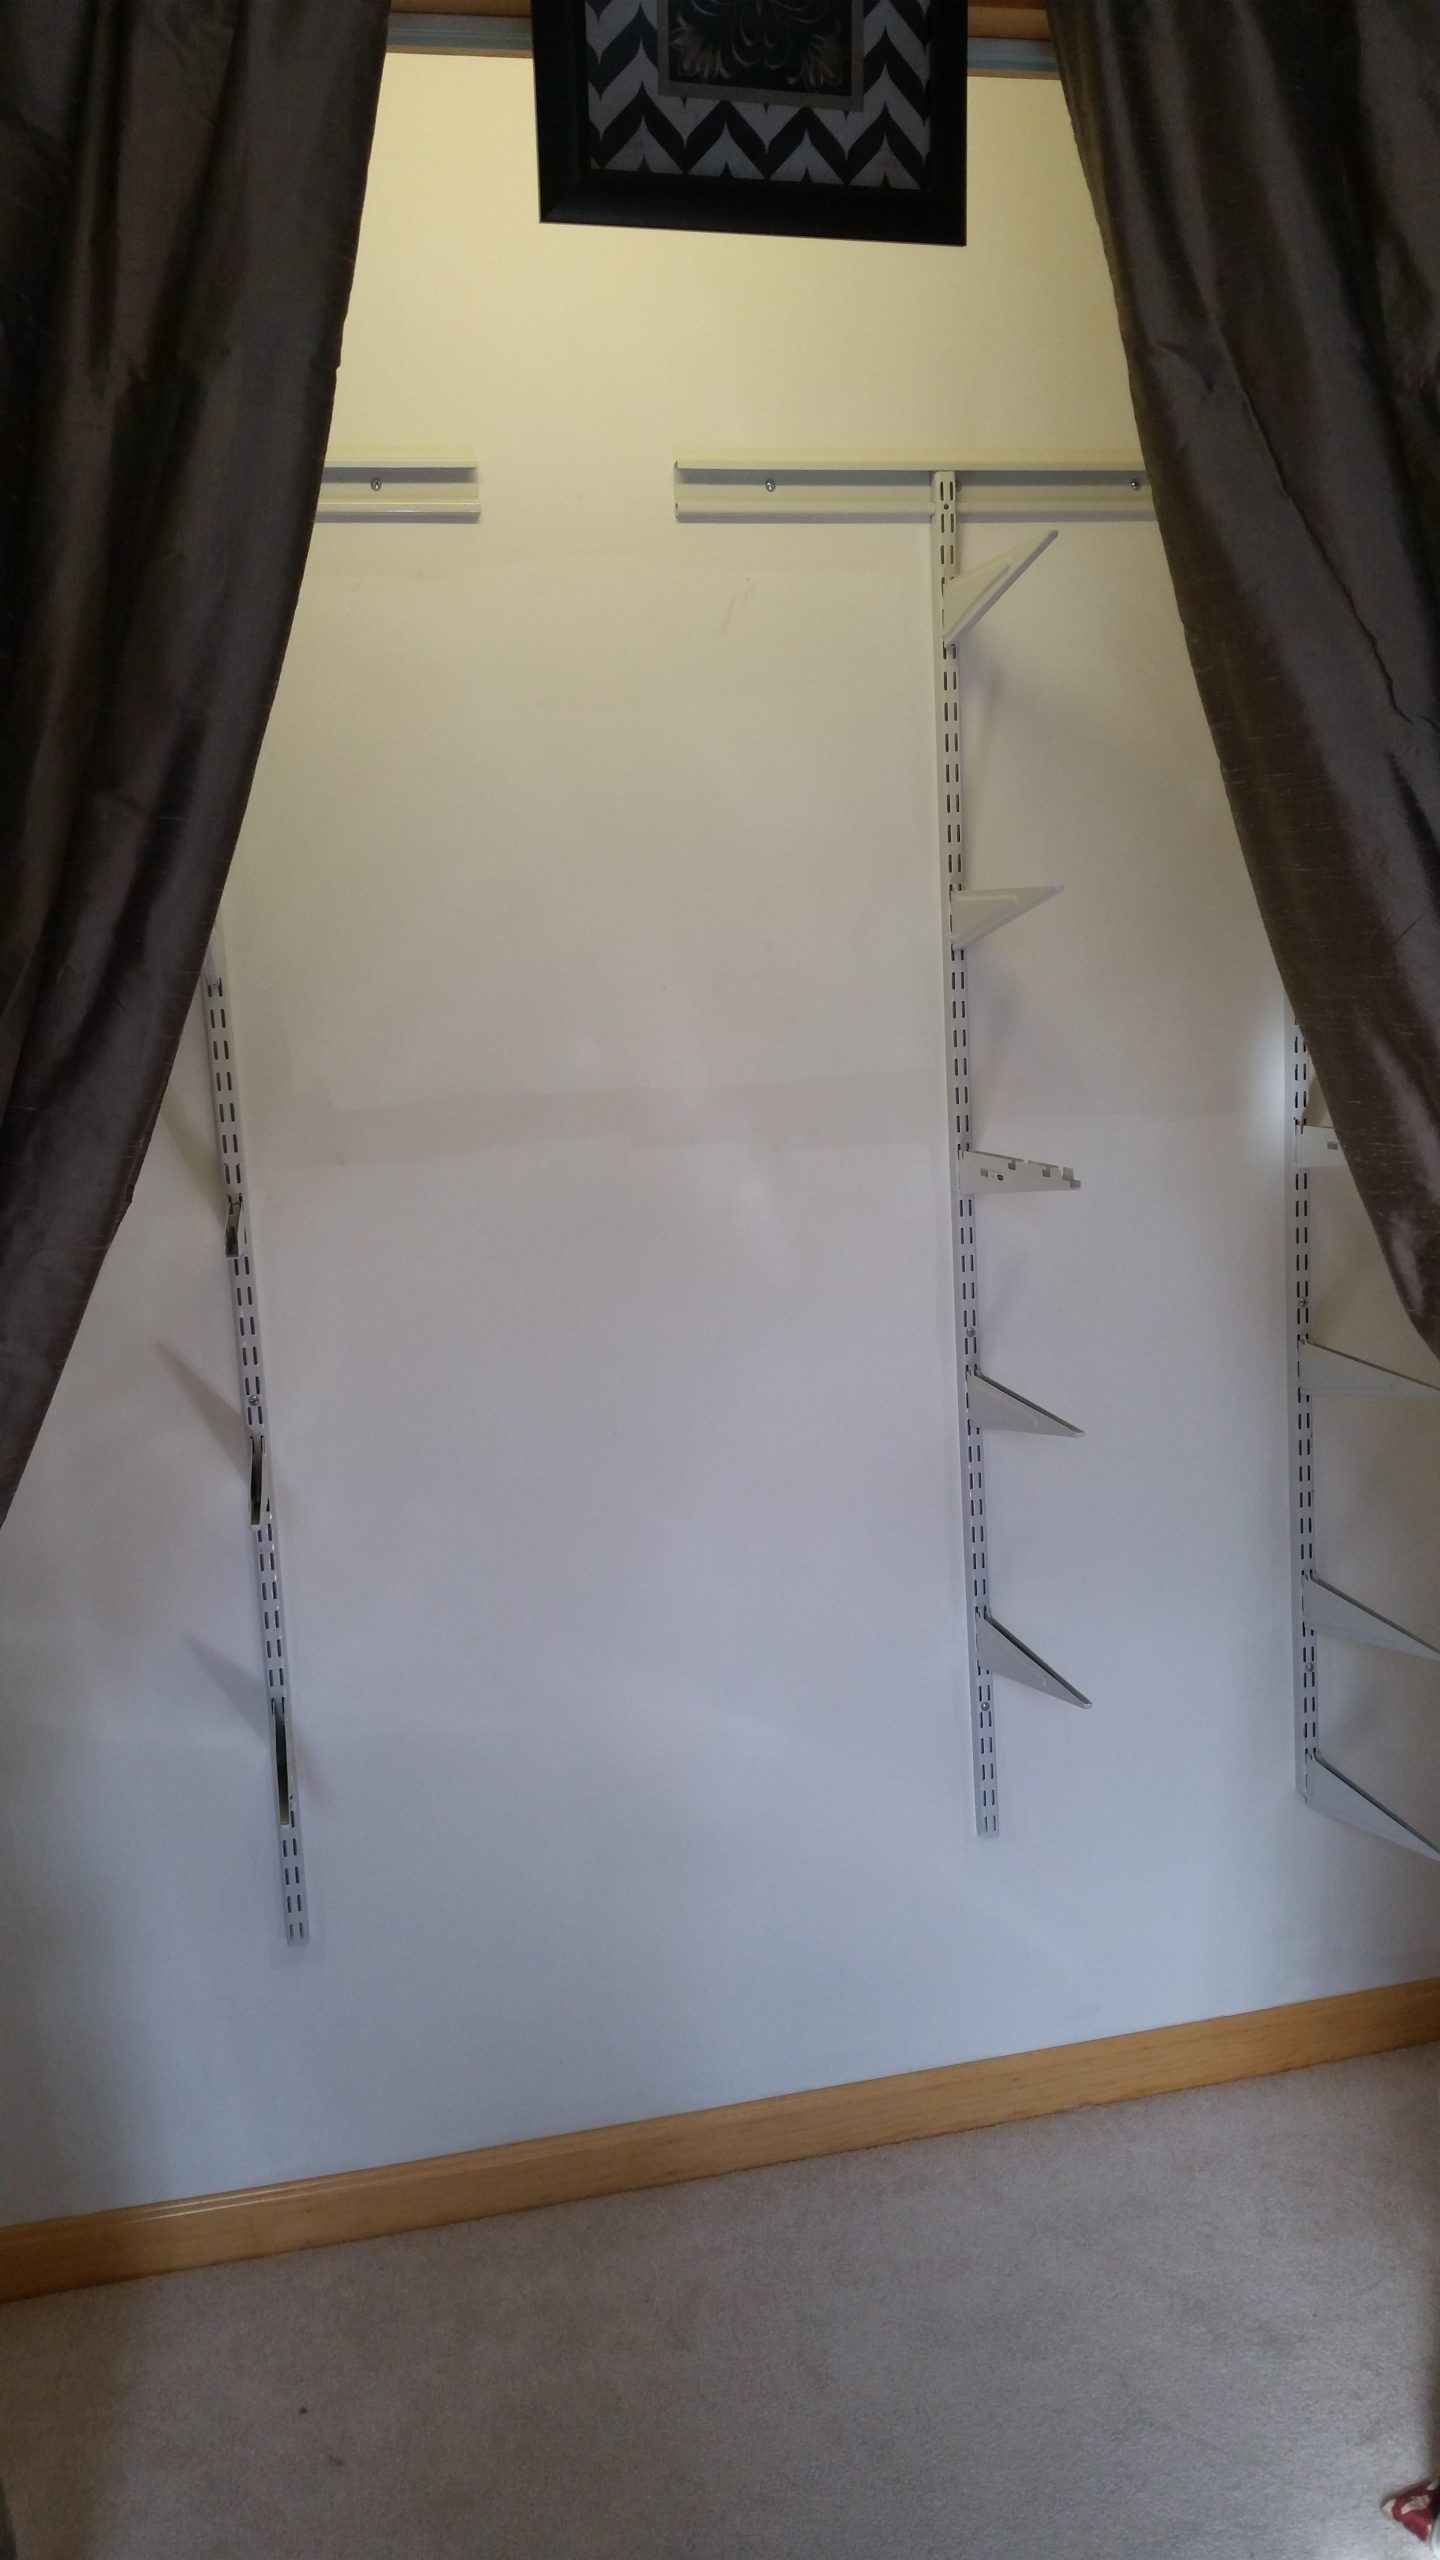
I came up with several different types of fixture options to house the clothing and shoes and presented them to my client along with price points, and made reccomendations. I then took her to The Container Store, where they have an entire section dedicated to closet fixtures called Elfa. Seeing everything already set up really helped my client envision the plan I had and she selected her favorite setup. She chose white wire shelving, which was consistent with the existing closet shelving in the room so that saved on purchases. The complete Elfa set up that she liked totaled about $3200. But lucky for her, I had been shopping around and knew that Lowes had an extremely similar Rubbermaid product and for a fraction of the price. We purchased all the hardware at Lowes and ended up spending only about $300!
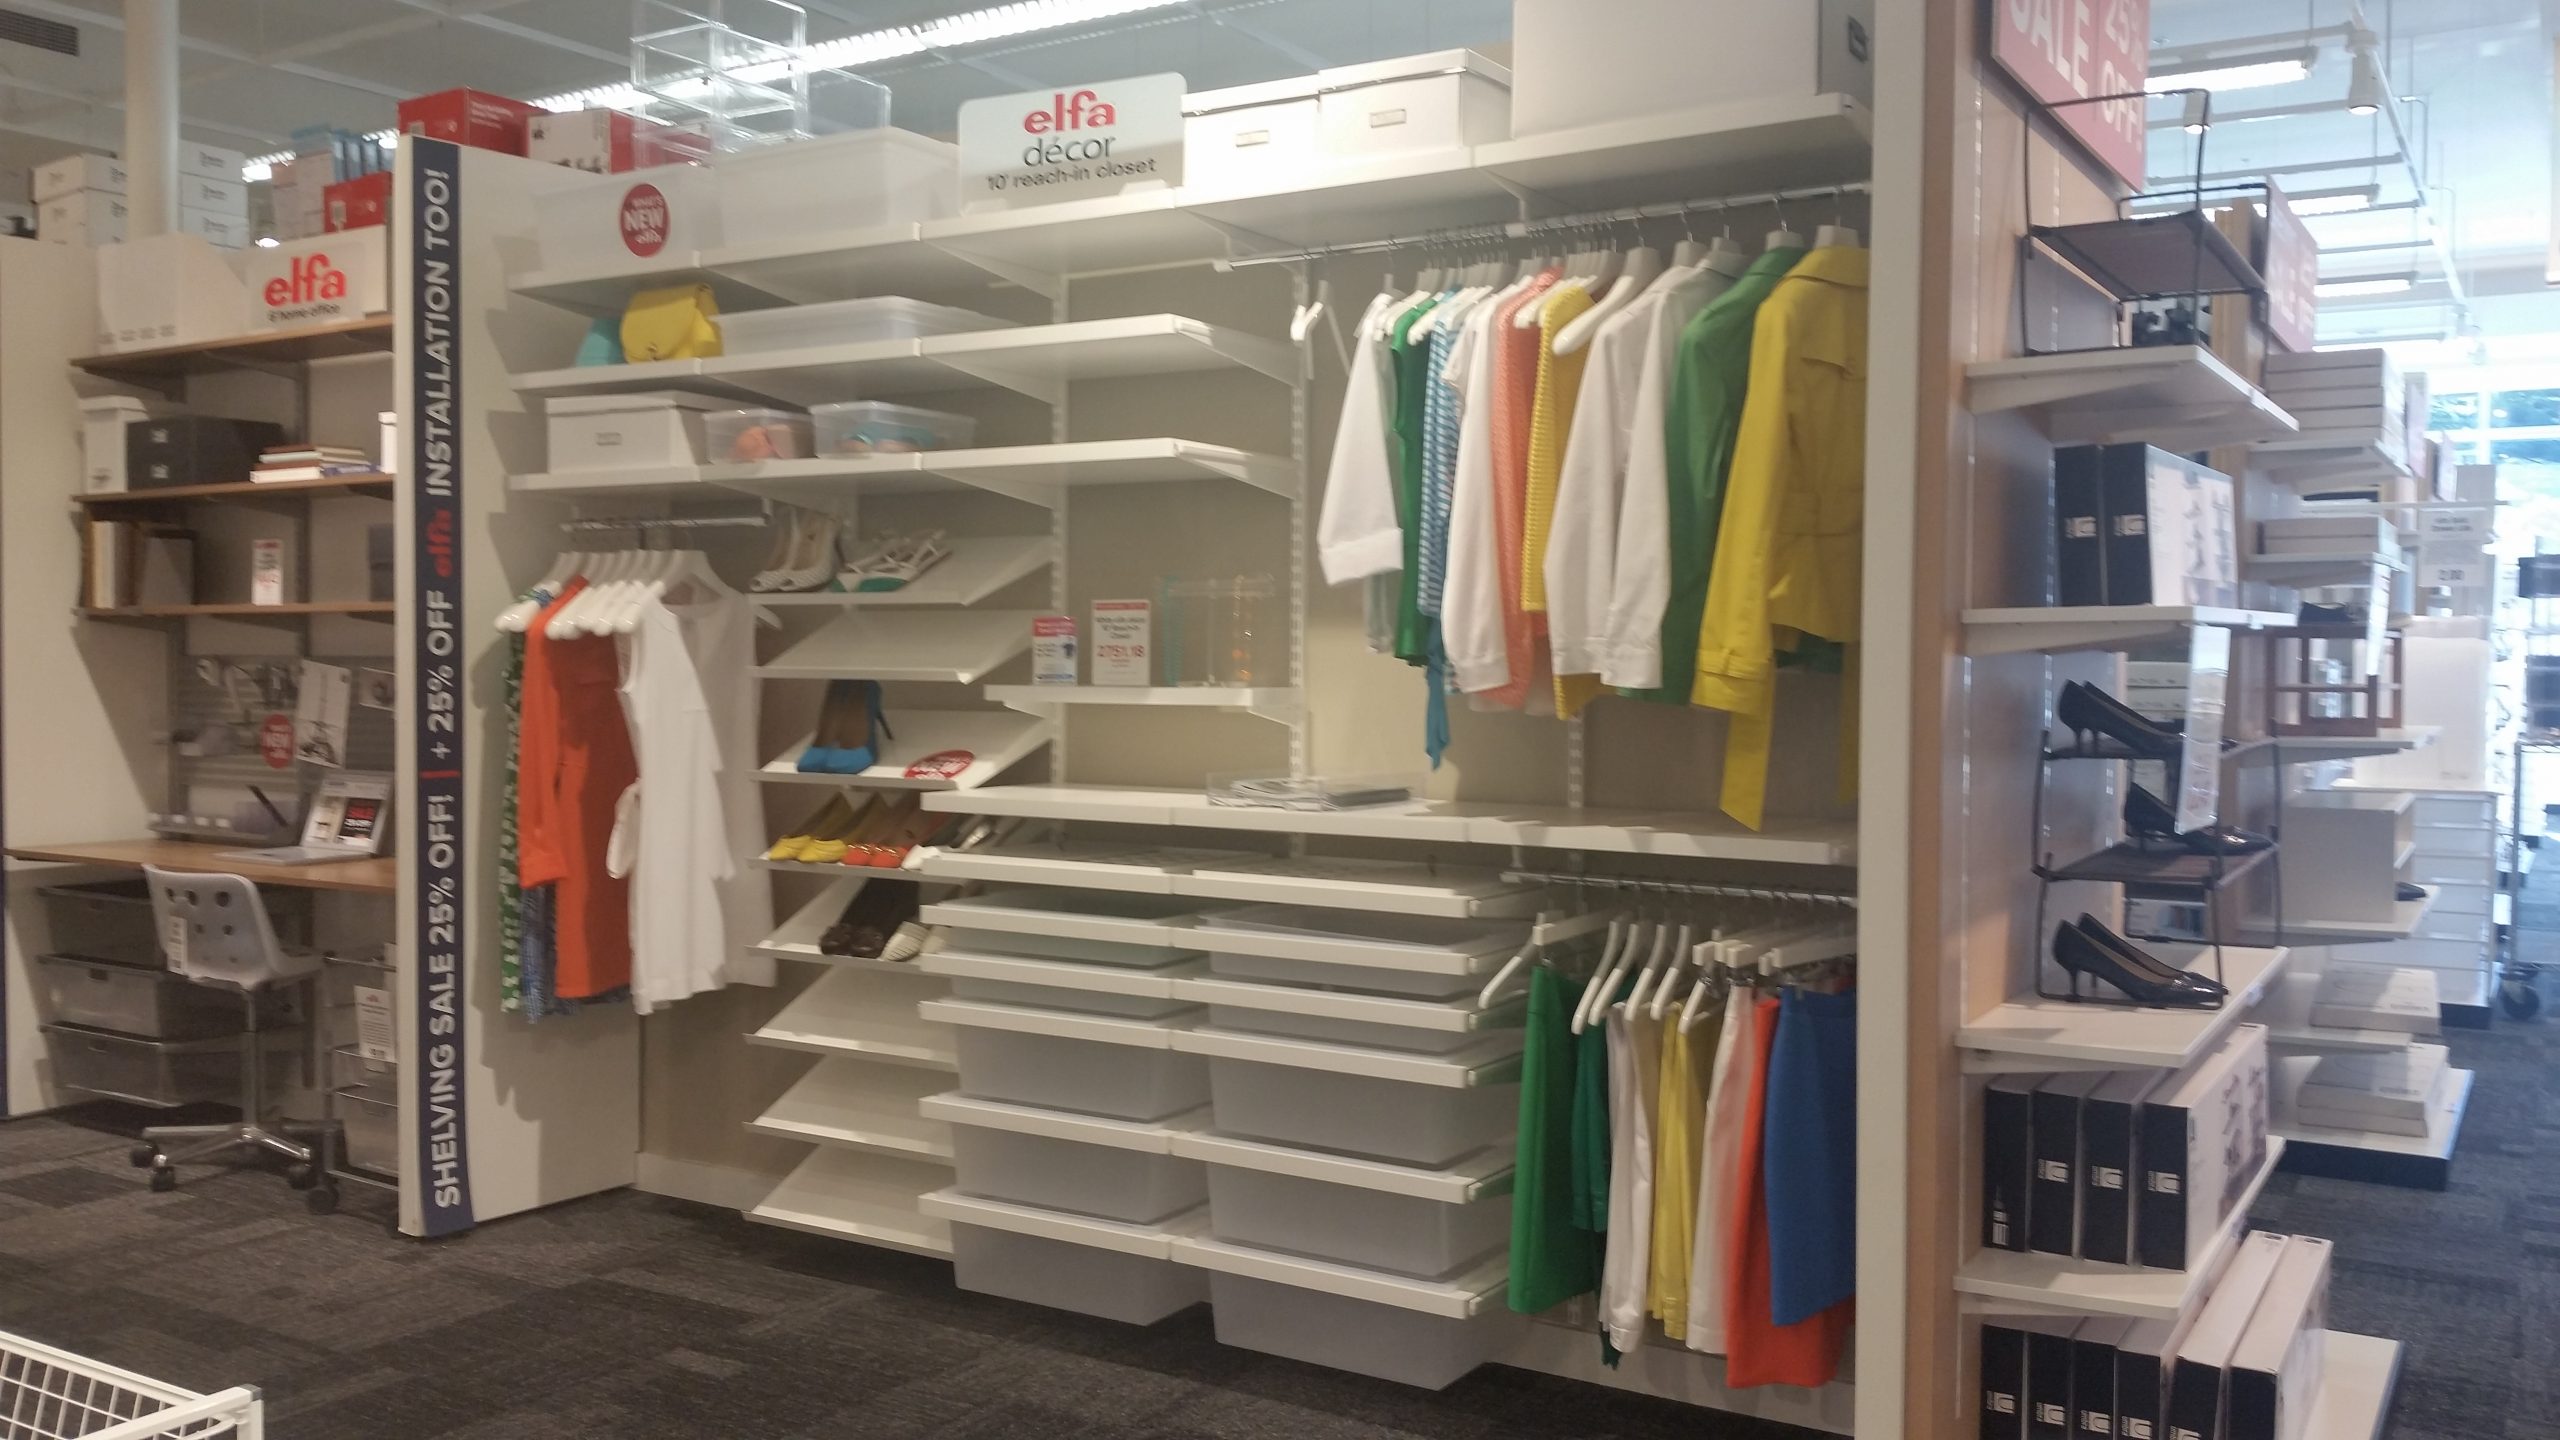
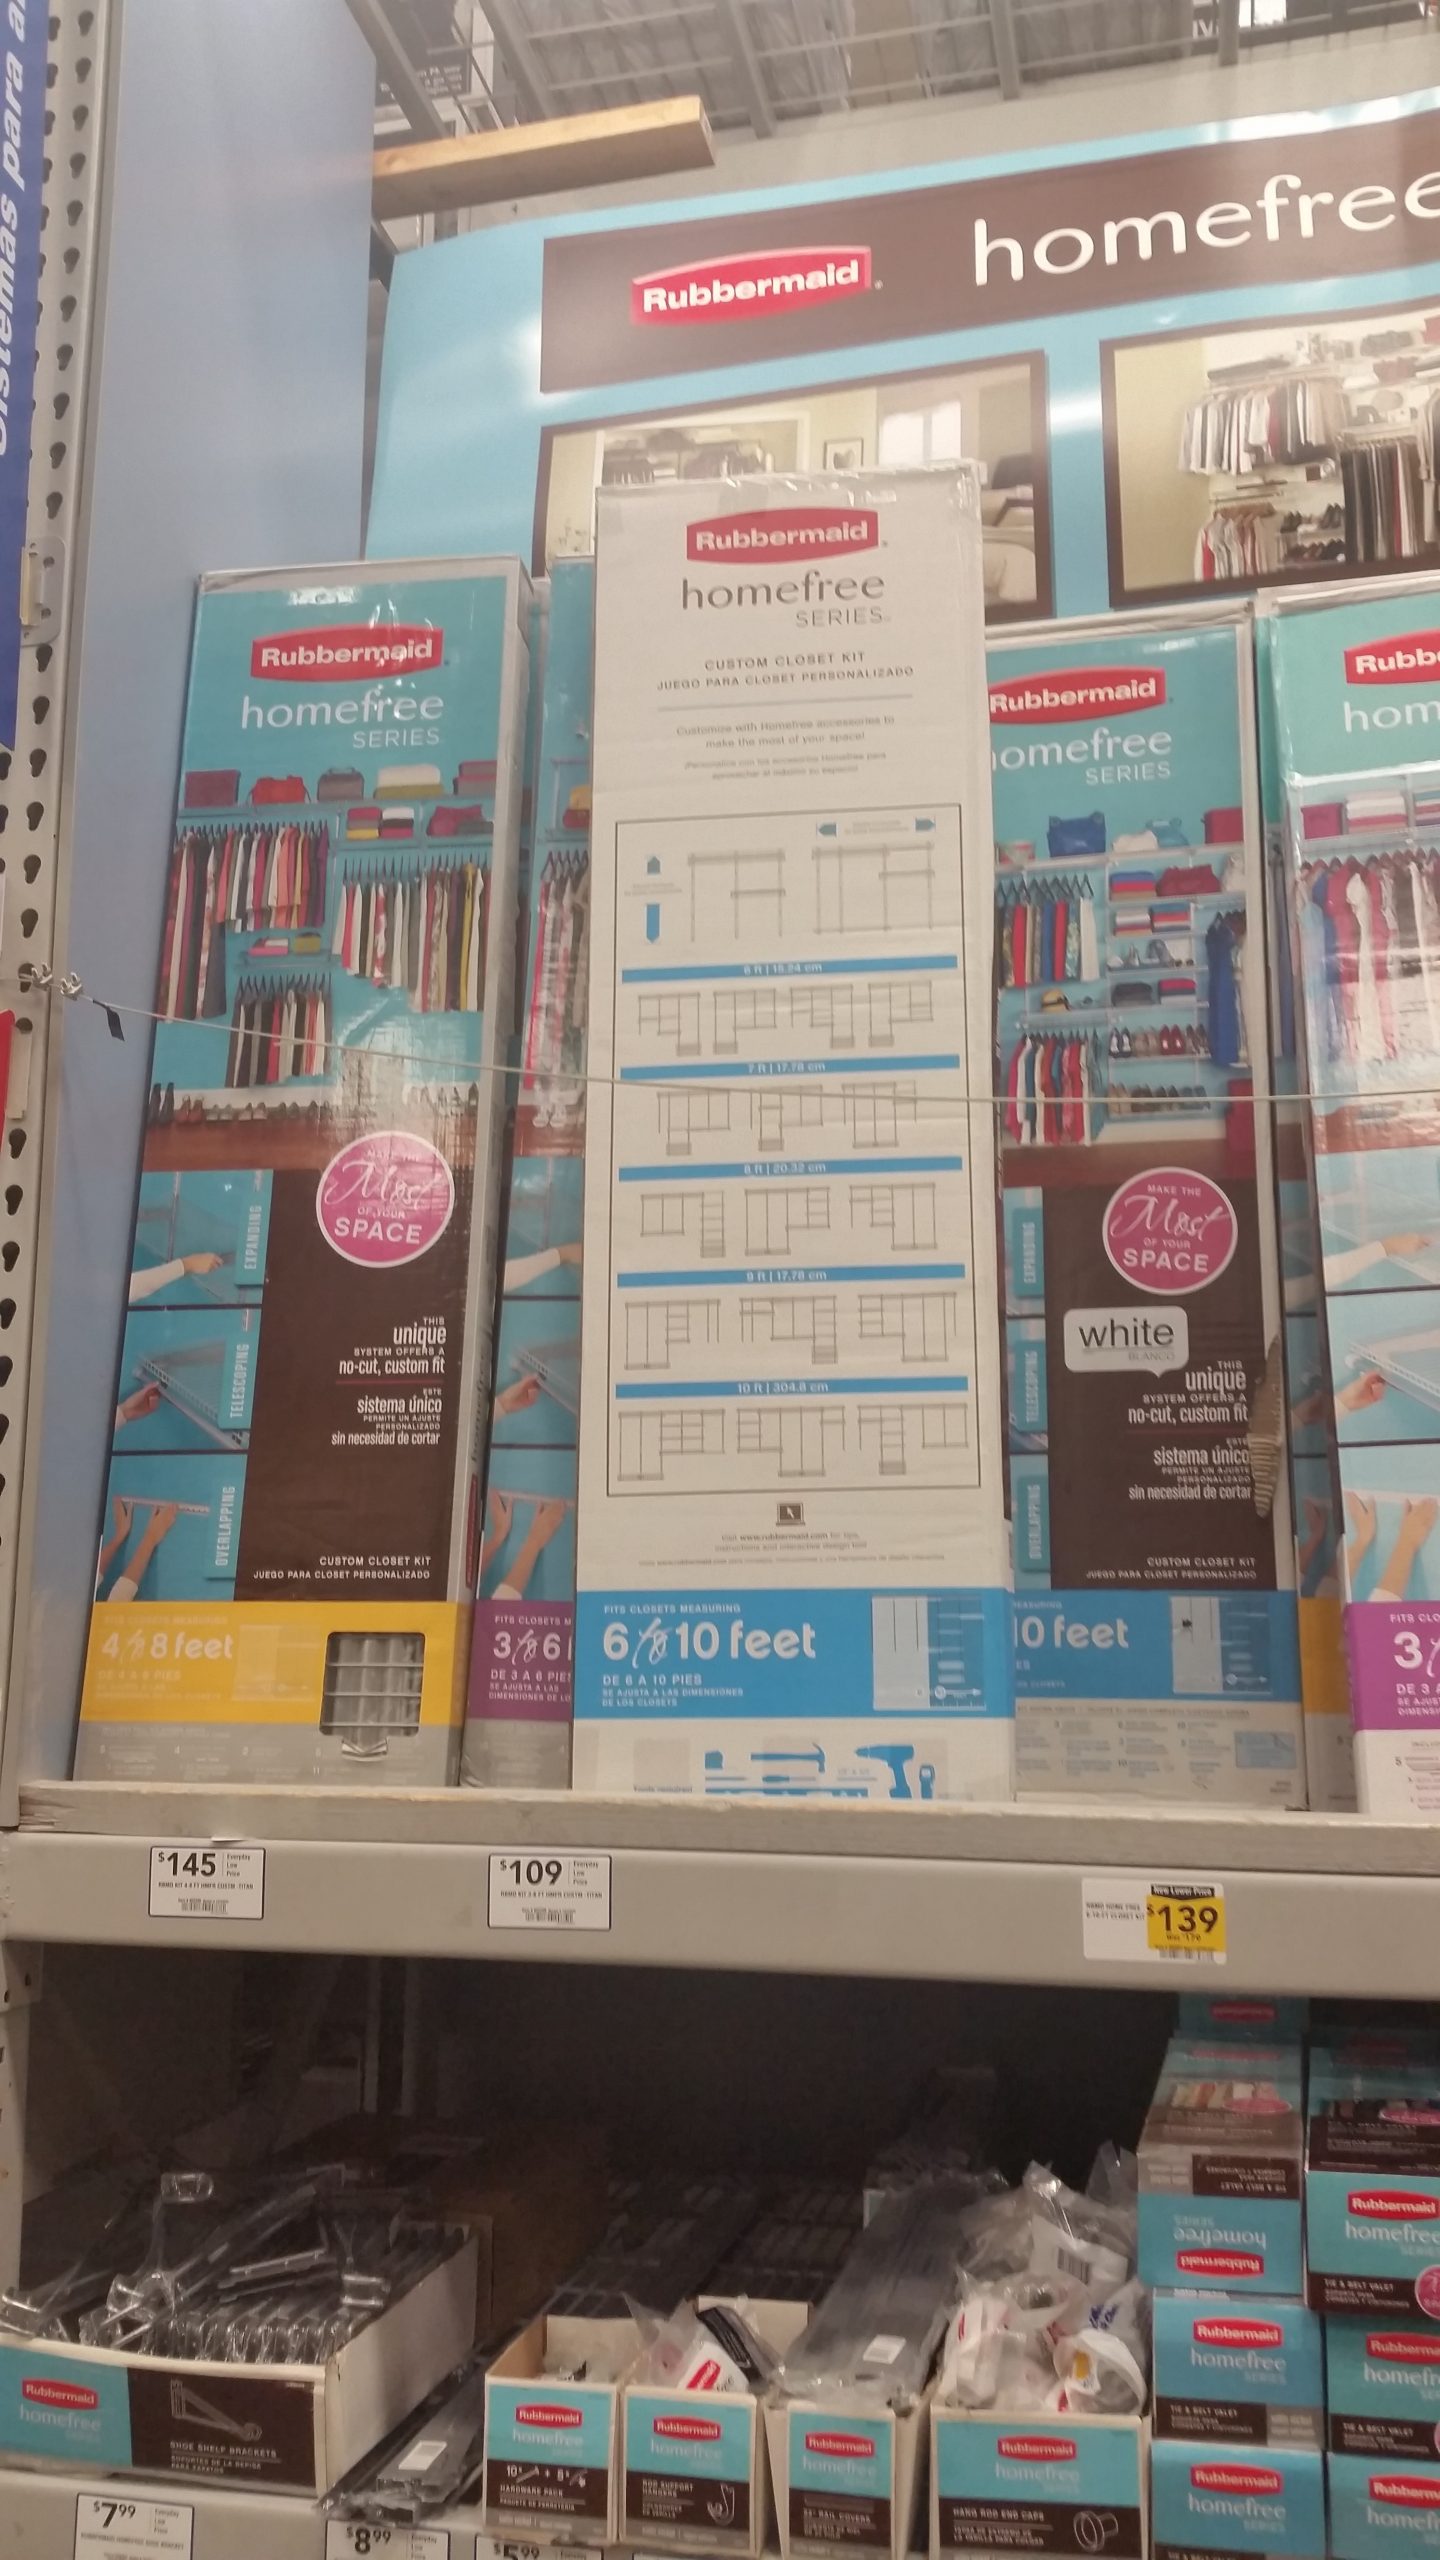
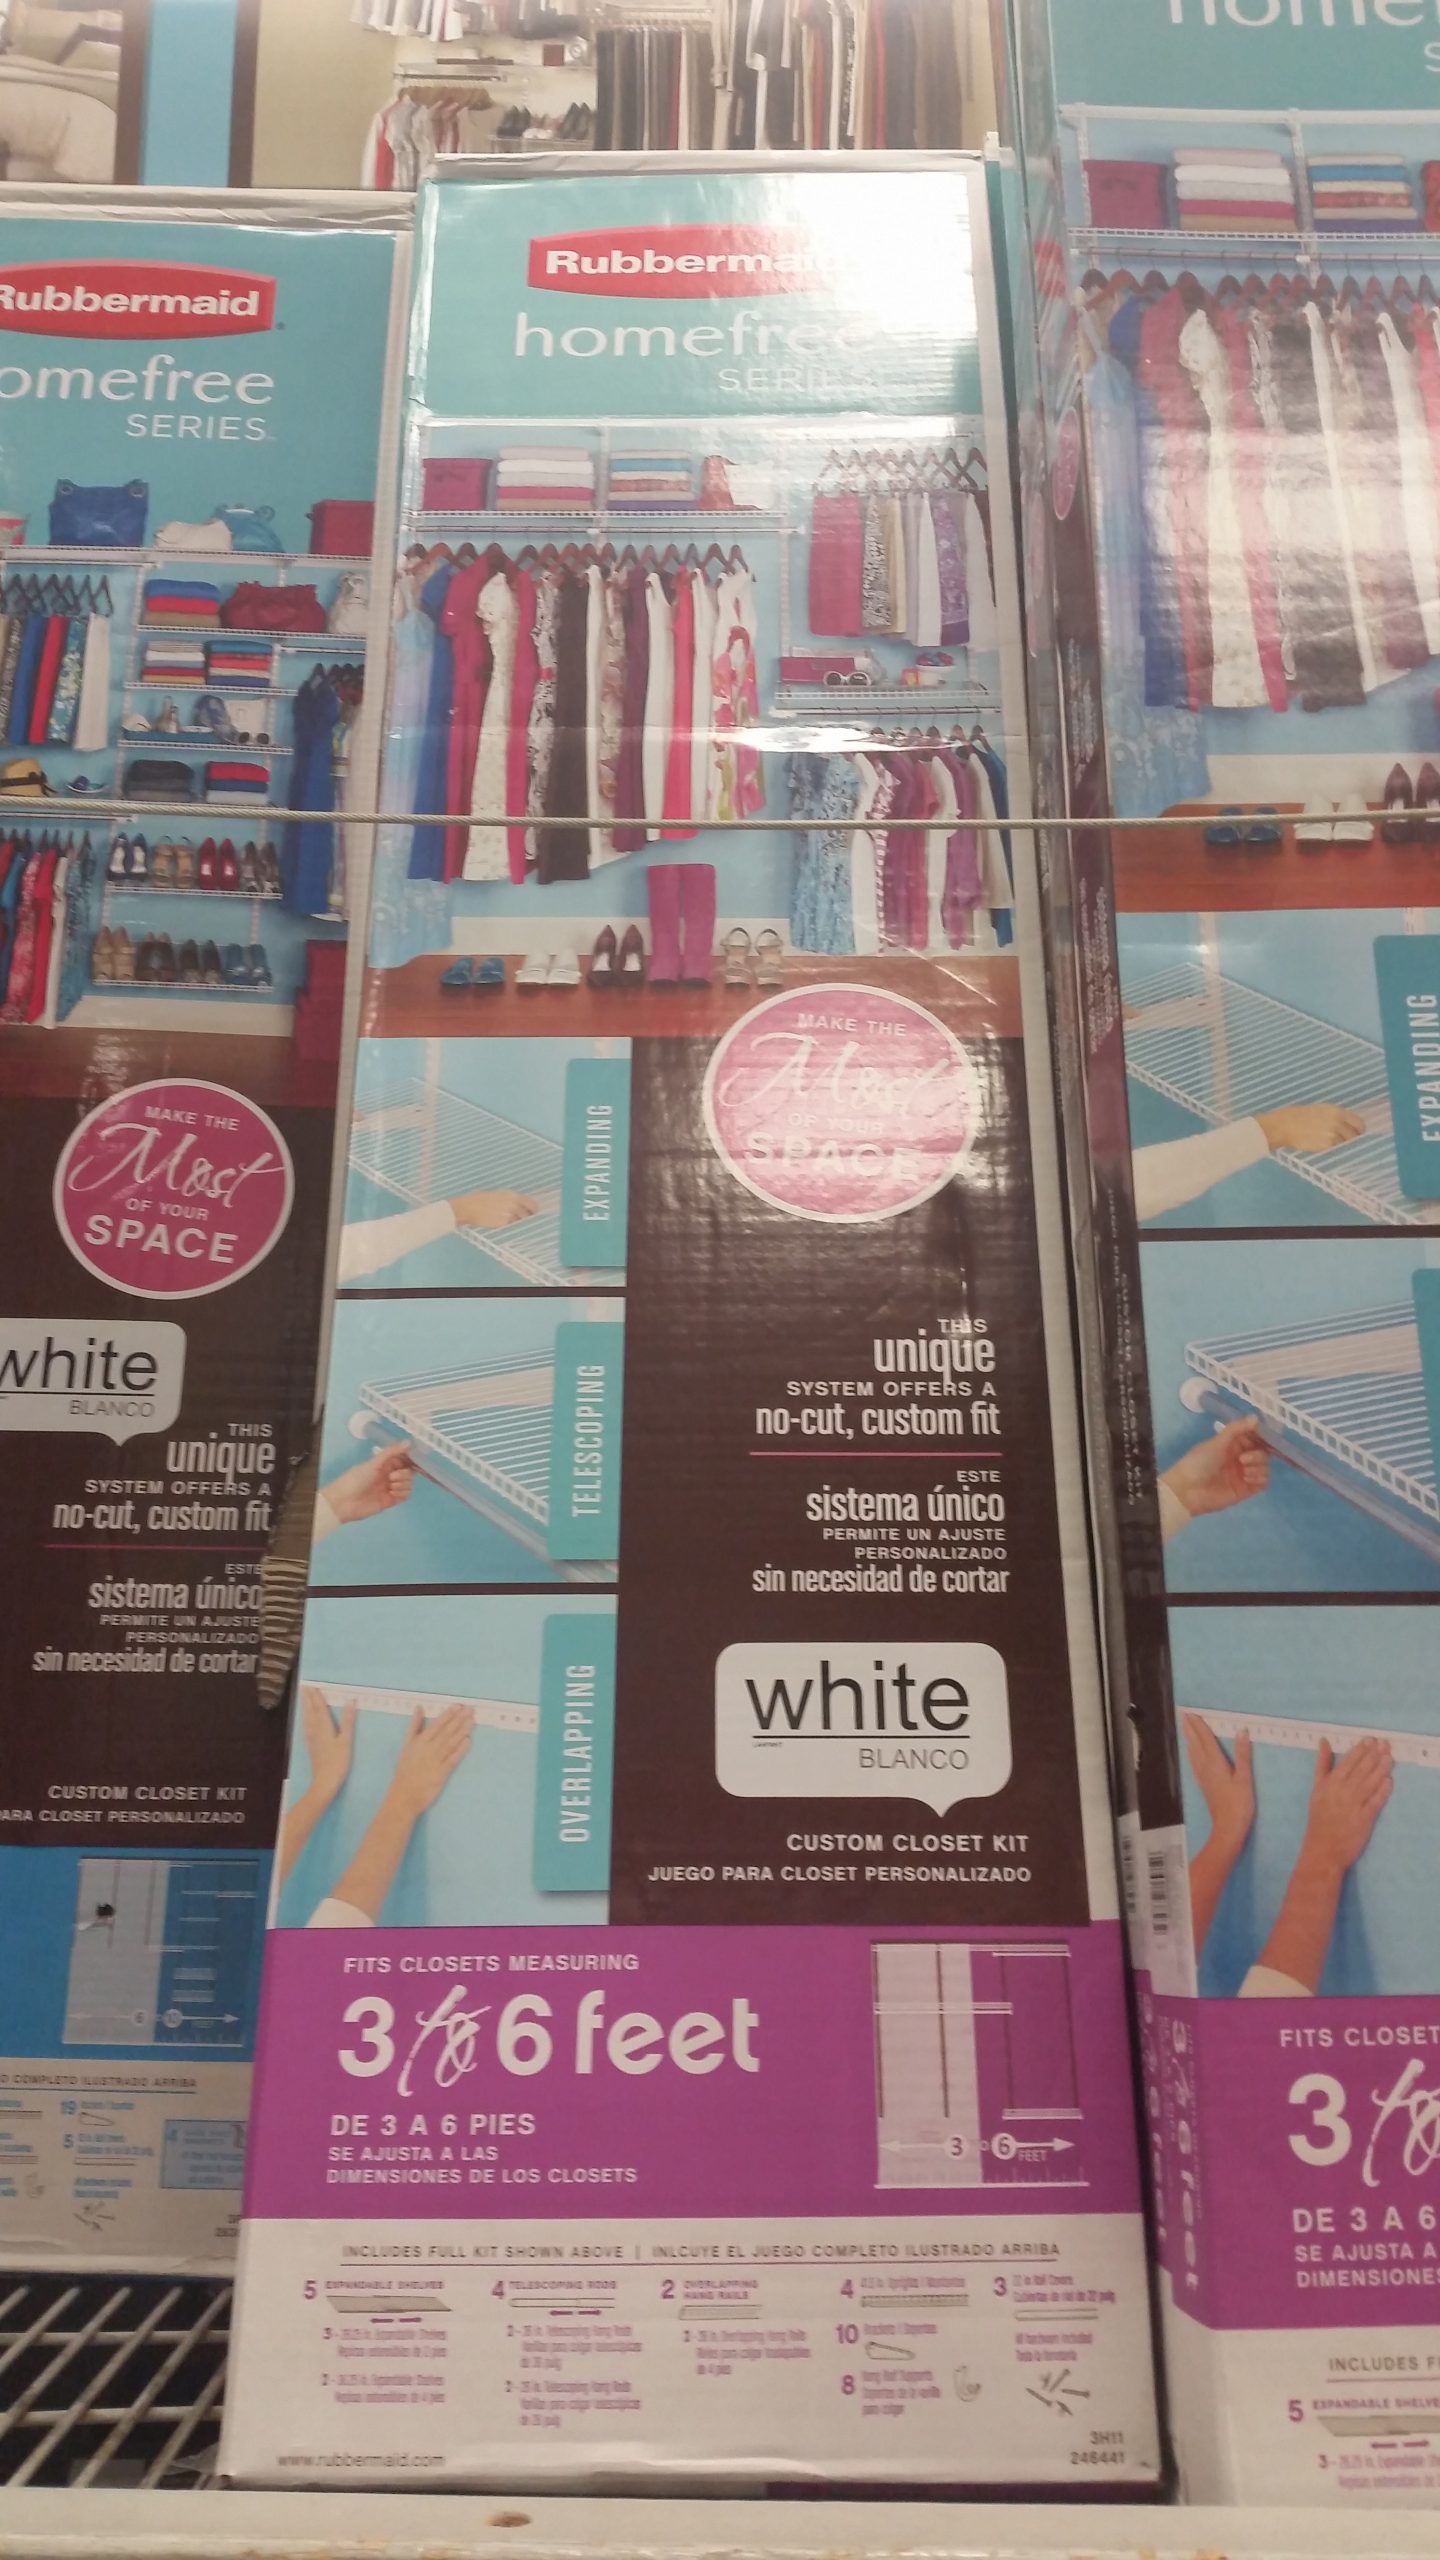
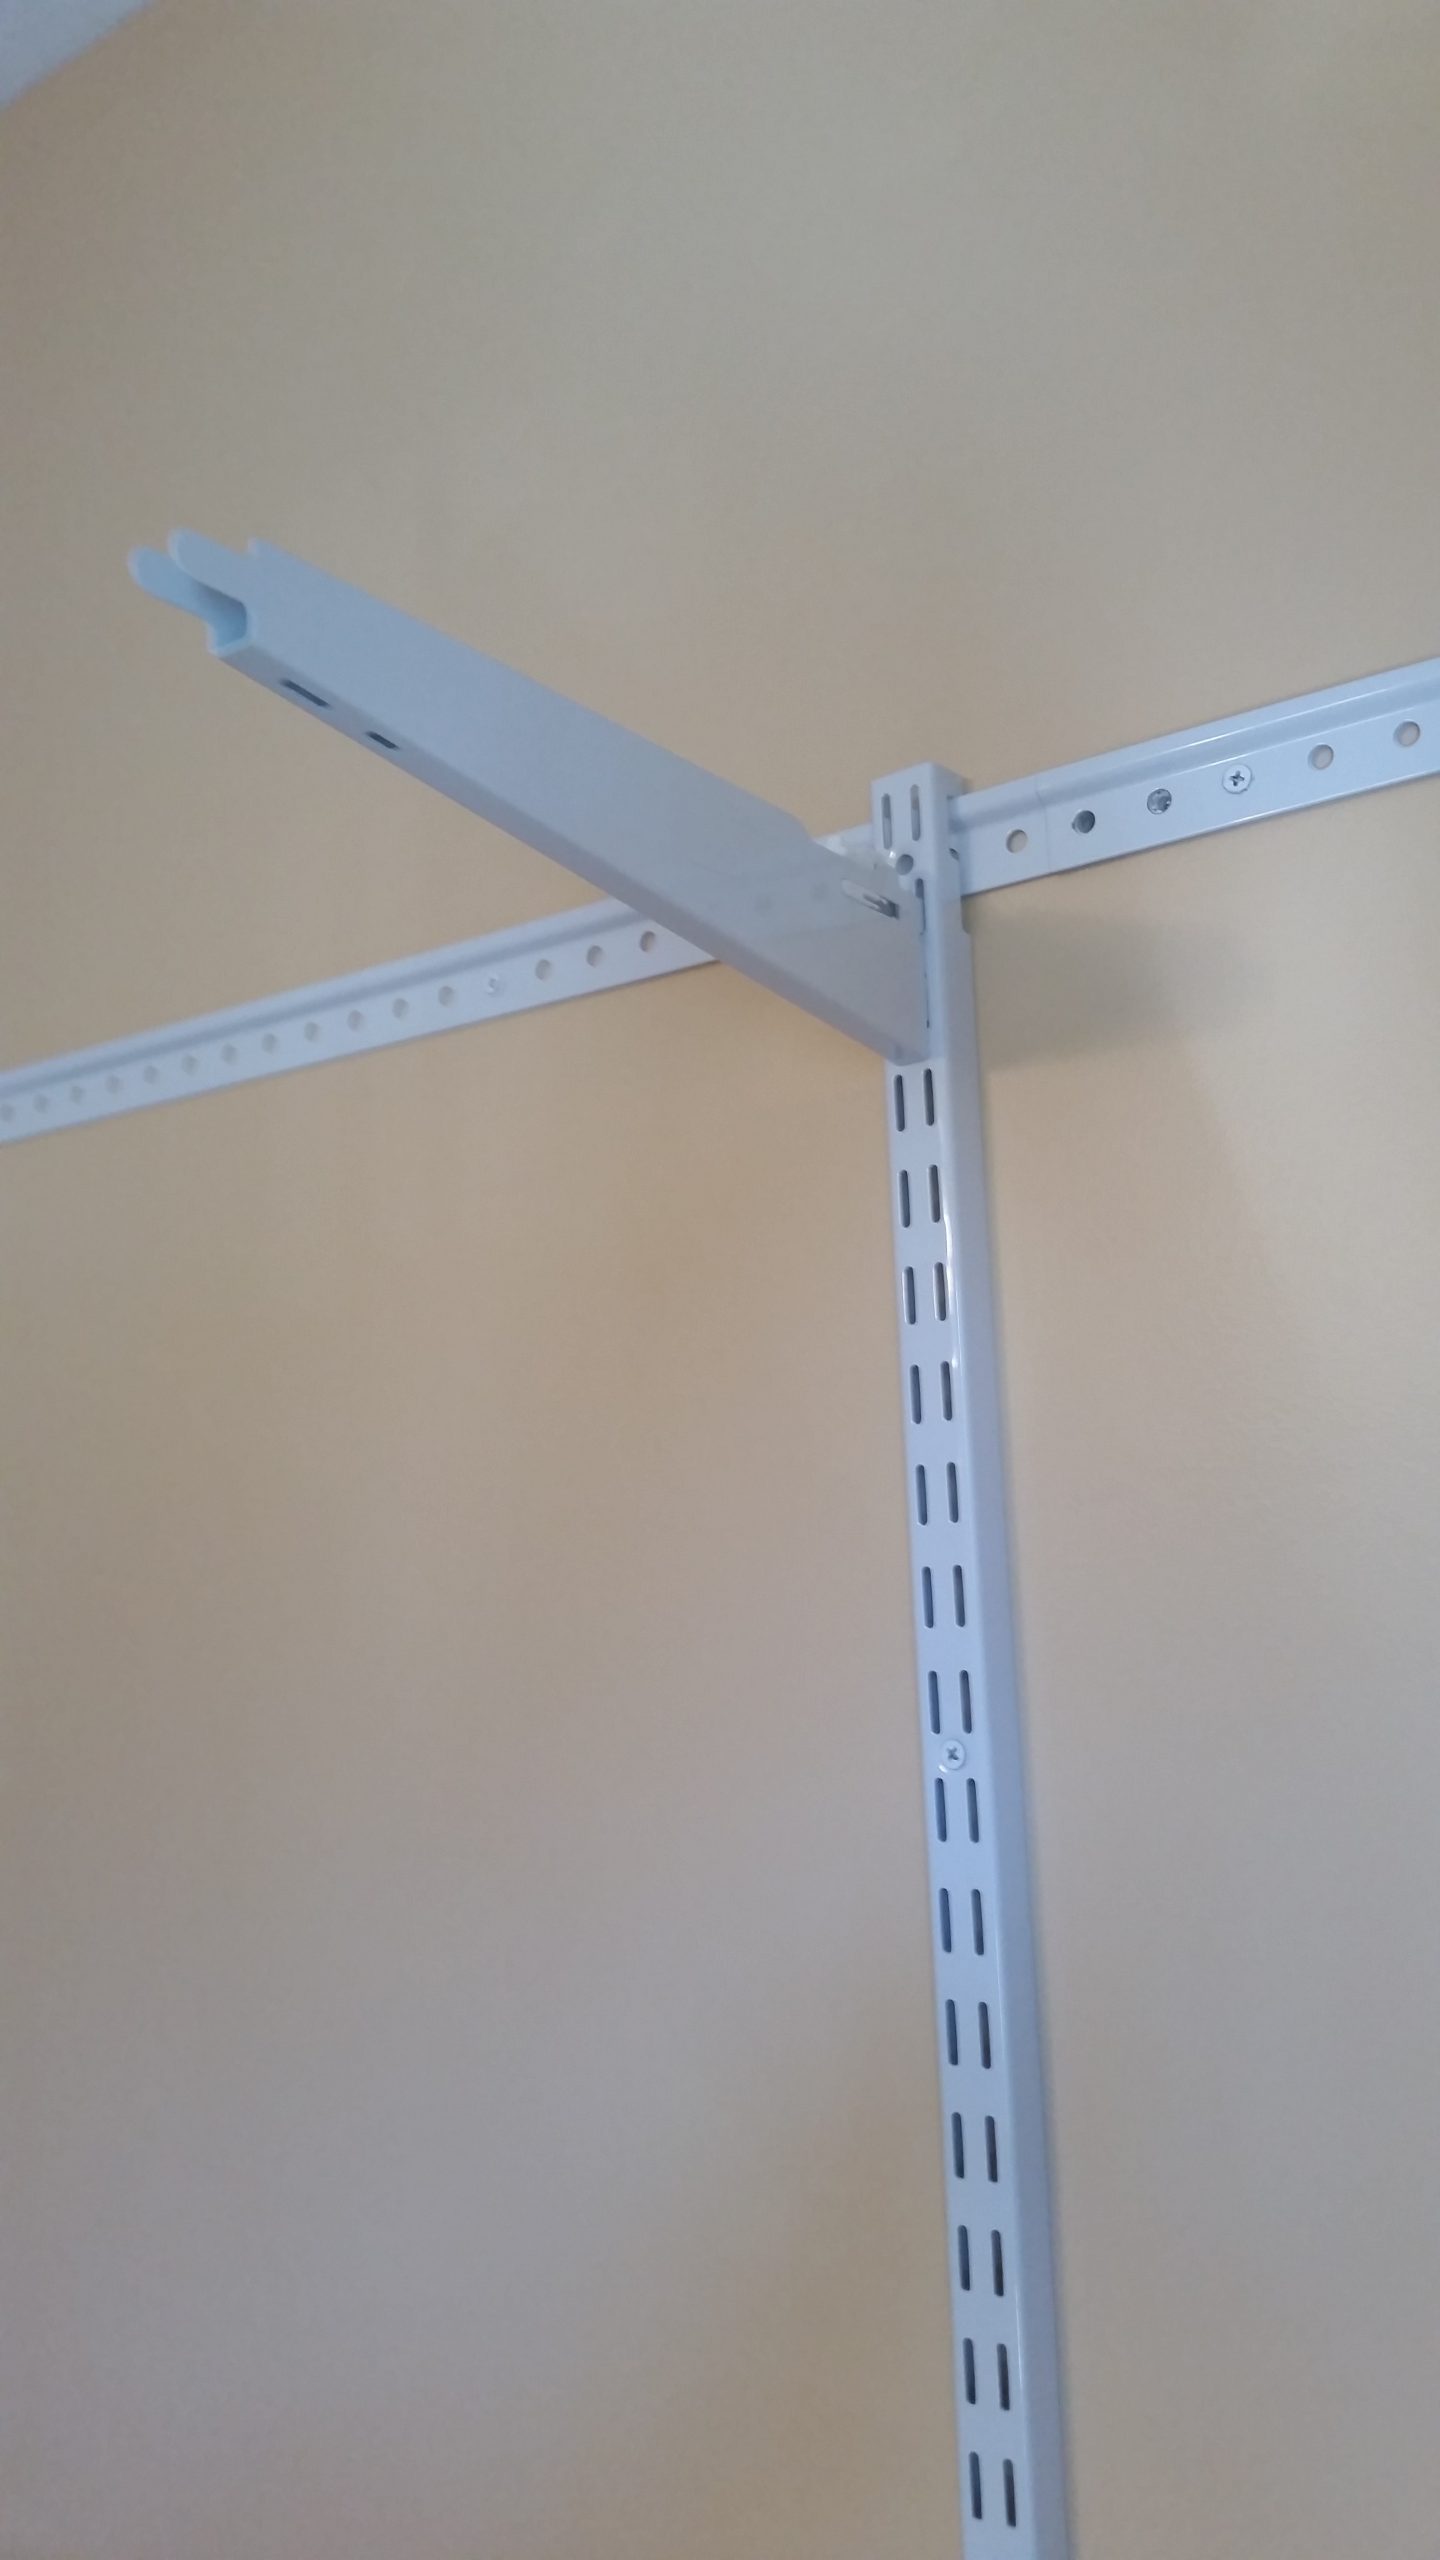
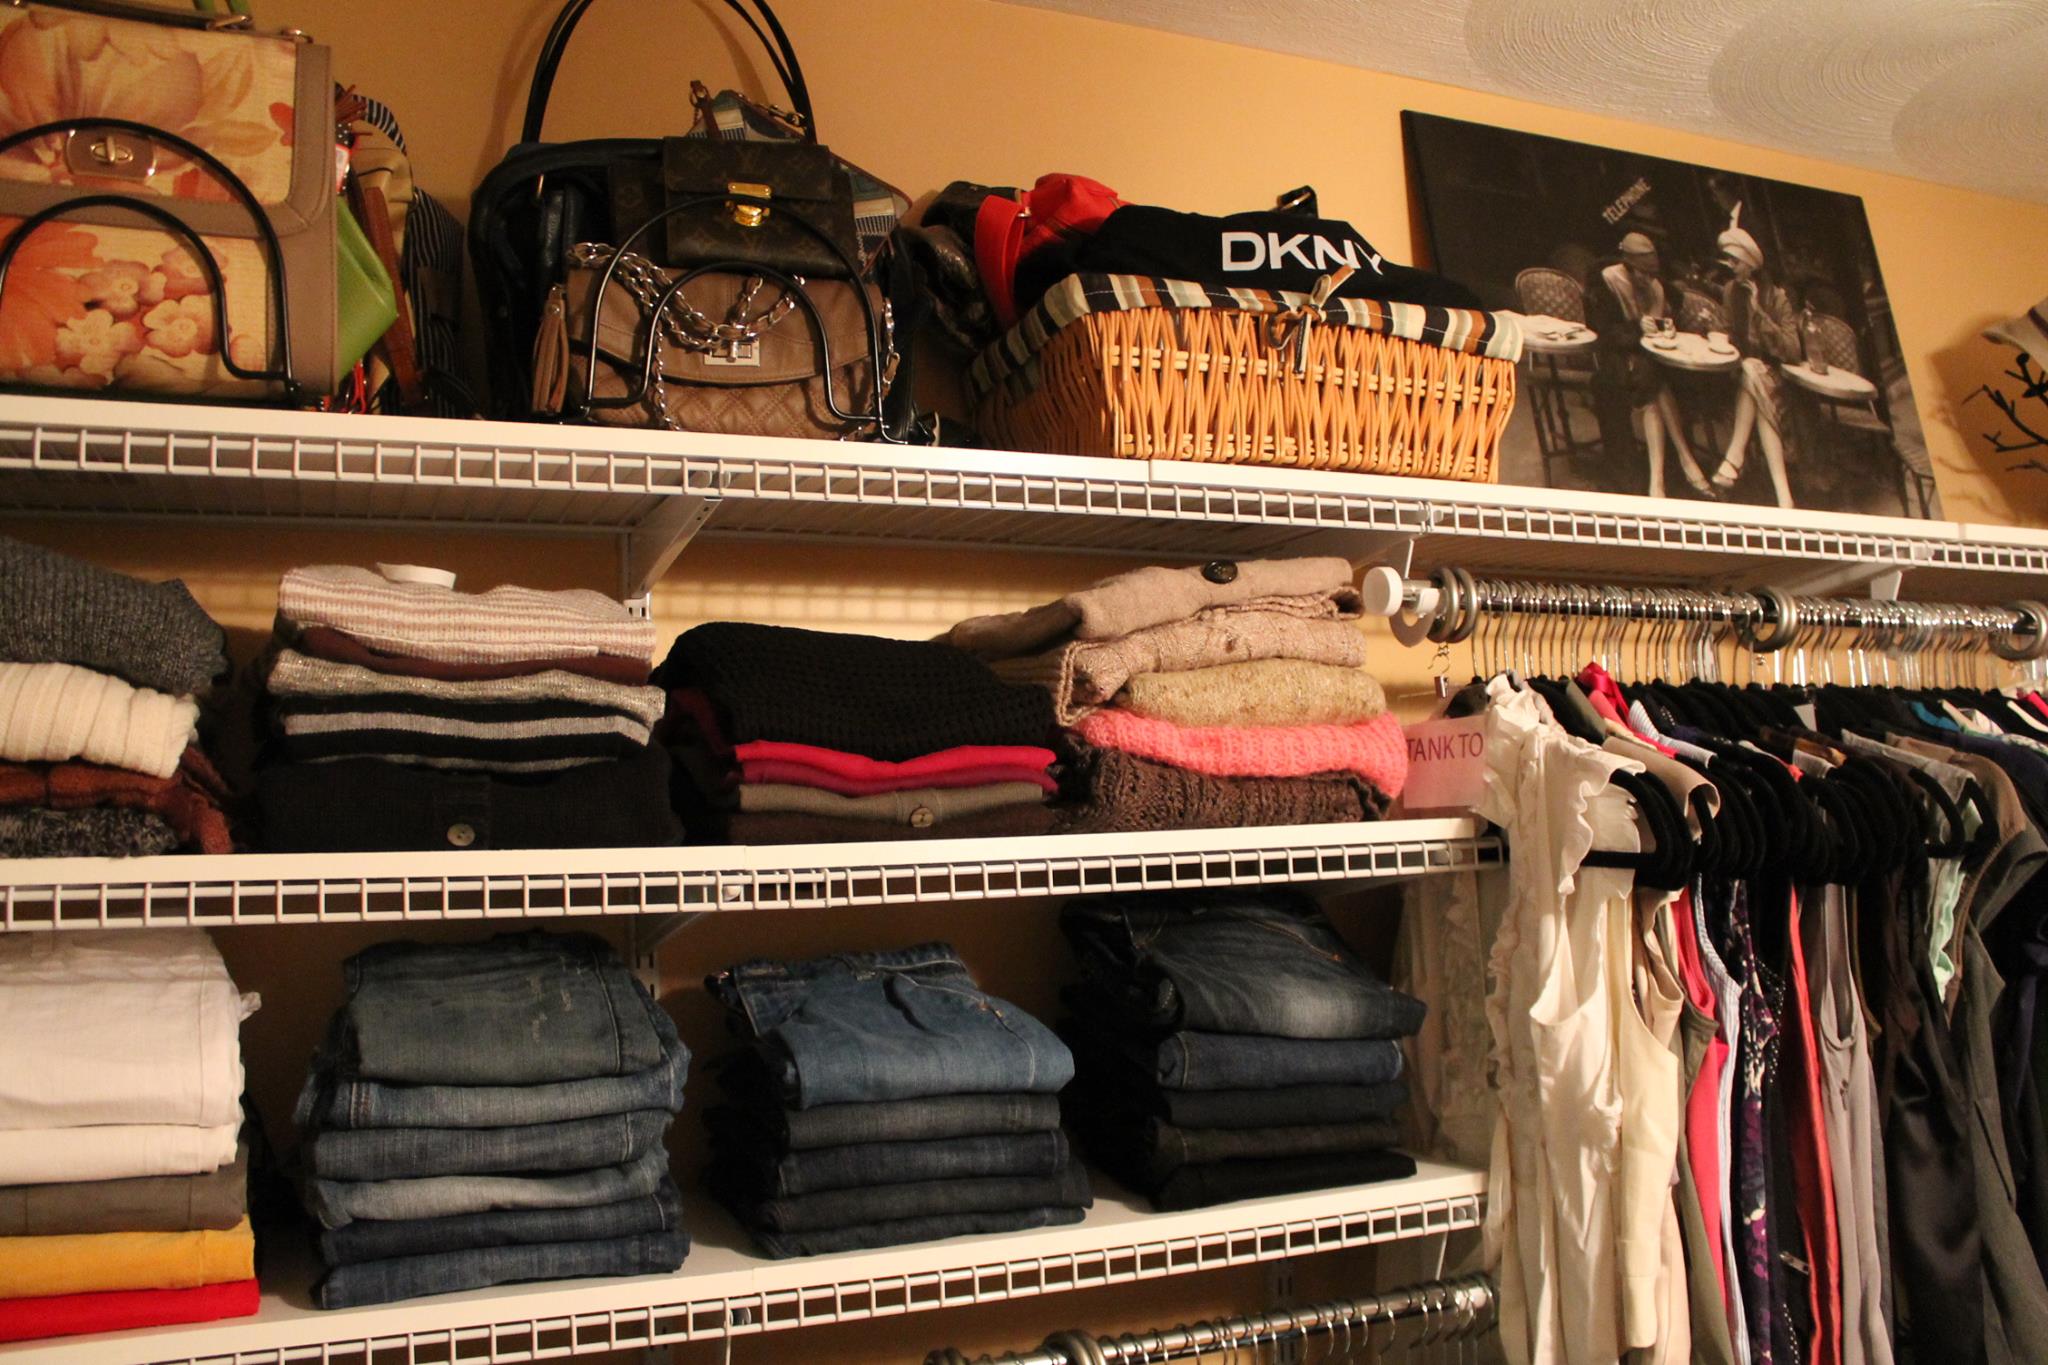
I added more shelves to the original room closet to house all of the shoes and then spent an afternoon installing the Rubbermaid kit we purchased on the adjacent wall. I particularly like this system because it runs on tracks that allow you to customize height and spacing of shelves and rods. The tracks are permanently affixed to the wall but the outer hardware designs can be adjusted with time to allow redesigning and fit in new purchases. For the initial set up I divided her clothes into classification categories to see how many tops vs bottoms vs dresses she had in order to be able to plan out spacing hardware. I settled on housing tops on a top row, bottoms underneath, a long rod for longer dresses and blazers, with drawers and shelves in between and all along the top for folded capacity and housing items that dont have to be accessed daily. (my retail experience came in really handy here! I felt like I was doing a floor set in a boutique, yet I was only in someone’s closet!)
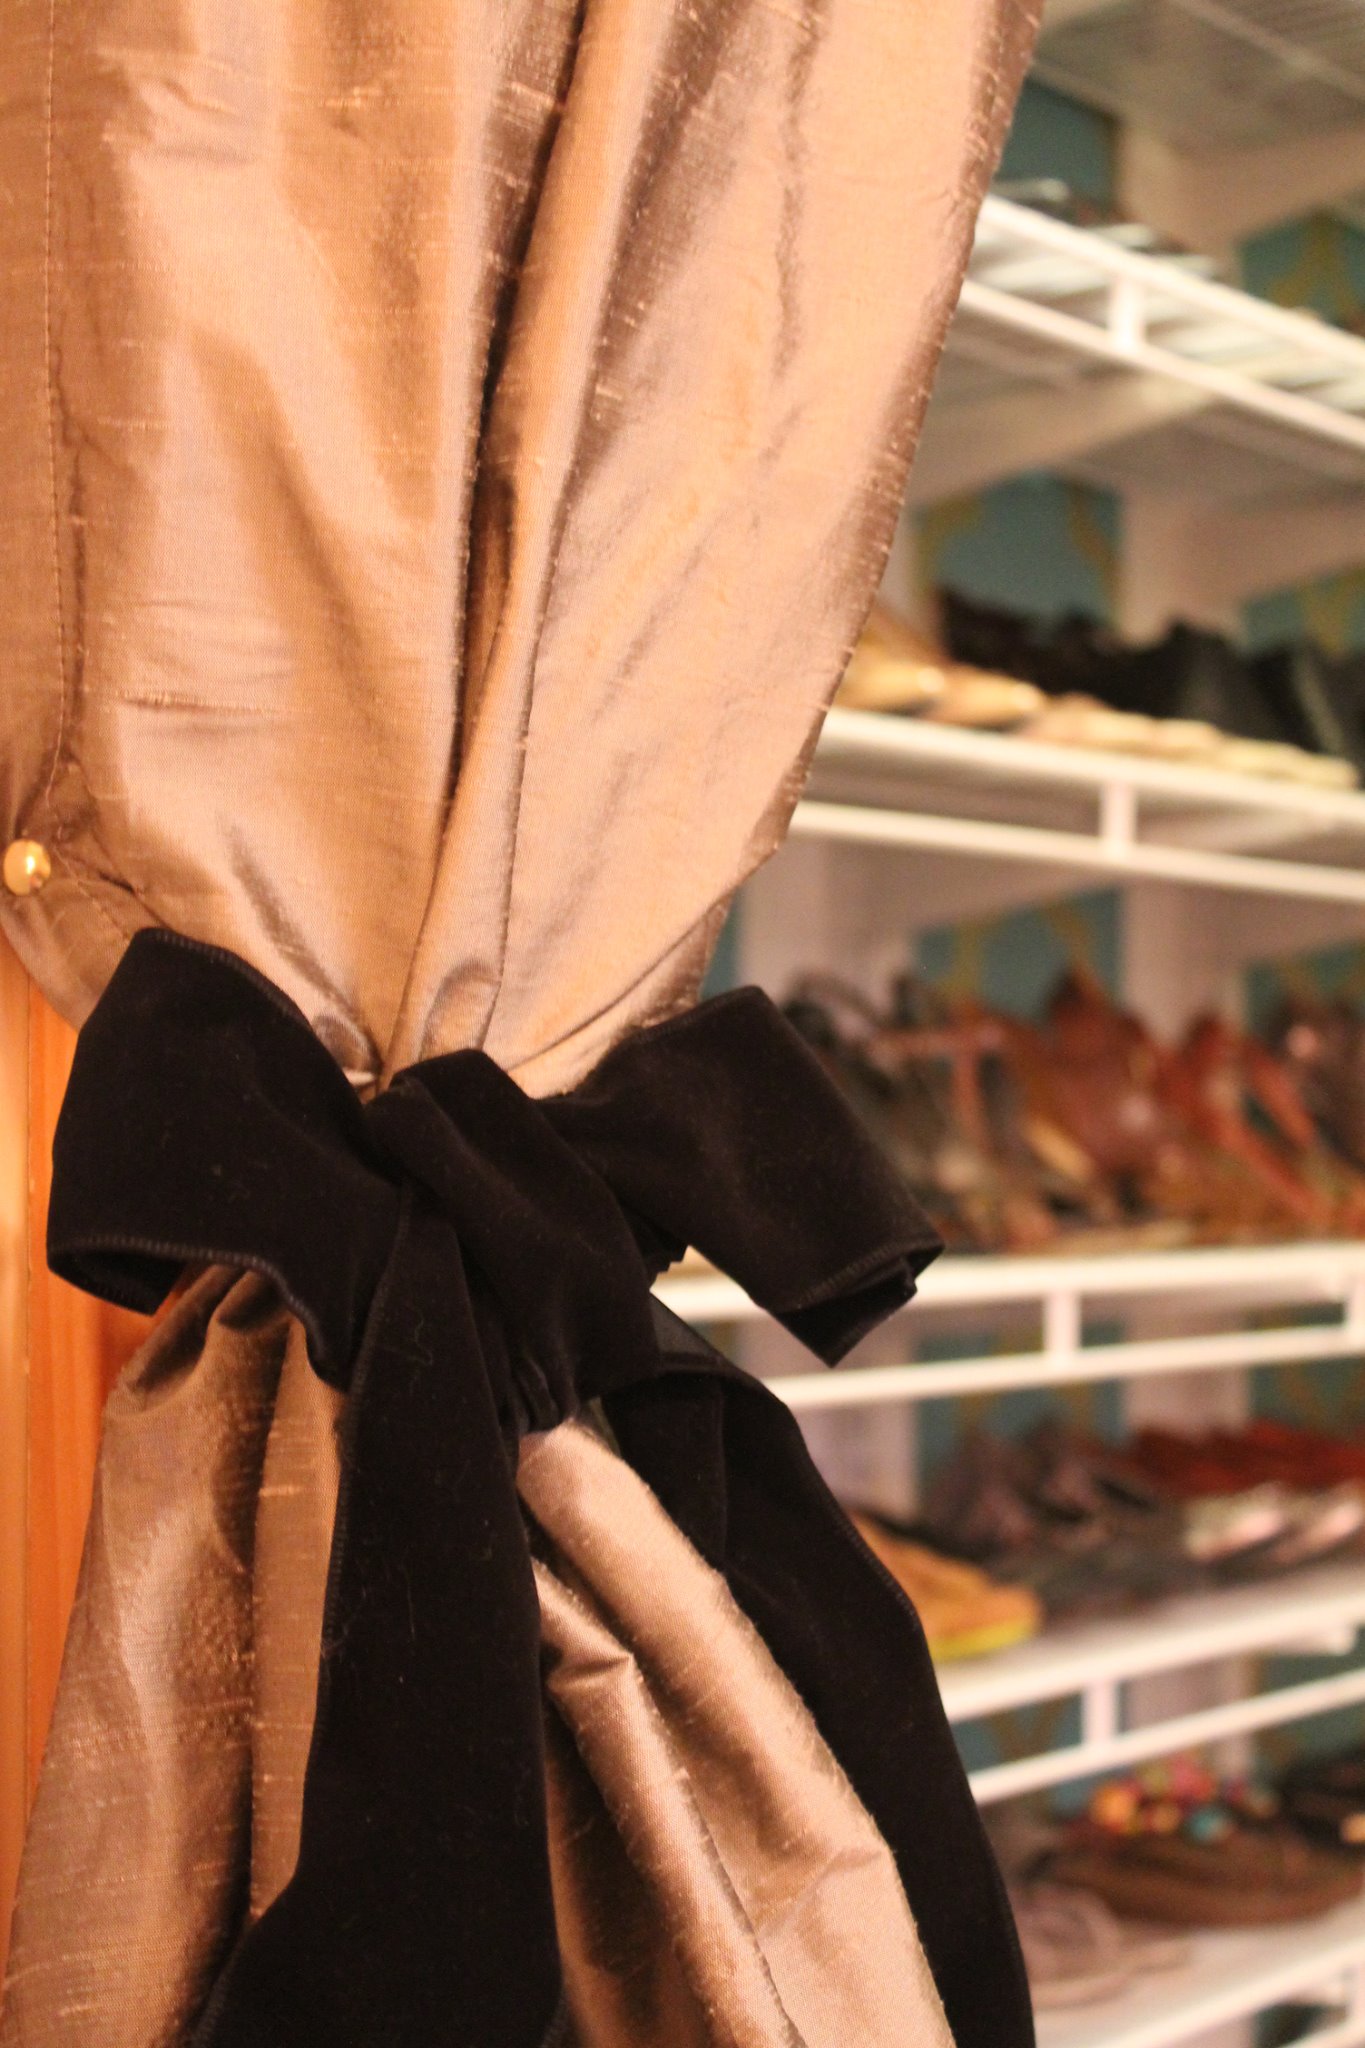
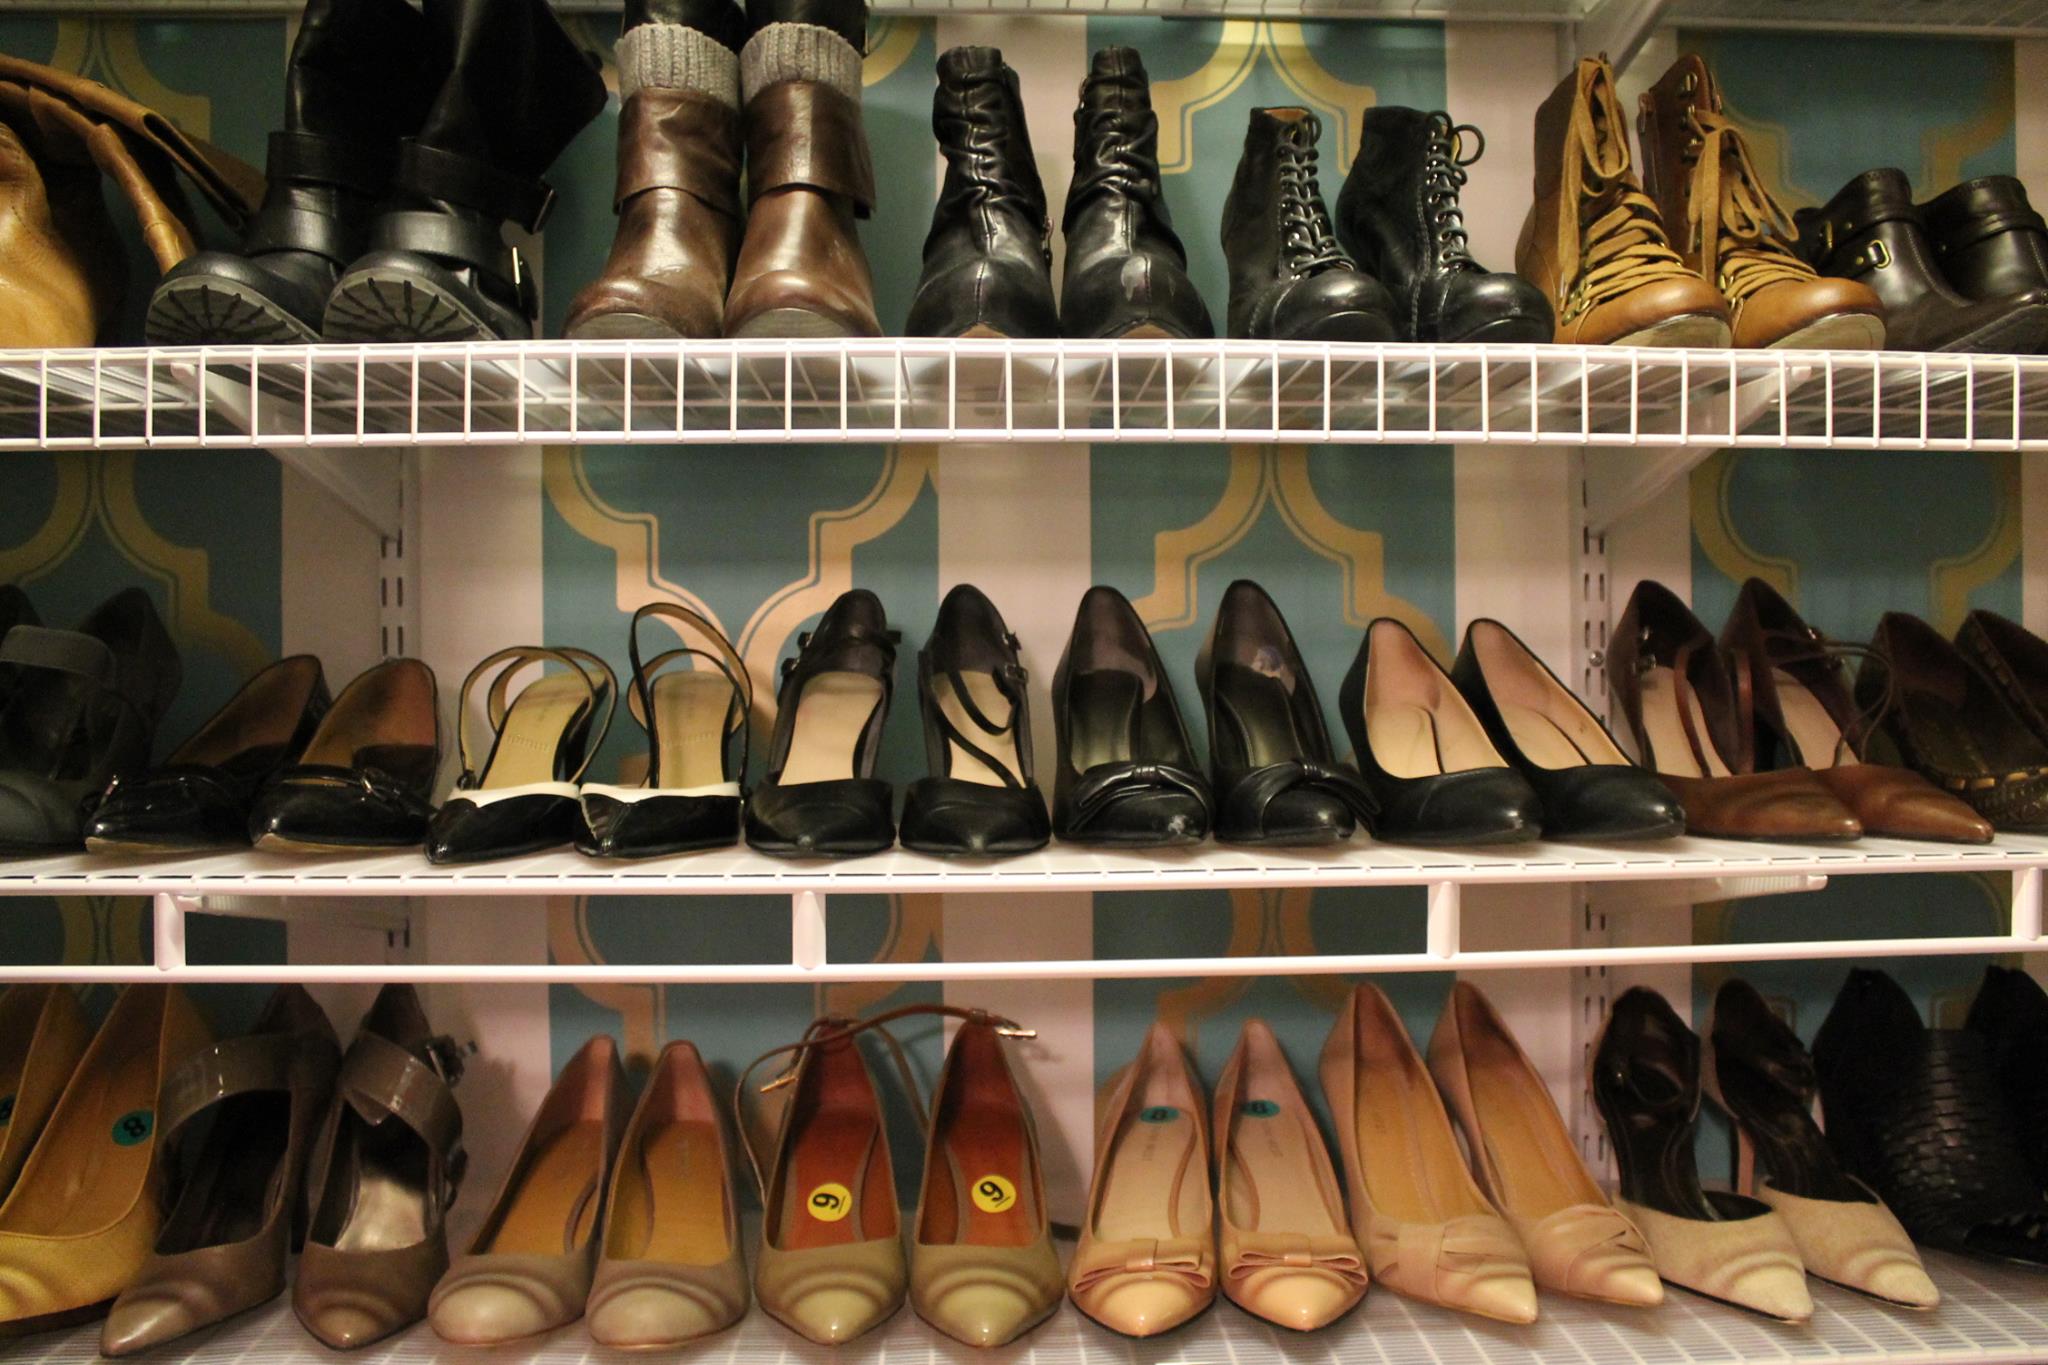
With all of the function in place it was time for the fun stuff- decorating! I played off of the colors of the wall and the inspiration pieces. It was important to me that the seating area and shoe closet, dubbed “shoe heaven”, remained focal points. I framed the doorway of the room’s original closet with curtains, purchased from a yard sale, with black bows as tie backs (an idea my client had seen on Pinterest) to create the Shoe Heaven. Since the wire shelving had holes in between and the shelves needed to neatly house heels, I purchased a simple shelf liner from Lowes and cut to size for the shoes to sit on the shelves perfectly.
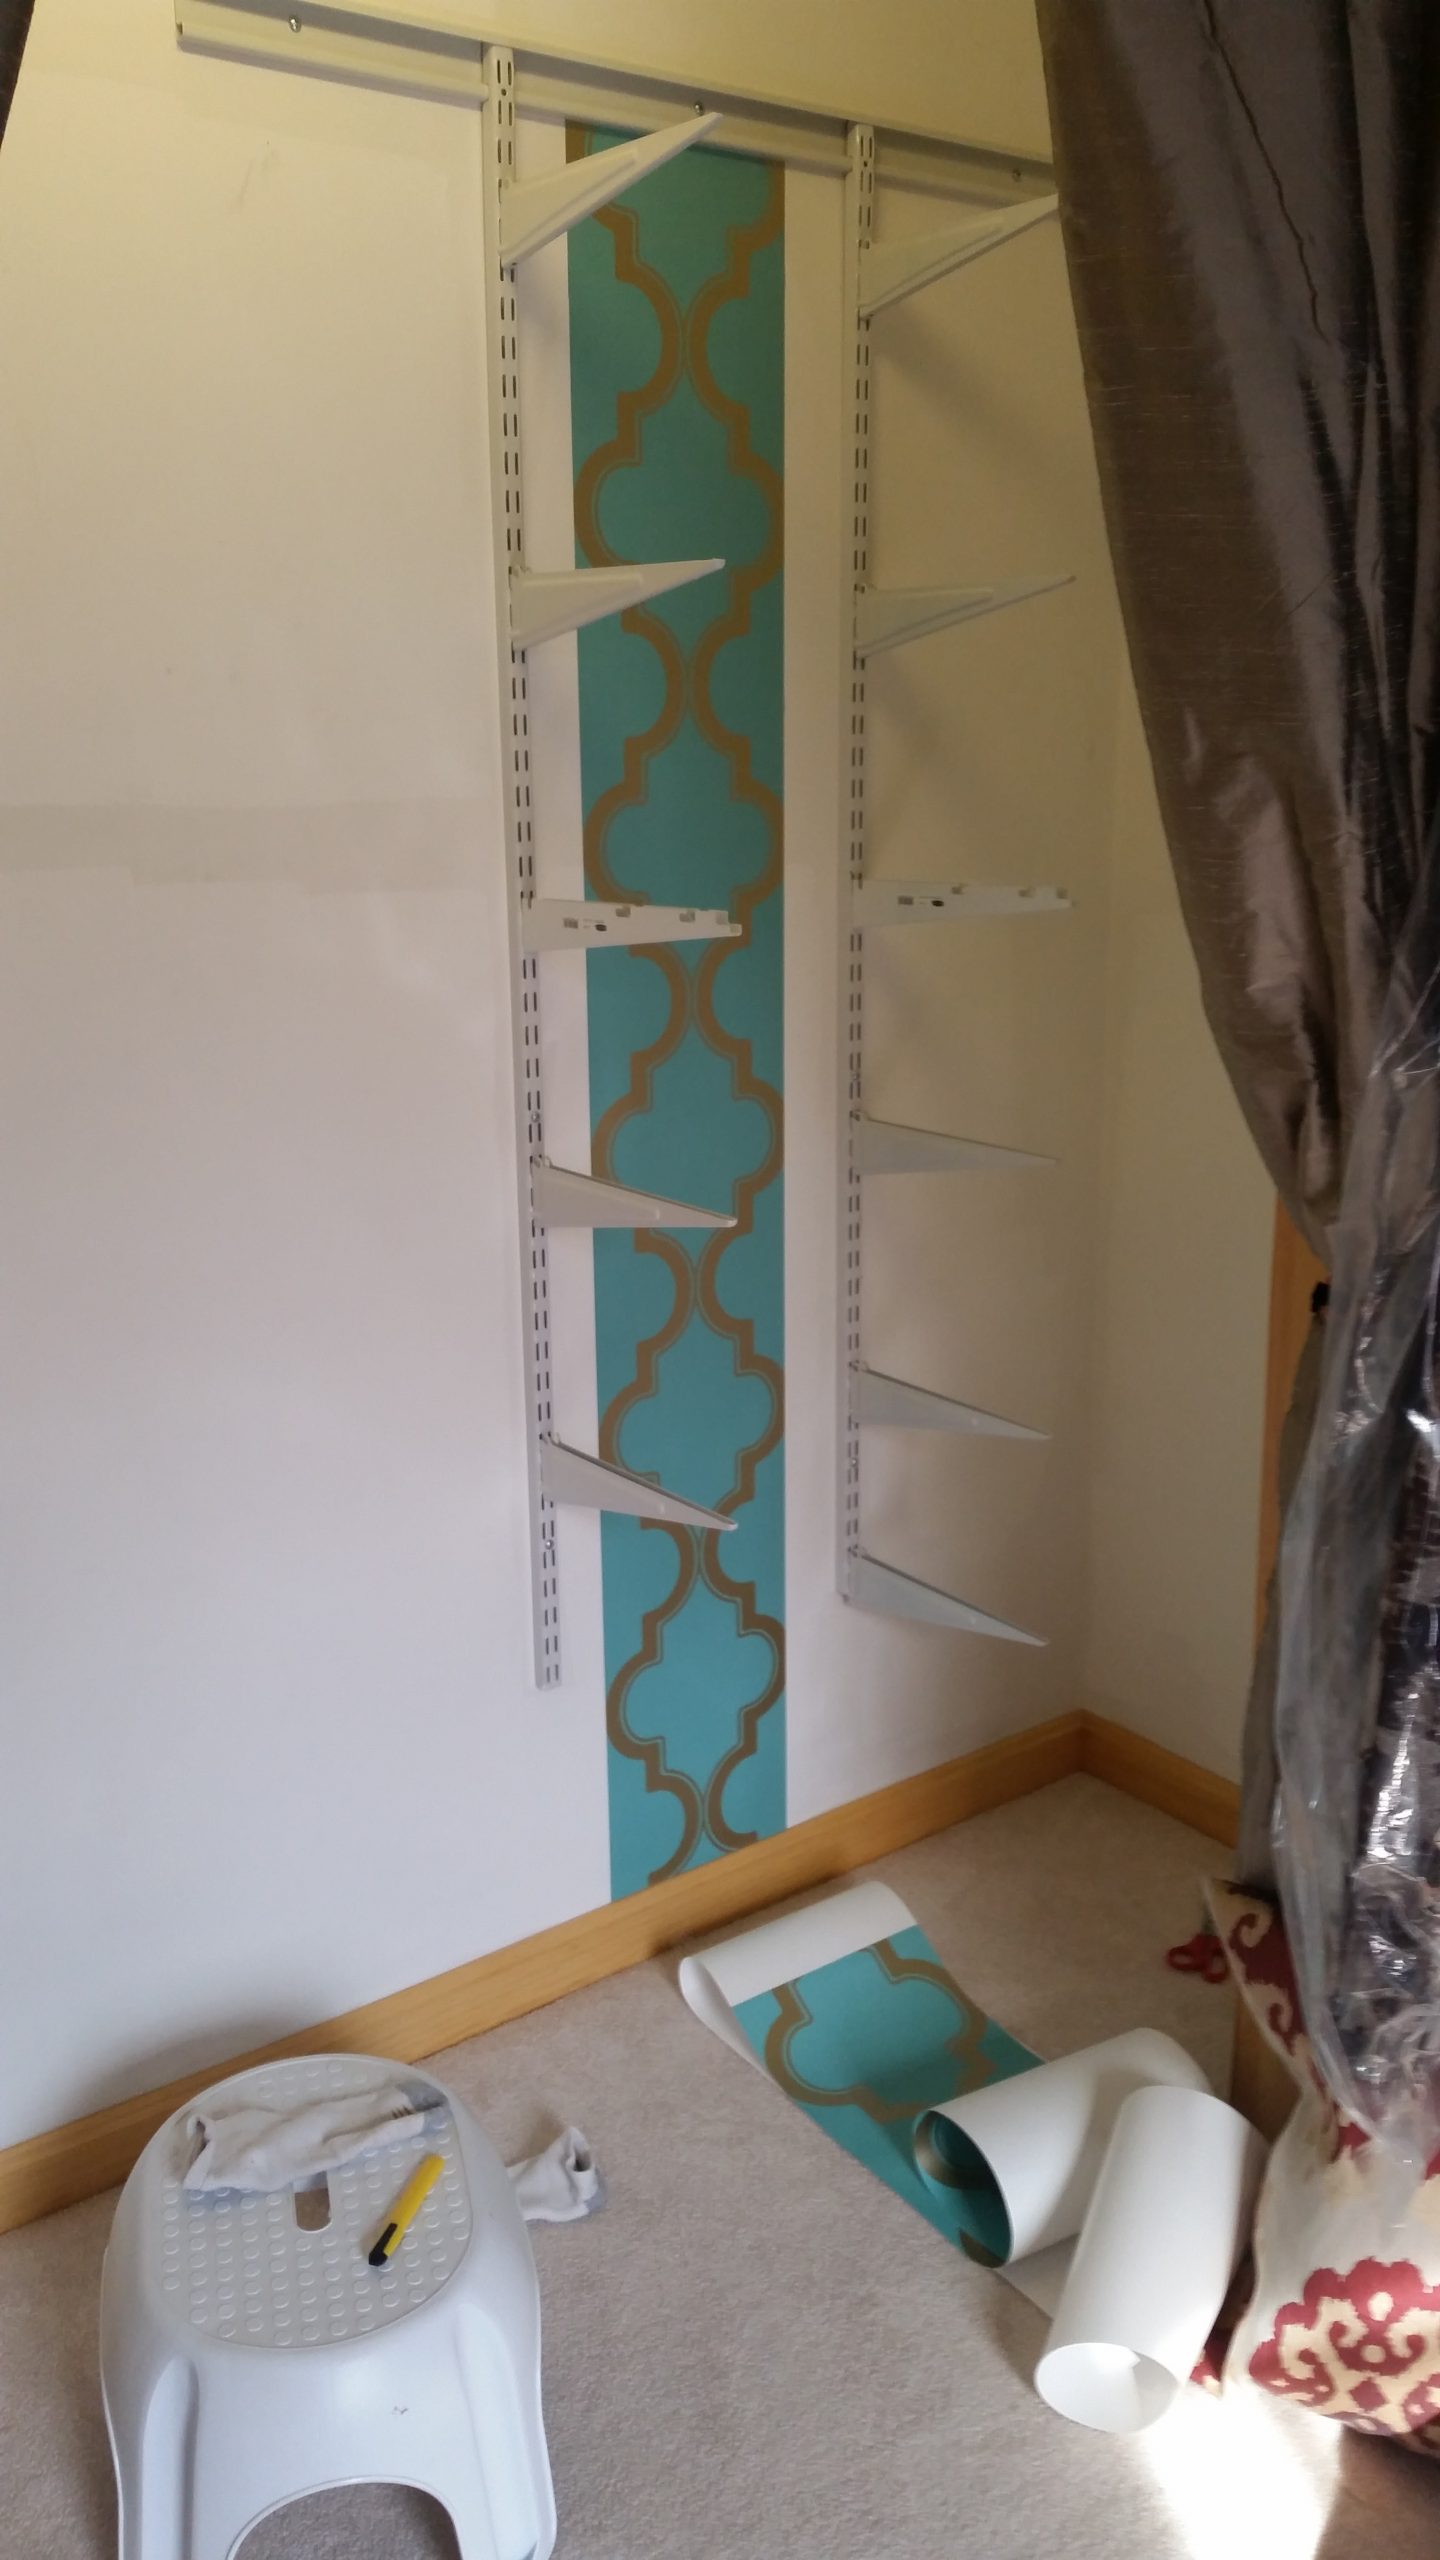
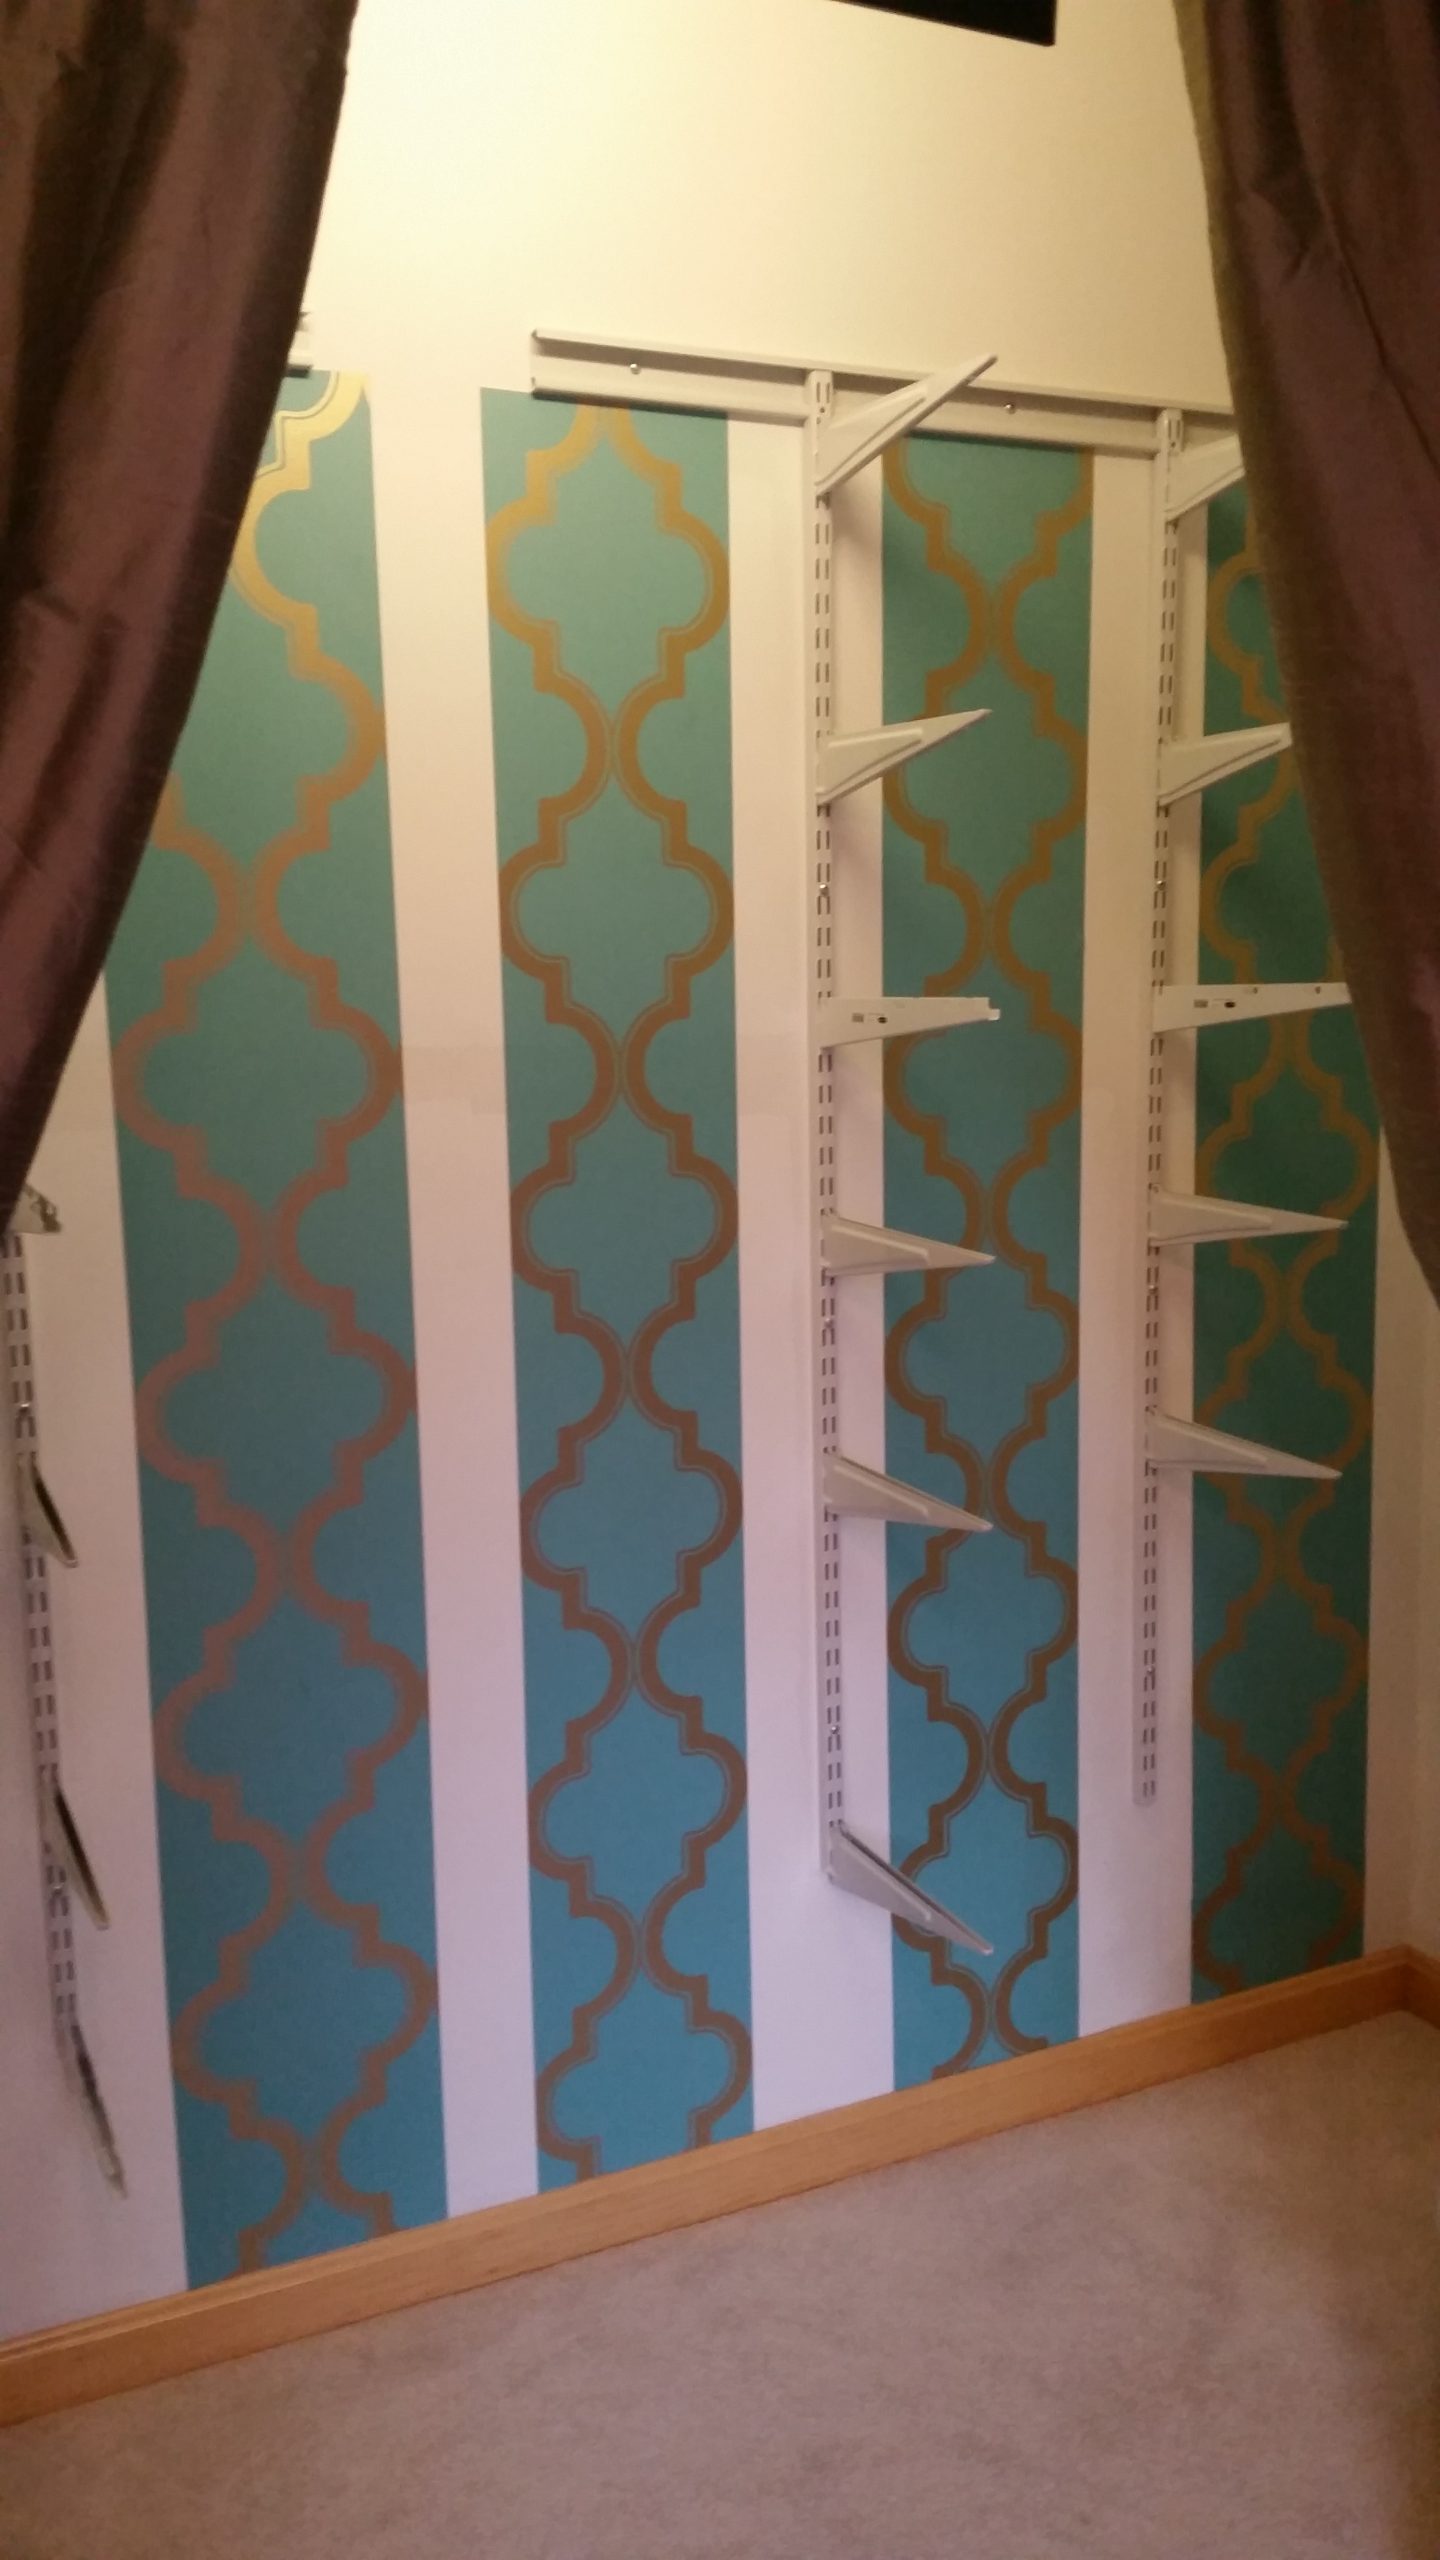
I also felt it important to add some sort of interest to the closet’s back wall. I found the perfect wall paper at Target that added just the right Parisian flair and pulled the color of the chairs over to the opposite side of the room. I decided to cut it into and affix it in strips for a few reasons- the stripes add to the girly Parisian flair, it allowed me to fill the wall using only one $30 roll of wallpaper and it eliminated the scary task of lining the wall paper up perfectly so the designs matched! (cheater secrets!)
For the seating area, I chose a printed curtains to add more interest and play off the green, a simple shiny metallic table and a pop color ottoman for additional storage and resting those weary feet.

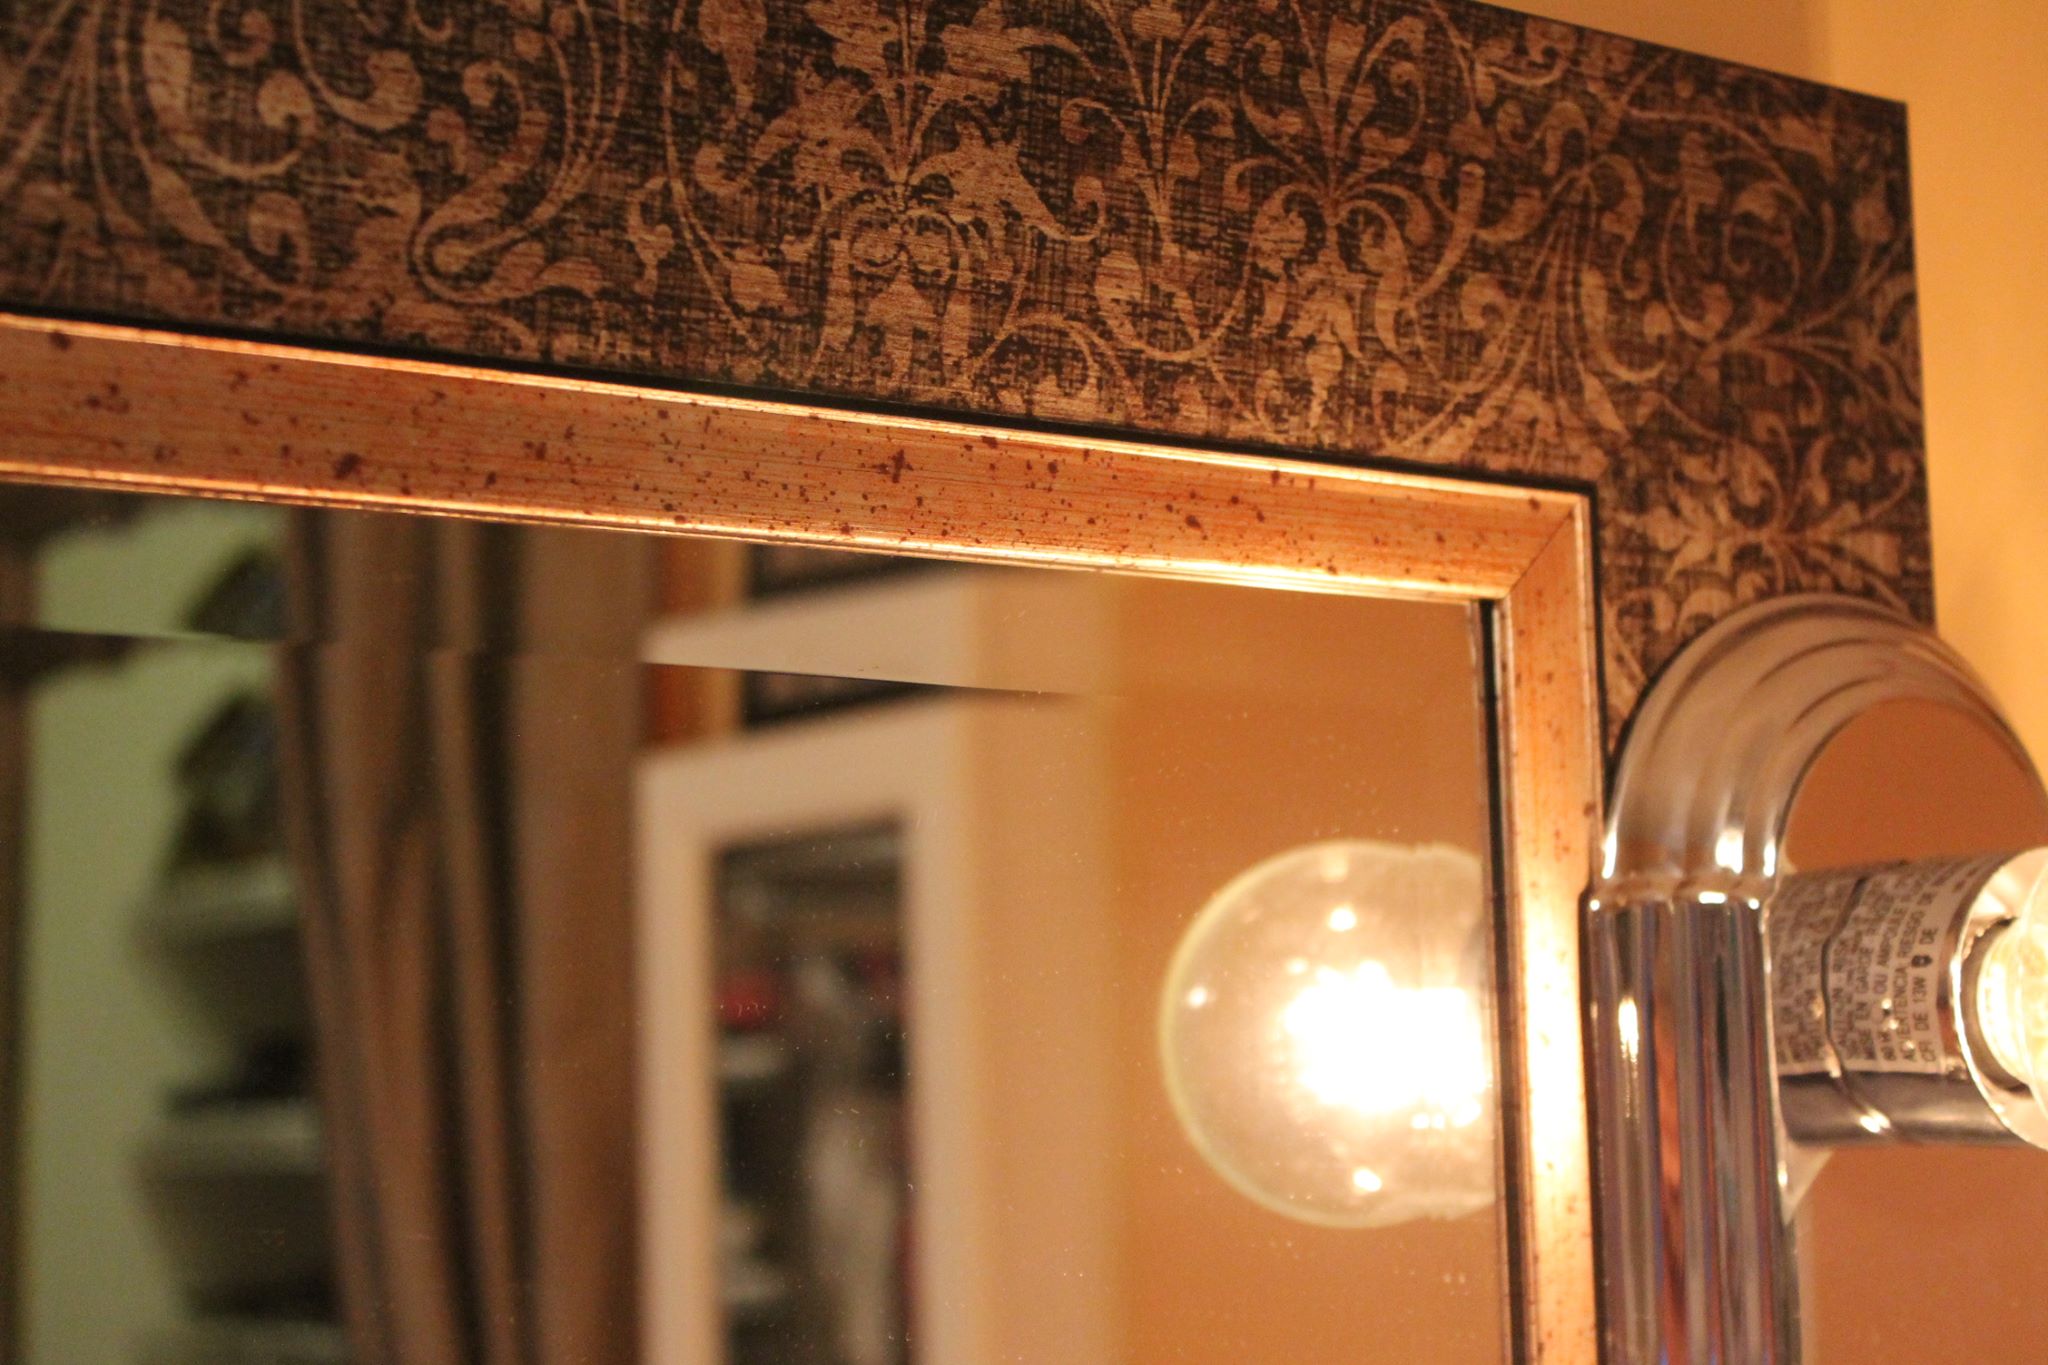
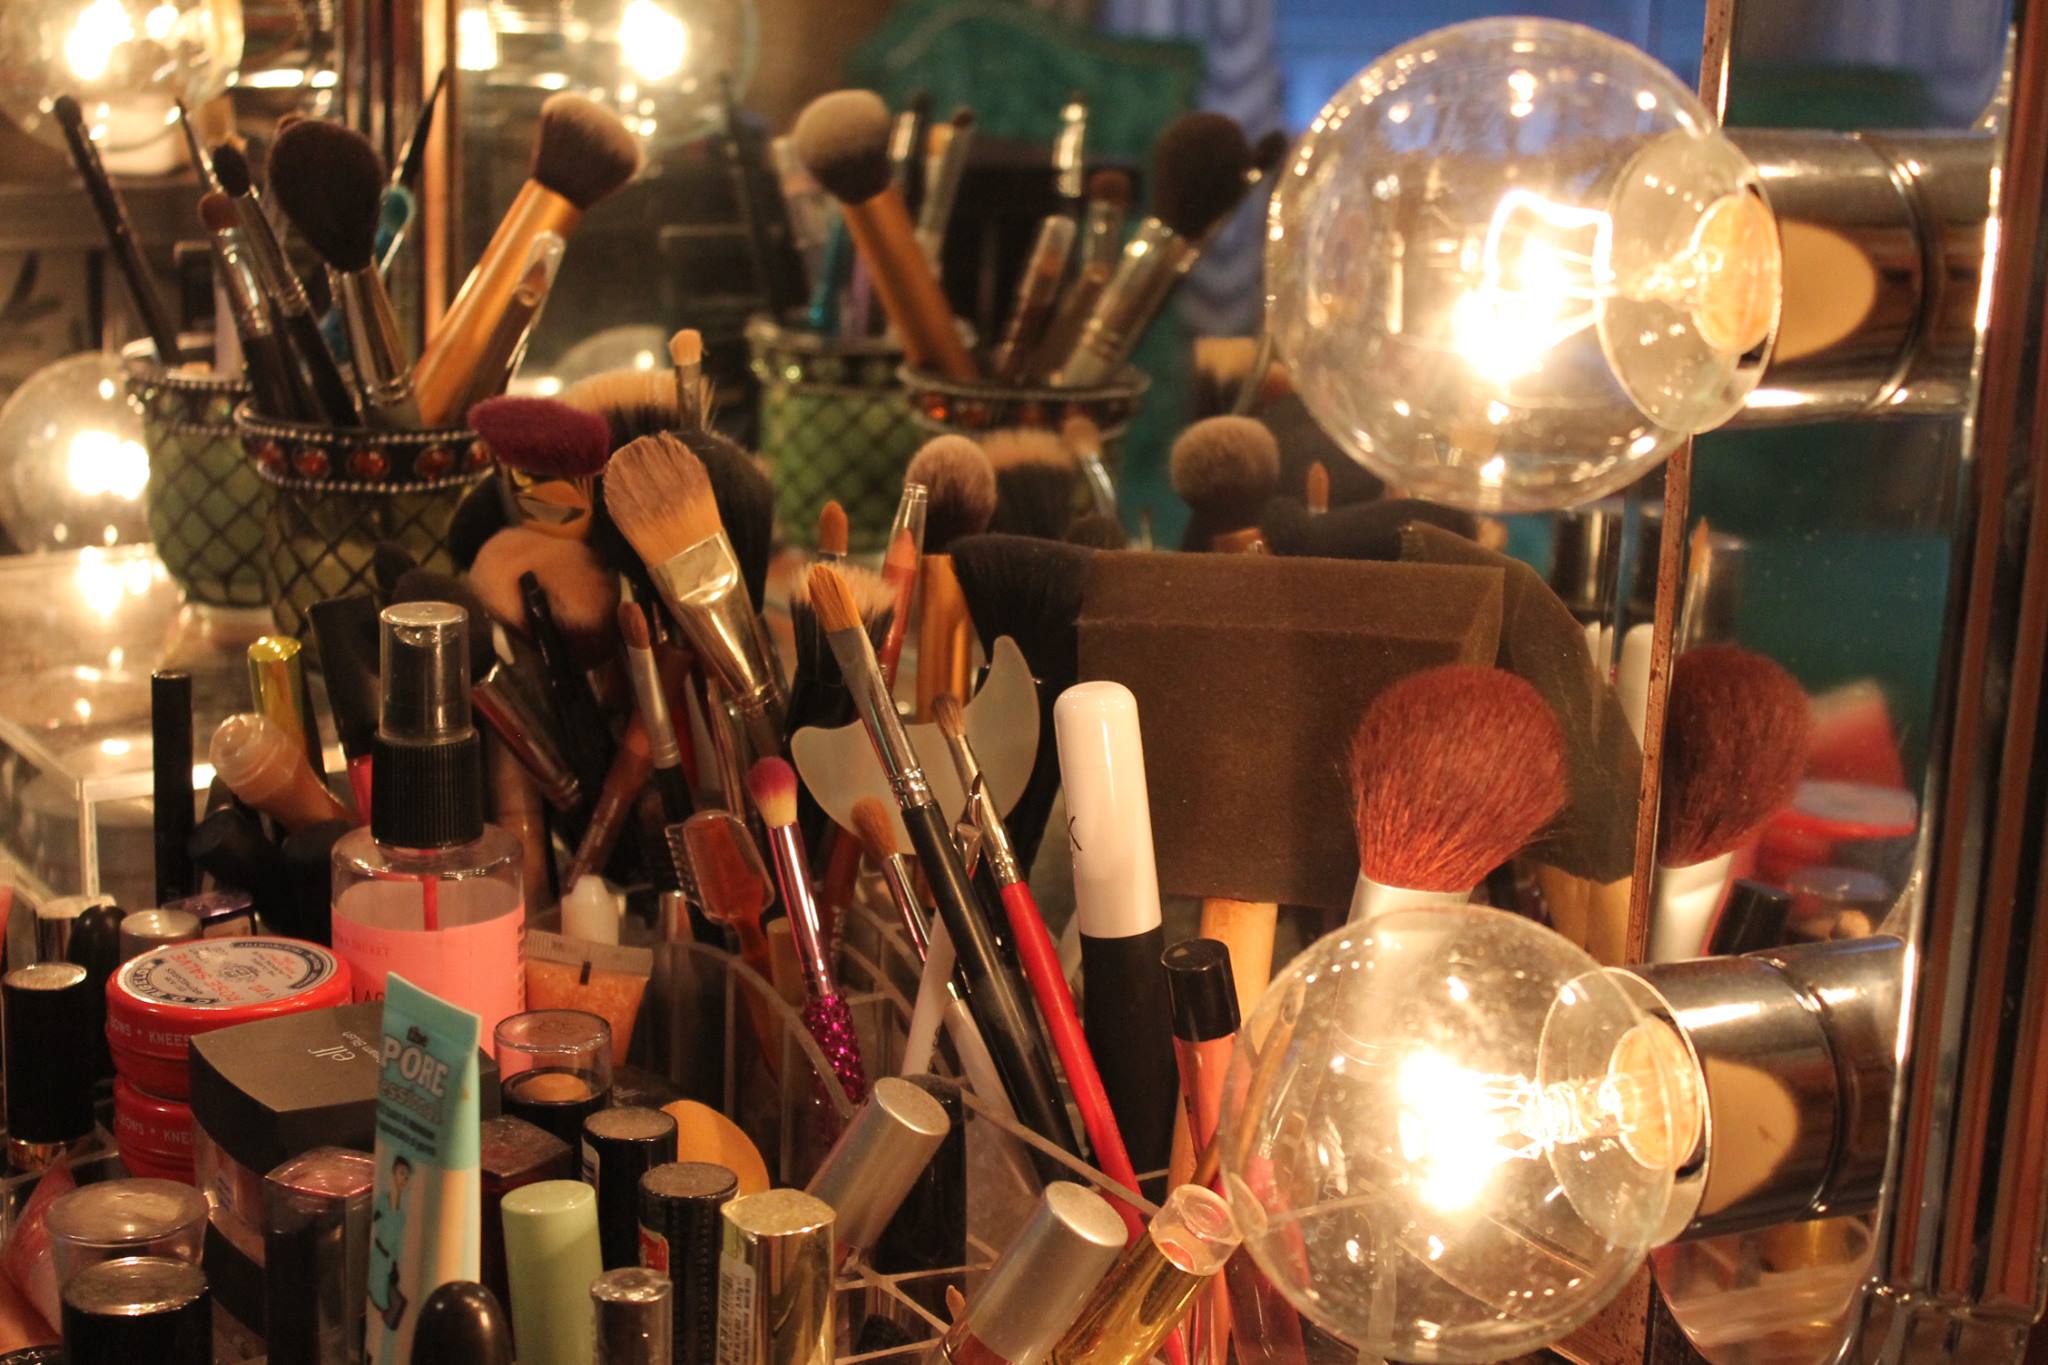
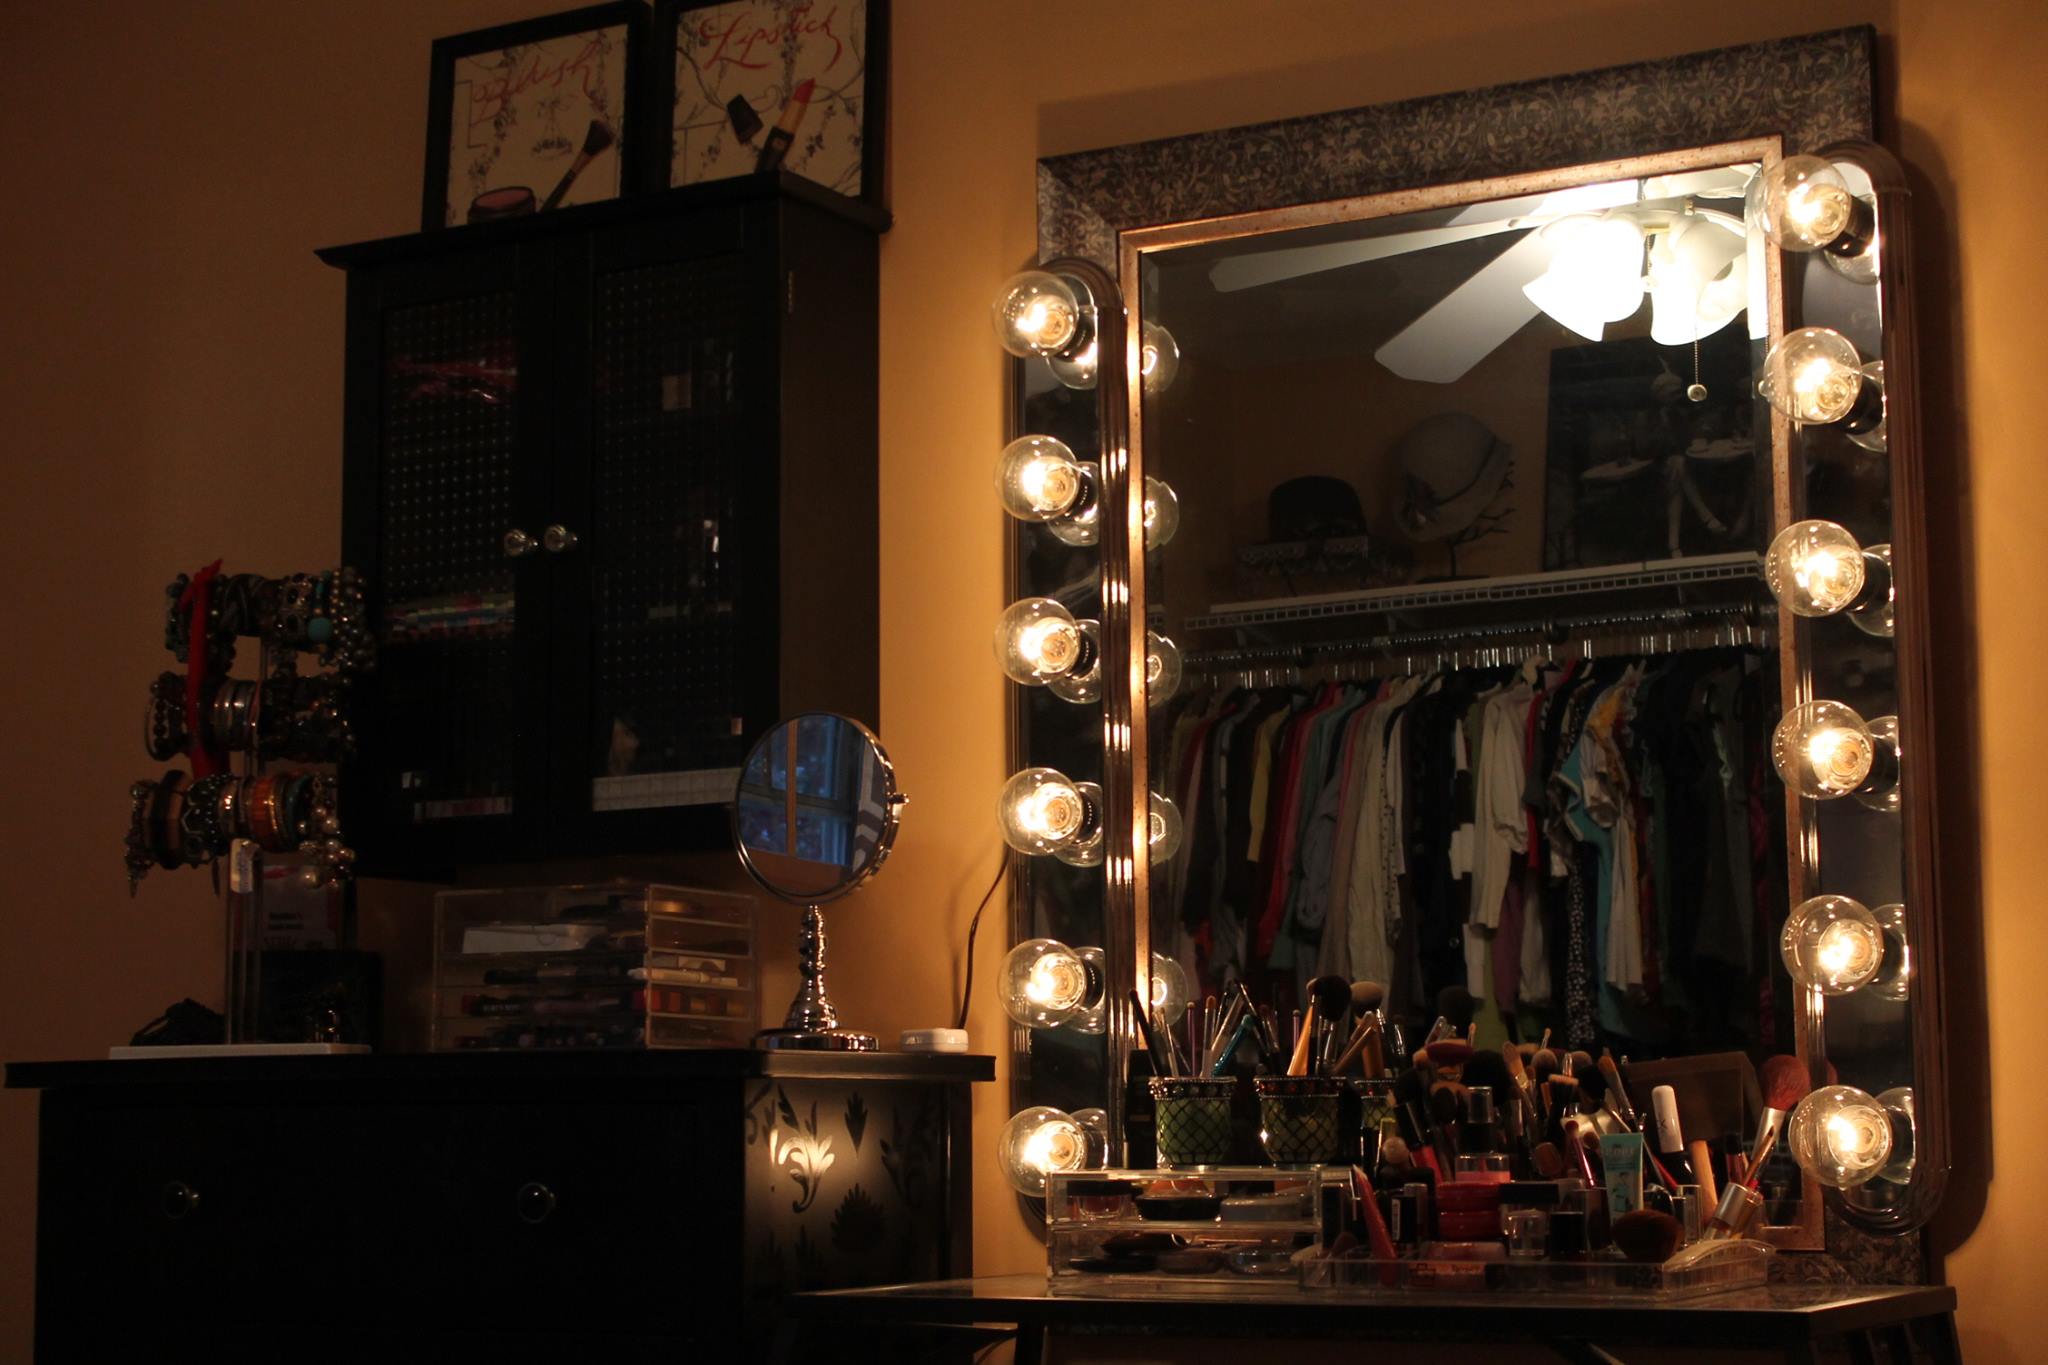
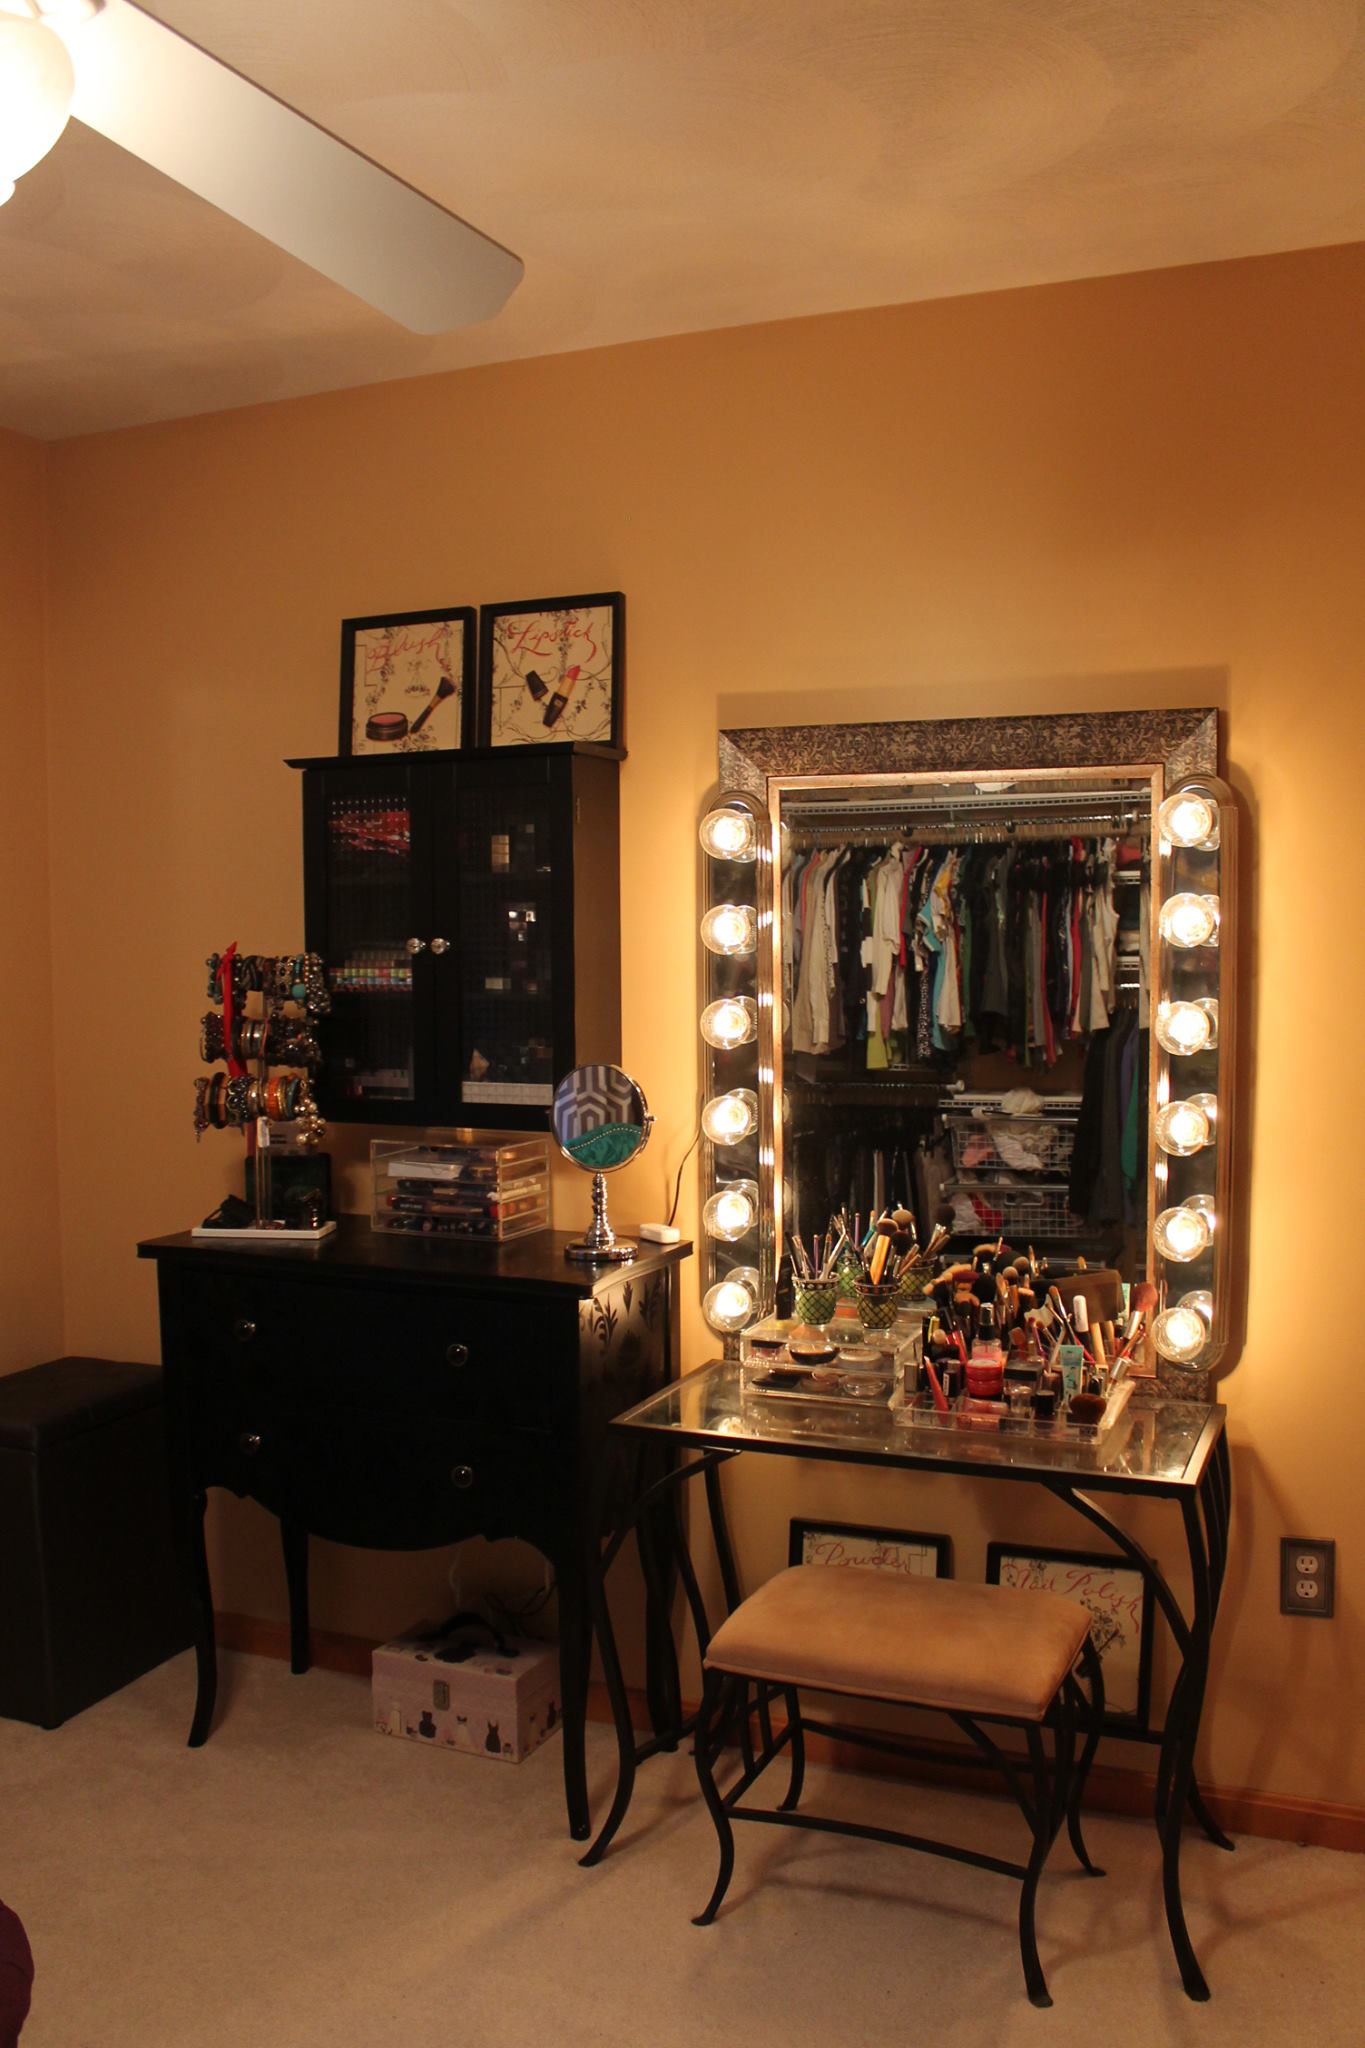
Probably my favorite part of the room is the vanity area. Yes, indeed, I simply adore and want to shop in the Shoe Heaven closet! But the vanity area has sentimental reason and a super romantic story. Once I had the left side of the room finished, with my clients old vanity set up on the right side, her husband came in to check out the progress. His remark mirrored my thoughts exactly, “this side of the room doesn’t match this one. Its like all of a sudden your vanity looks too small.” Upon suggesting his wife get a new one she explained how she really wanted one of the professional sets with the lighted mirrors but that she had been shopping them for awhile now and they were super expensive, running close to $1000. With move-in expenses and all that we had already done for the room she planned on waiting to get the vanity she really wanted. Then in October, in the midst of this dressing room creation, she attended my Boston Fashion Week Style Swap. While at the event her husband sent her a video of her brand new vanity mirror he had created! After work with 3 kids in tow he shopped for a mirror and the side bulbs, and assembled and installed it all before she got home! (and all for only $50!) She ran over to me at the swap to show me what he had done and sent her and my heart melted!! Back in the room, I set up a $10 bureau and a $3 medicine cabinet (yard sale finds!) next to it for additional makeup and accessory storage.

Its all about the details for me! Down to the pops of color and display and decorative items that also act as functional pieces:
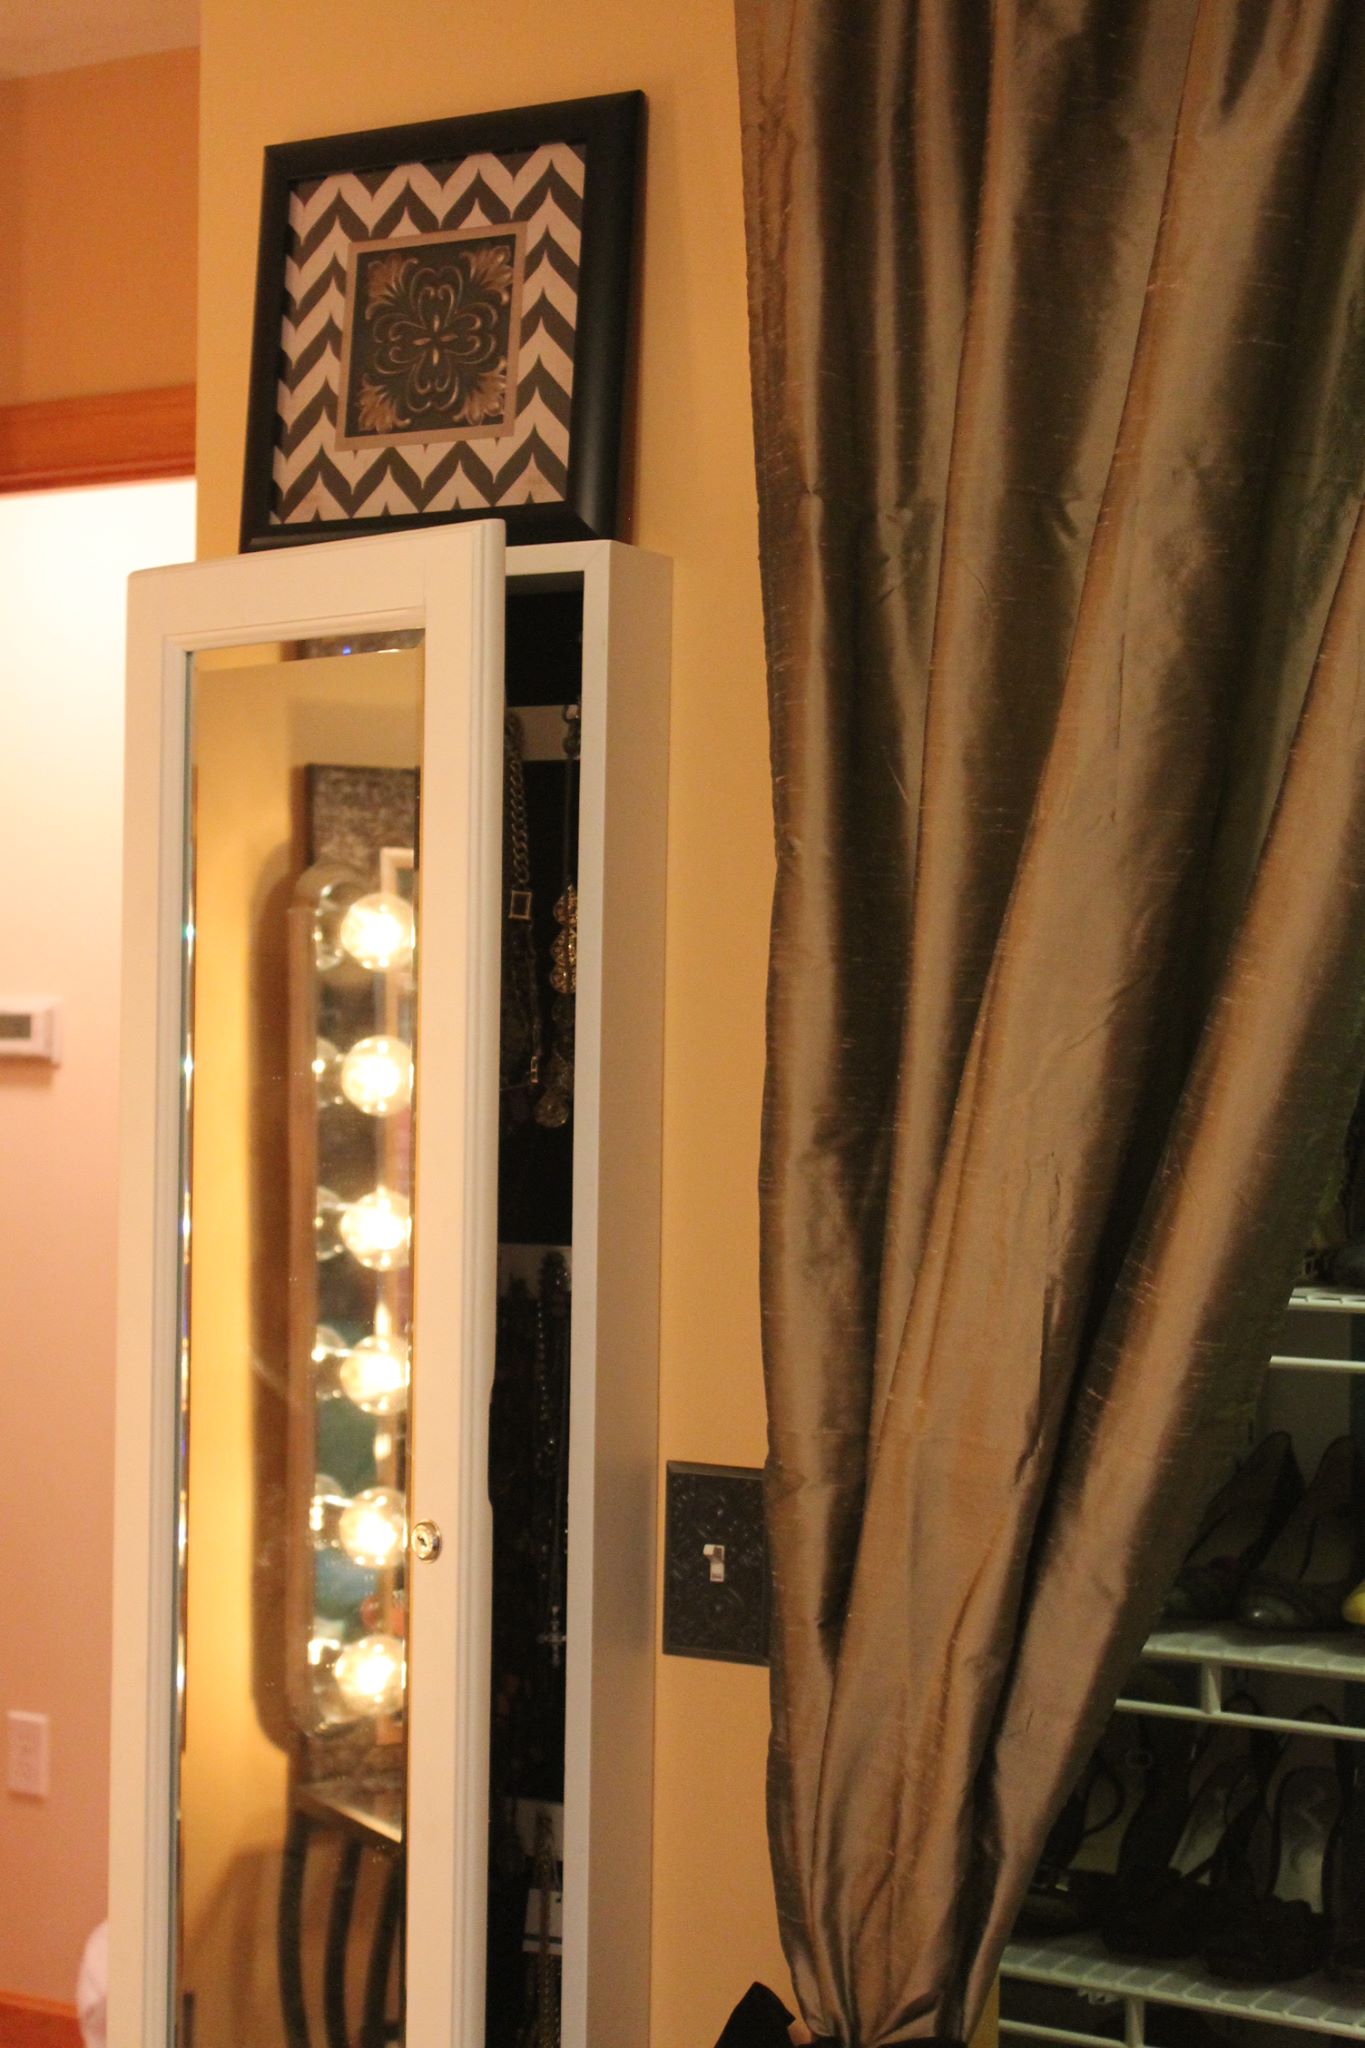
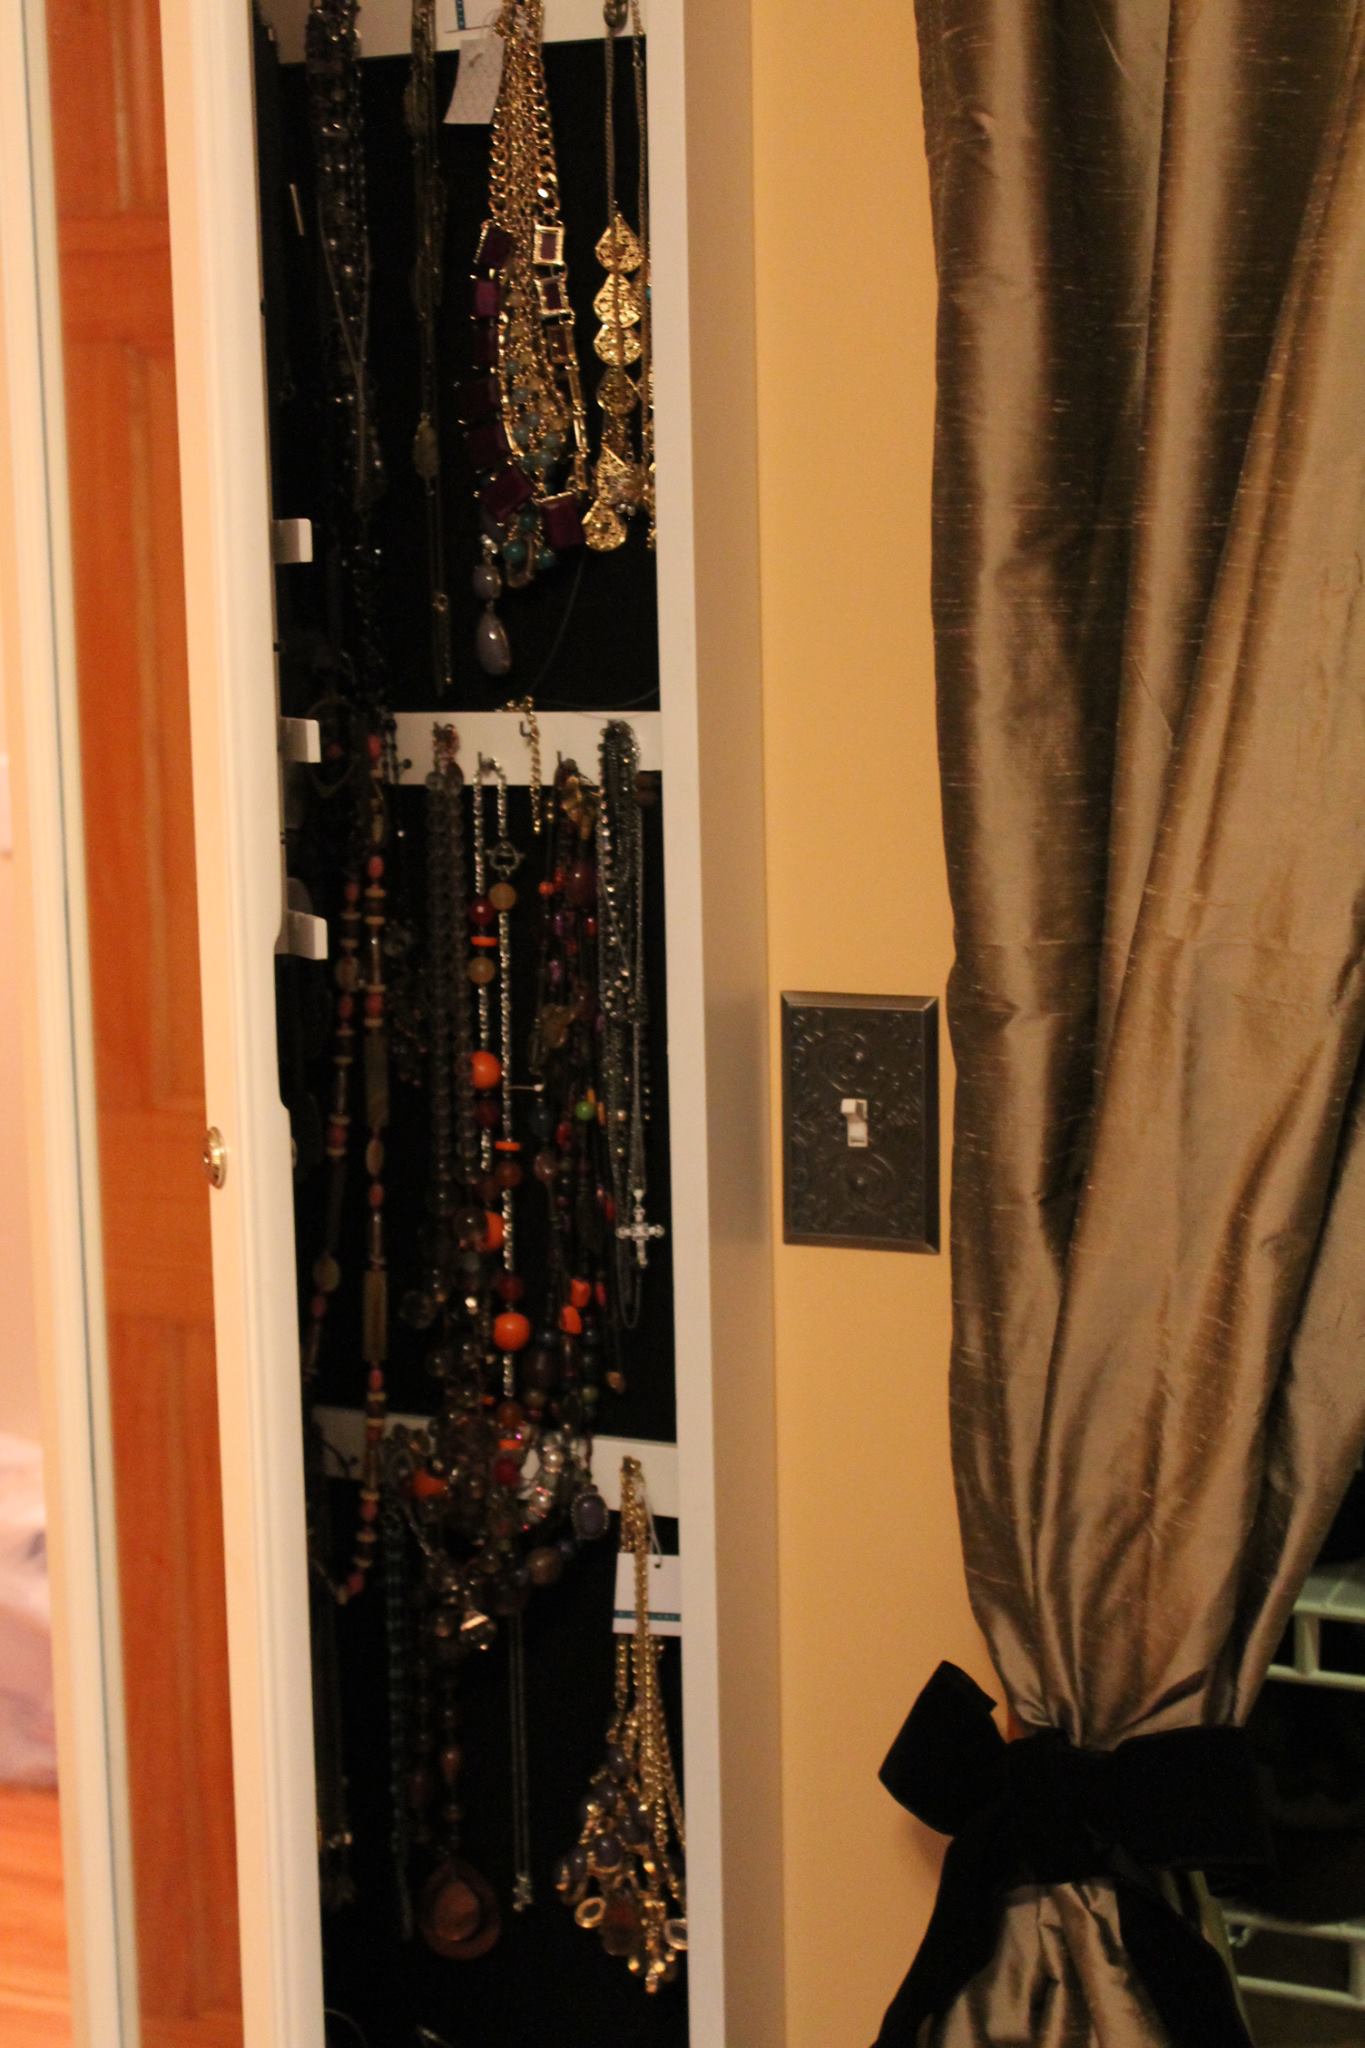
– I reused the mirror/accessory holder she had set up in her previous house to act as full length mirror and space saving accessory holder.
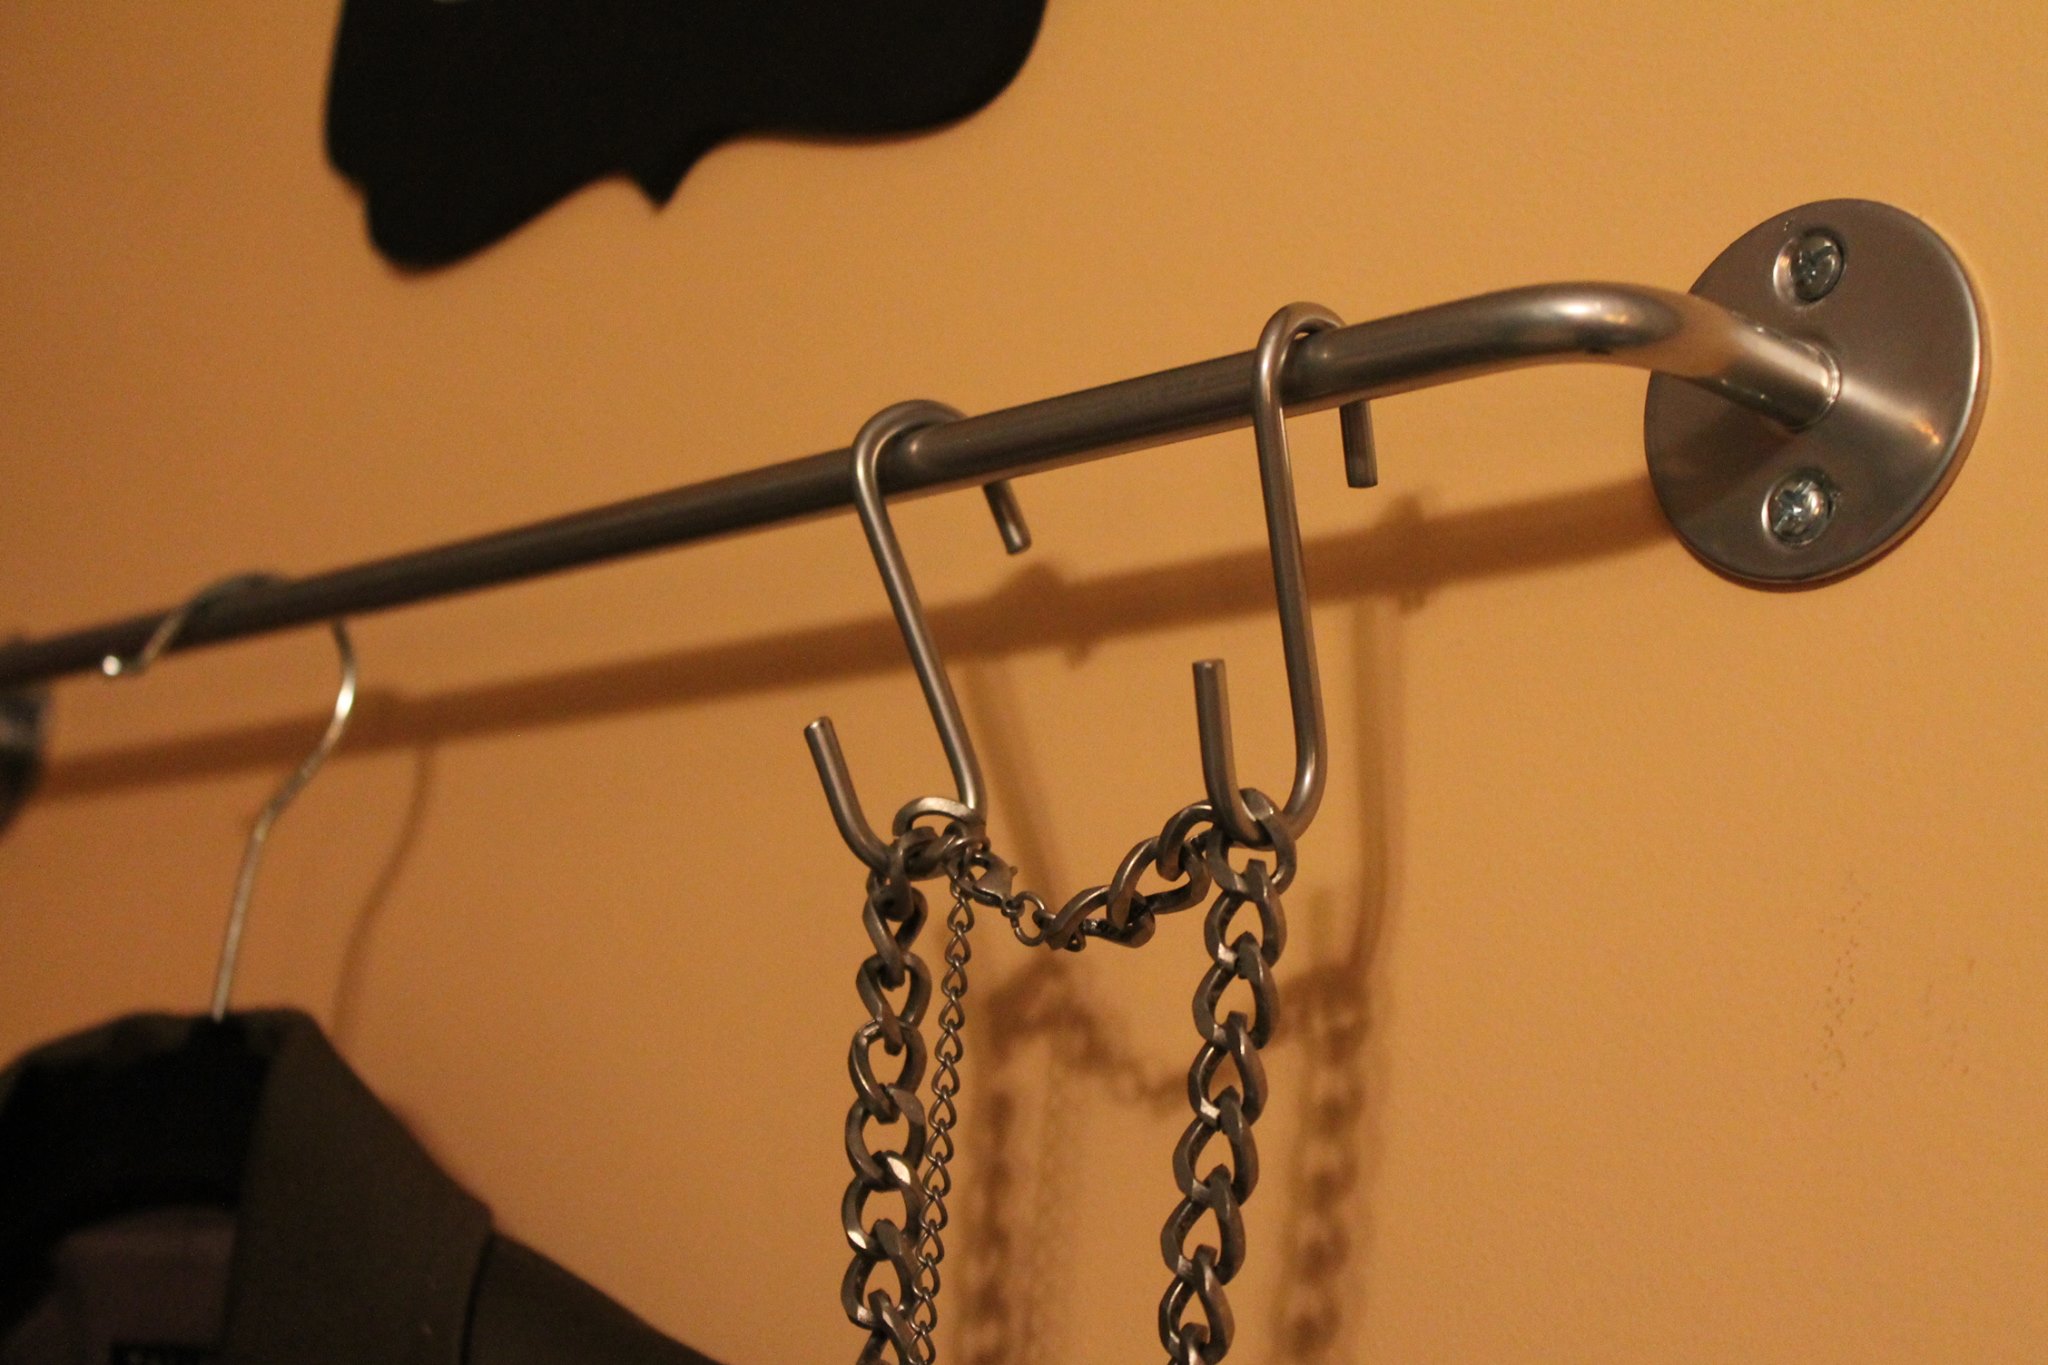
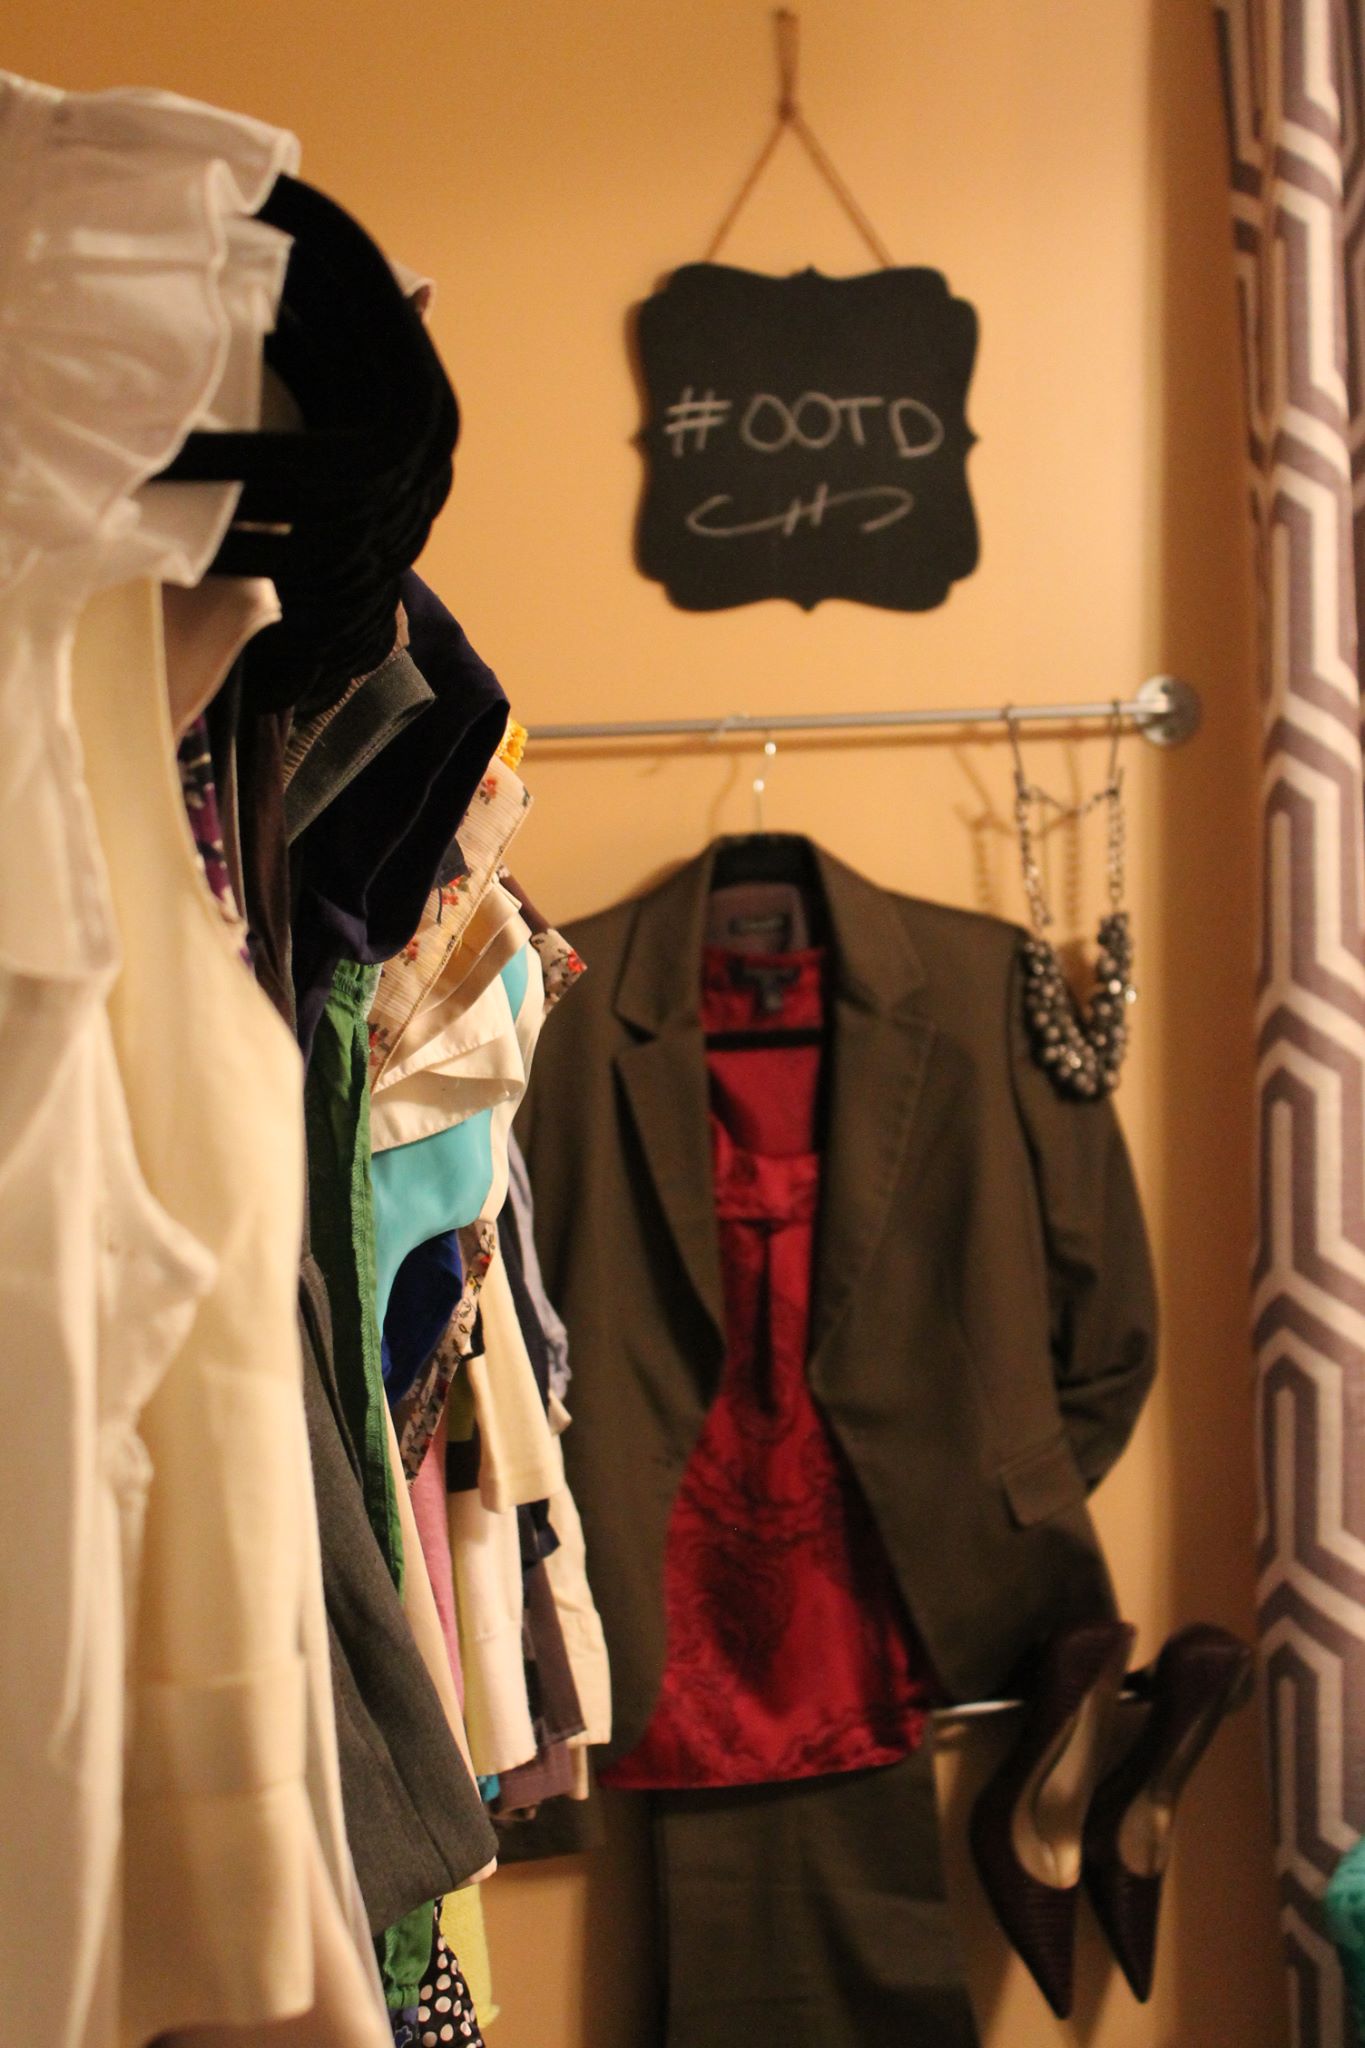
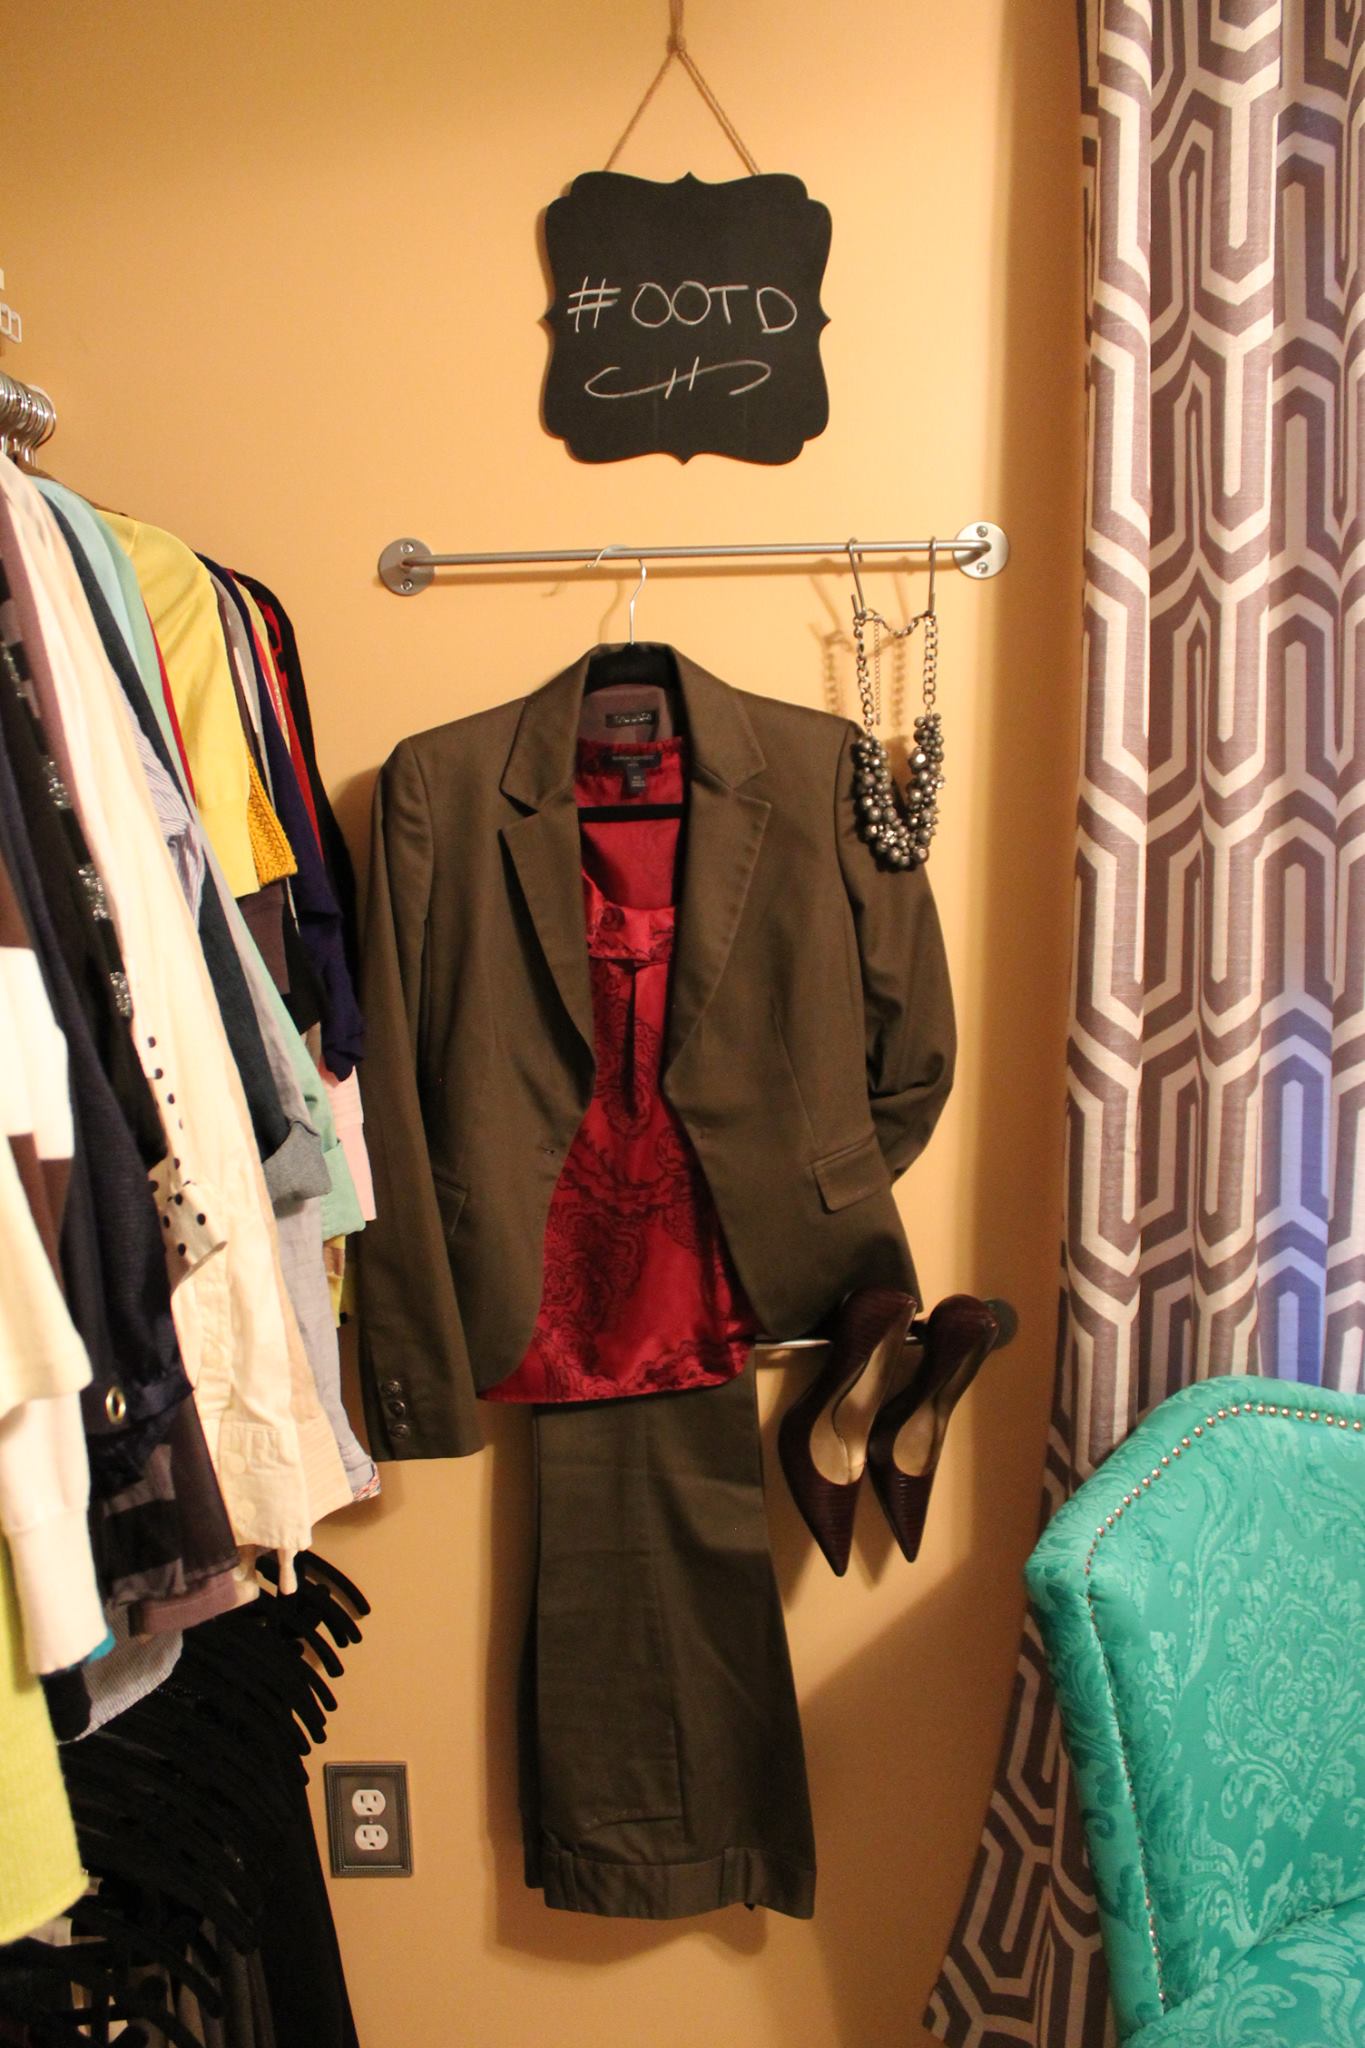
– I affixed some $2 Ikea kitchen rods with S hooks into the wall to house or display her outfits for the week, day, important meeting, etc. I added a chalkboard above so with her busy schedule and many things to dress for she could add whatever notes she needed to.
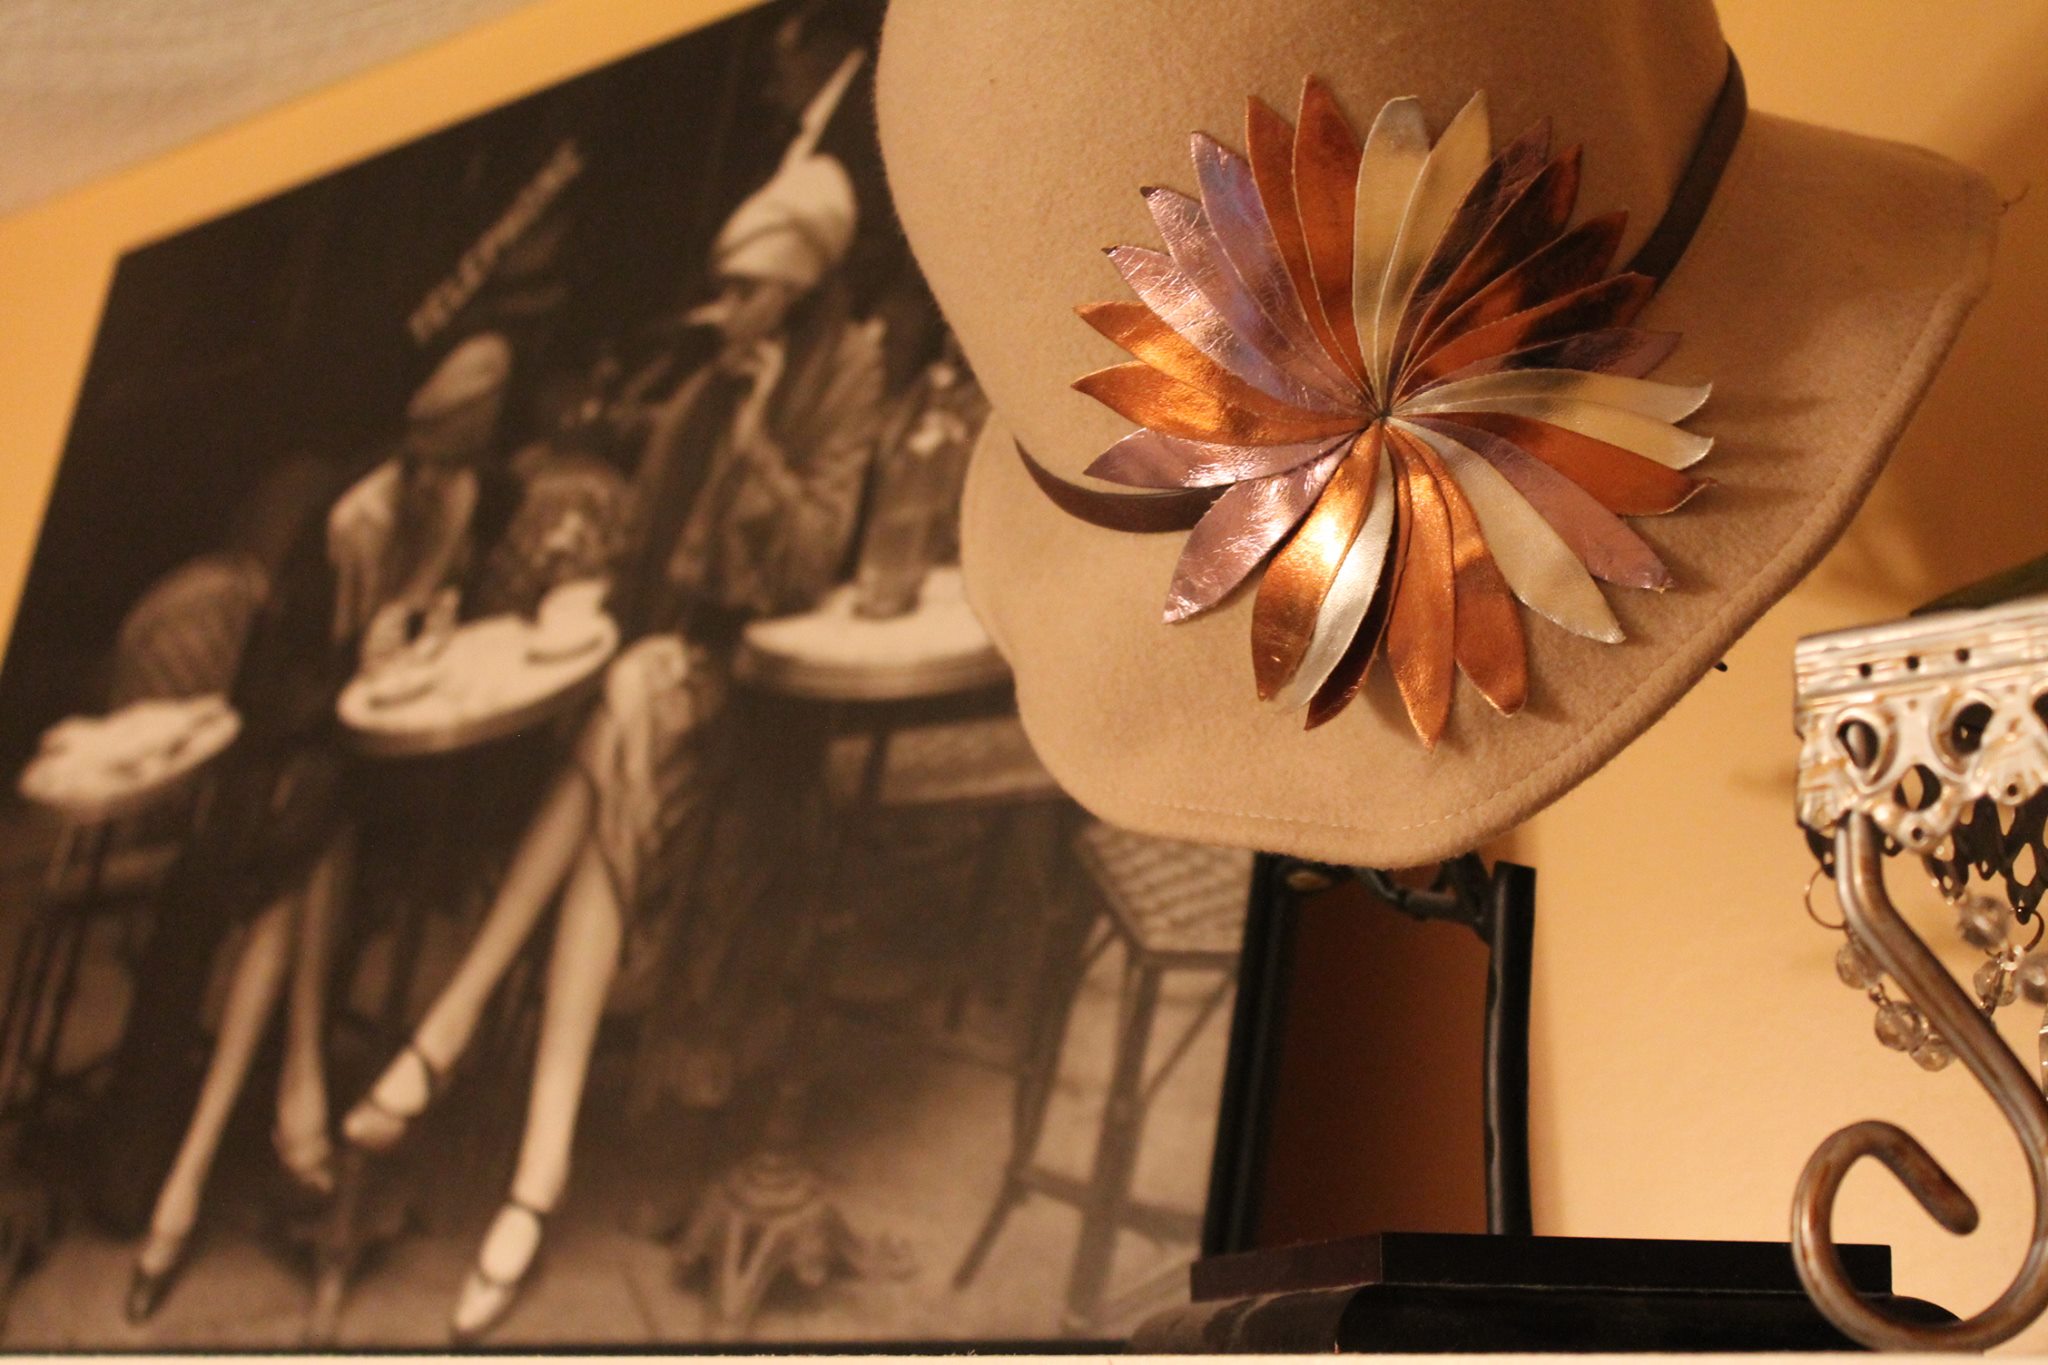
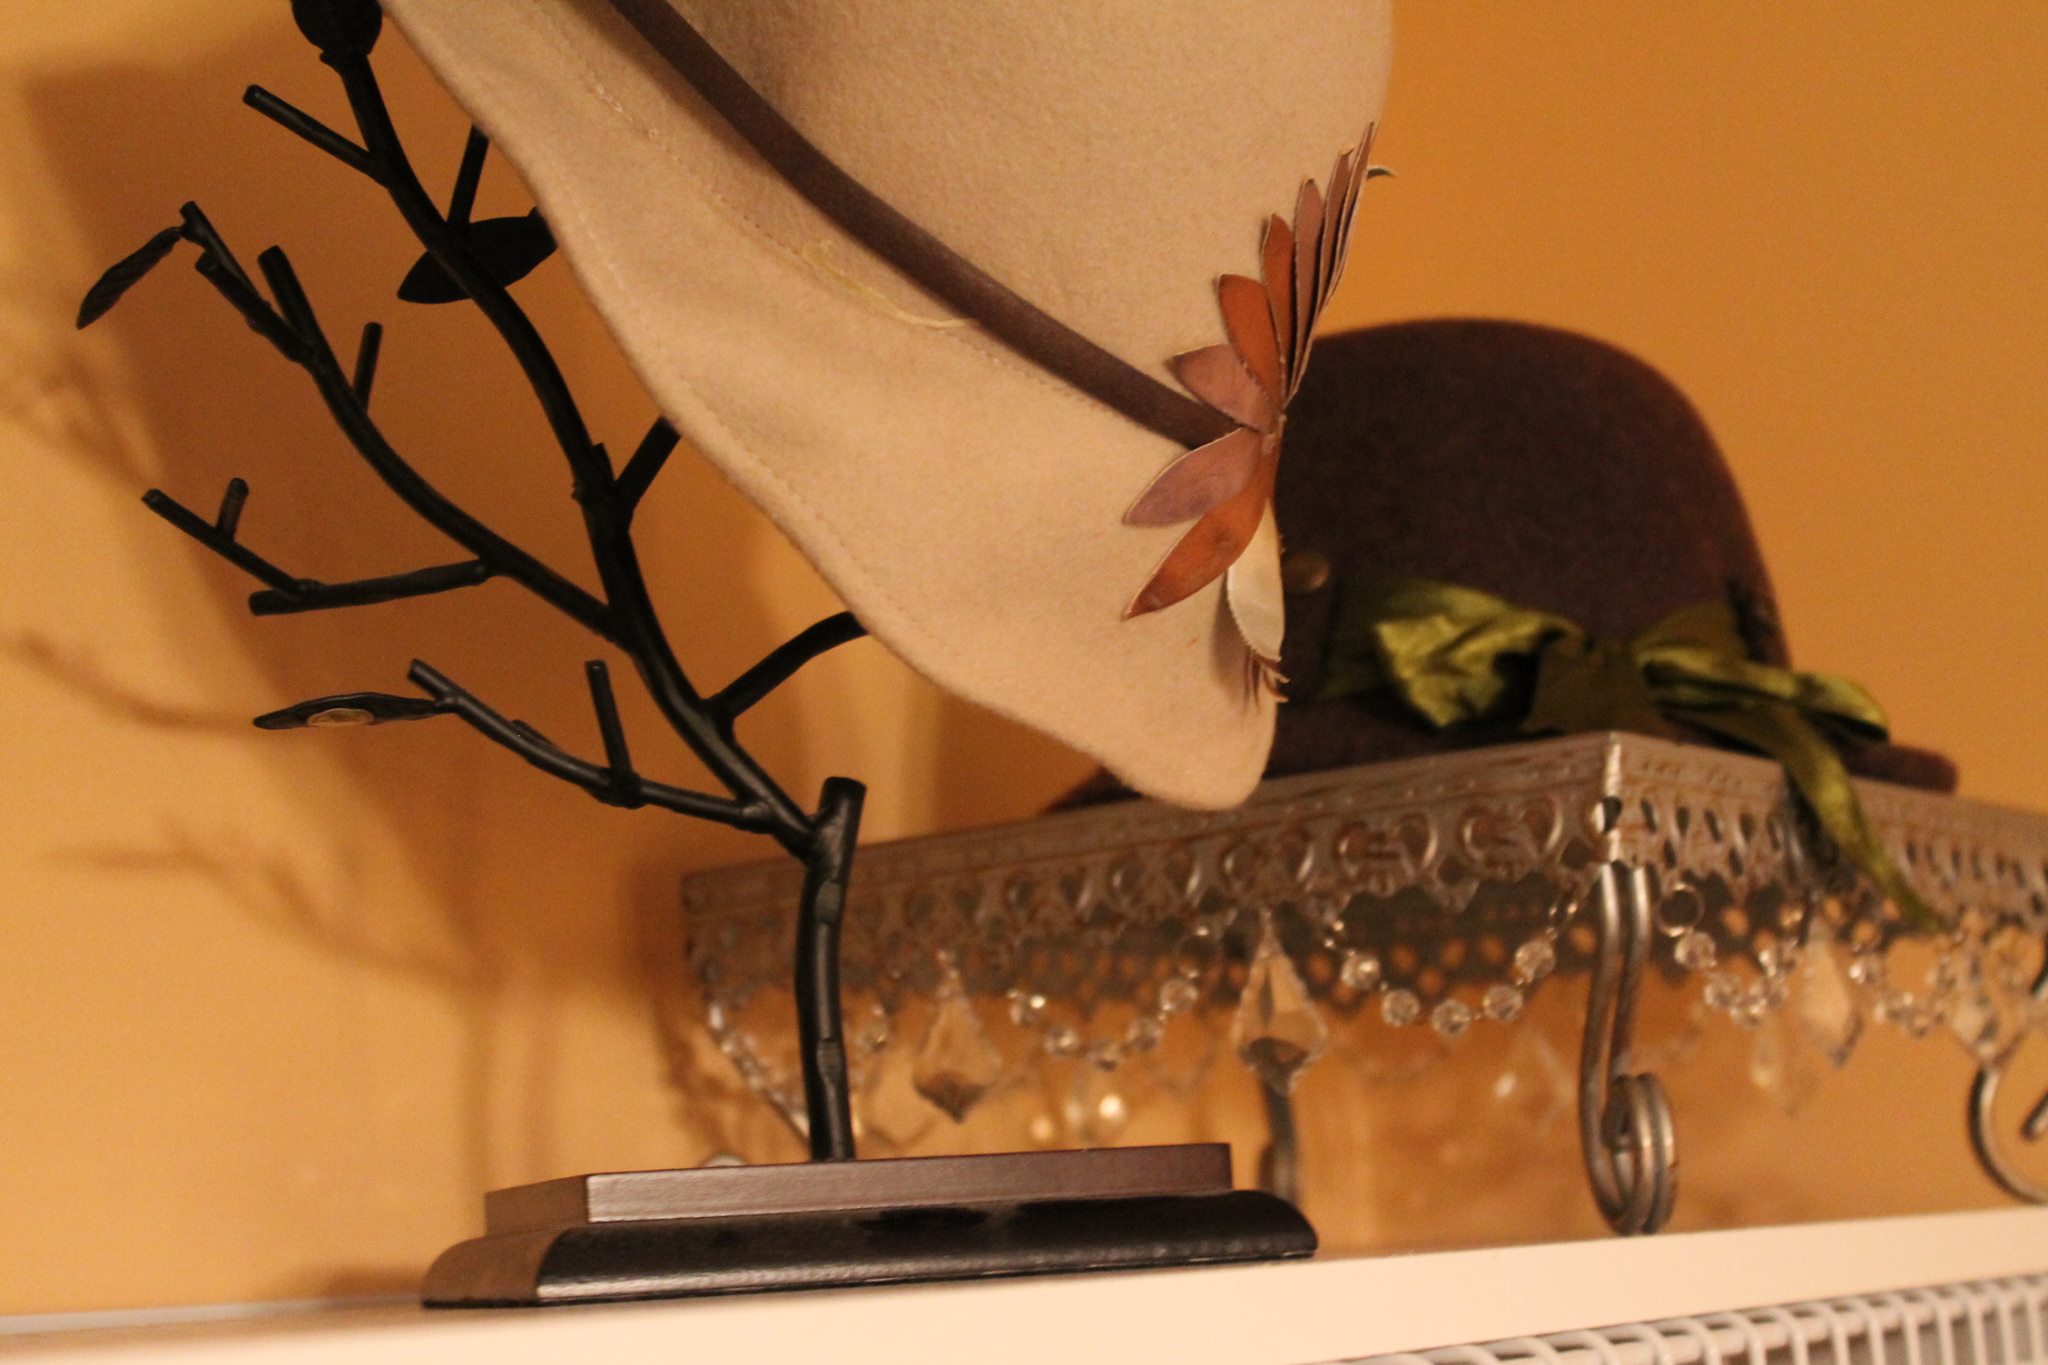
– The initial inspiration portrait sat in a focal point on the top shelf above the clothing. In a perfect coincidence, my clients hat collection contained two pieces that matched the image and era exactly. I purchased a blinged out cake plate to display one of the hats and used an existing jewelry holder tree to display another.
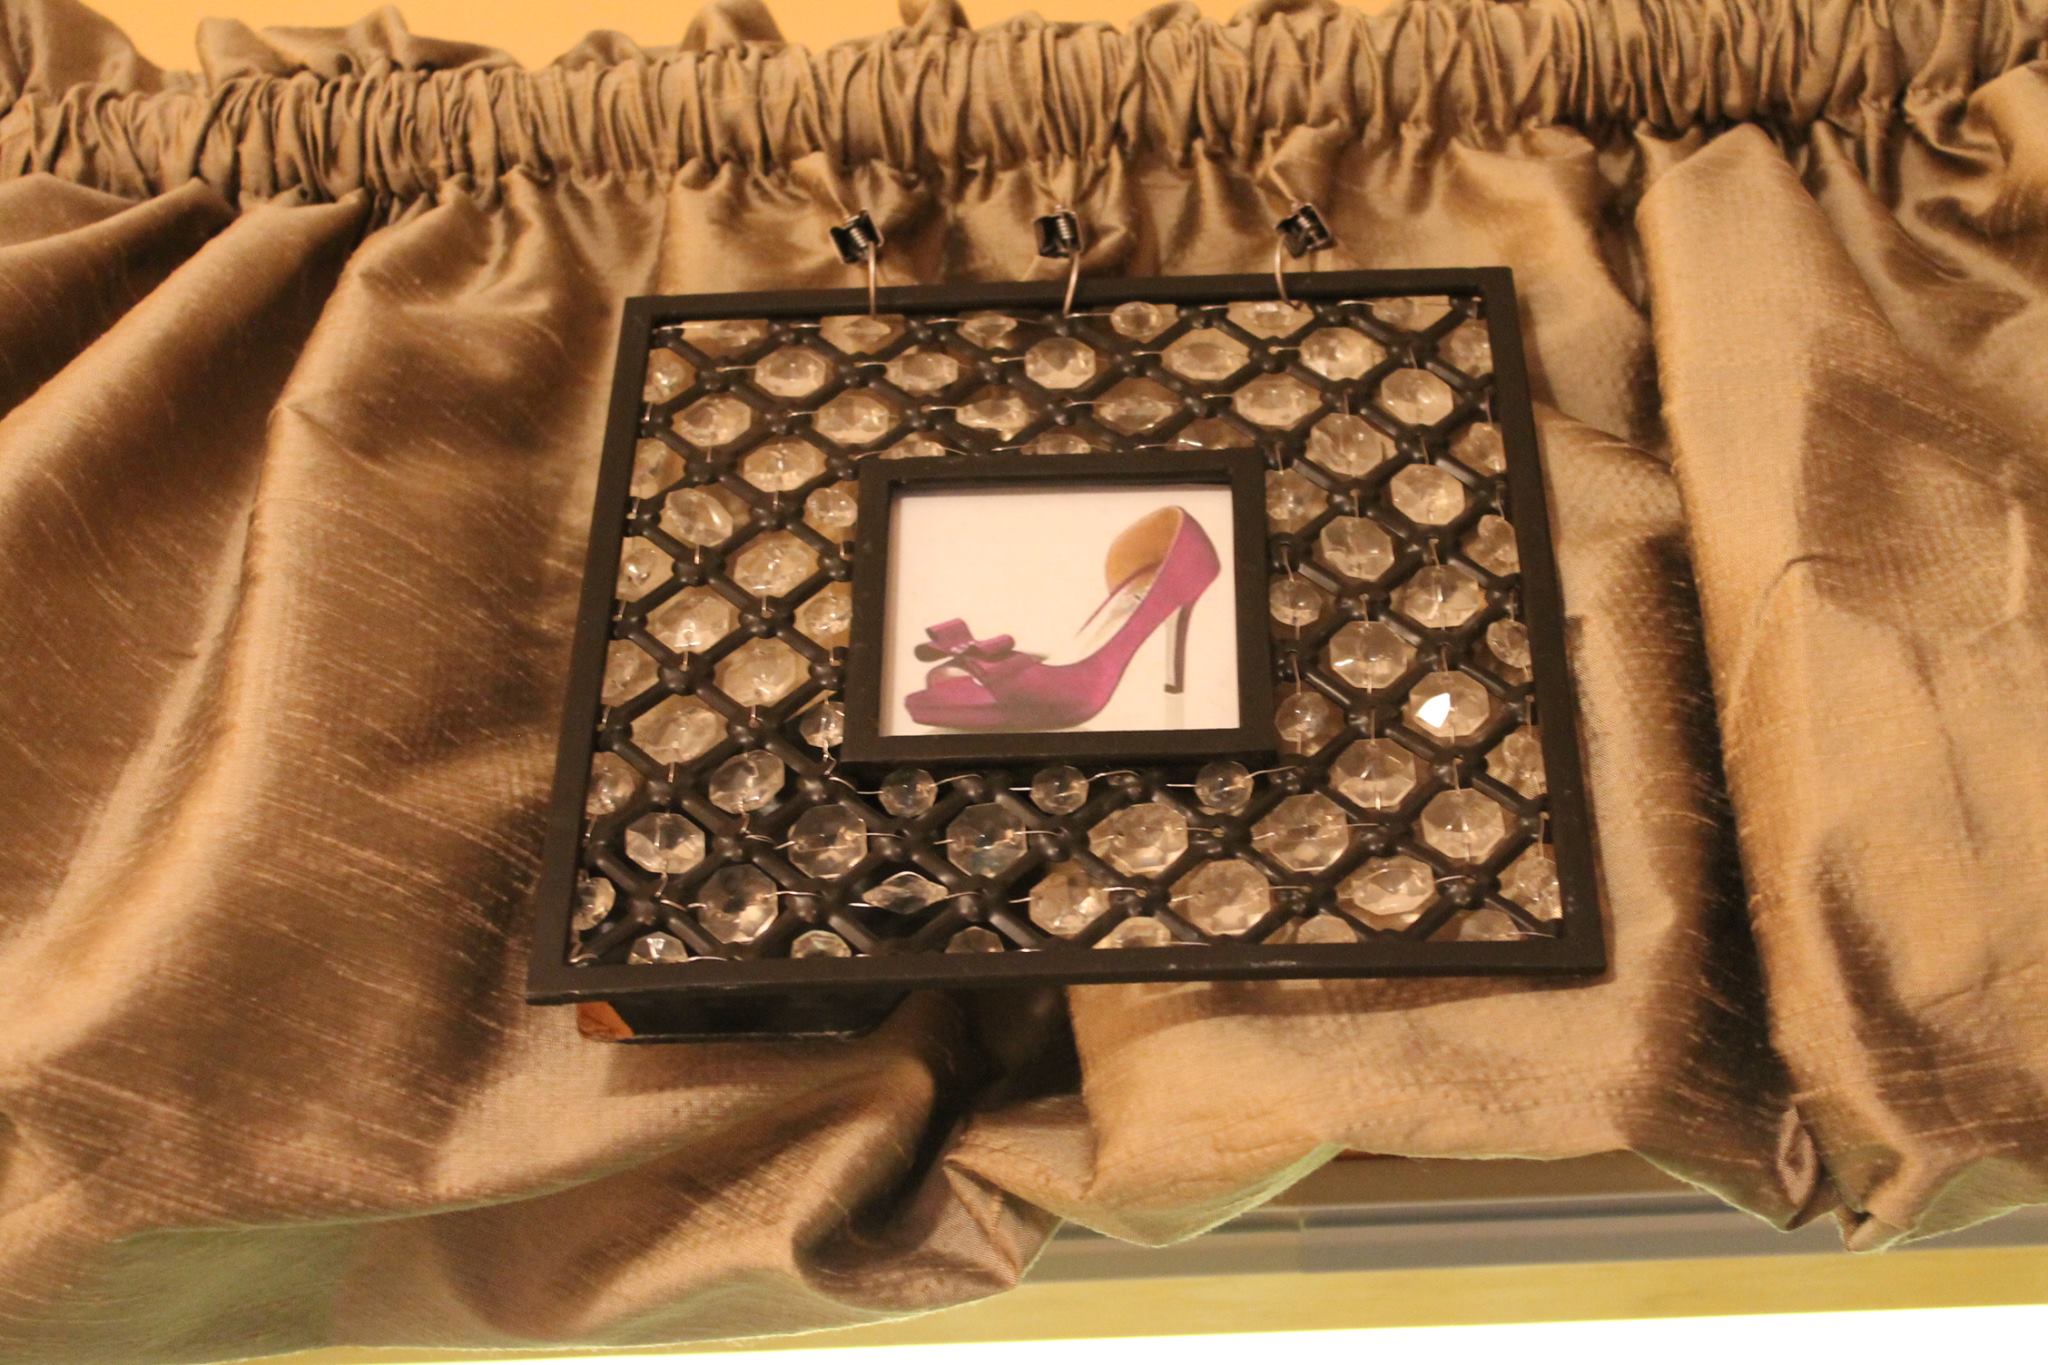
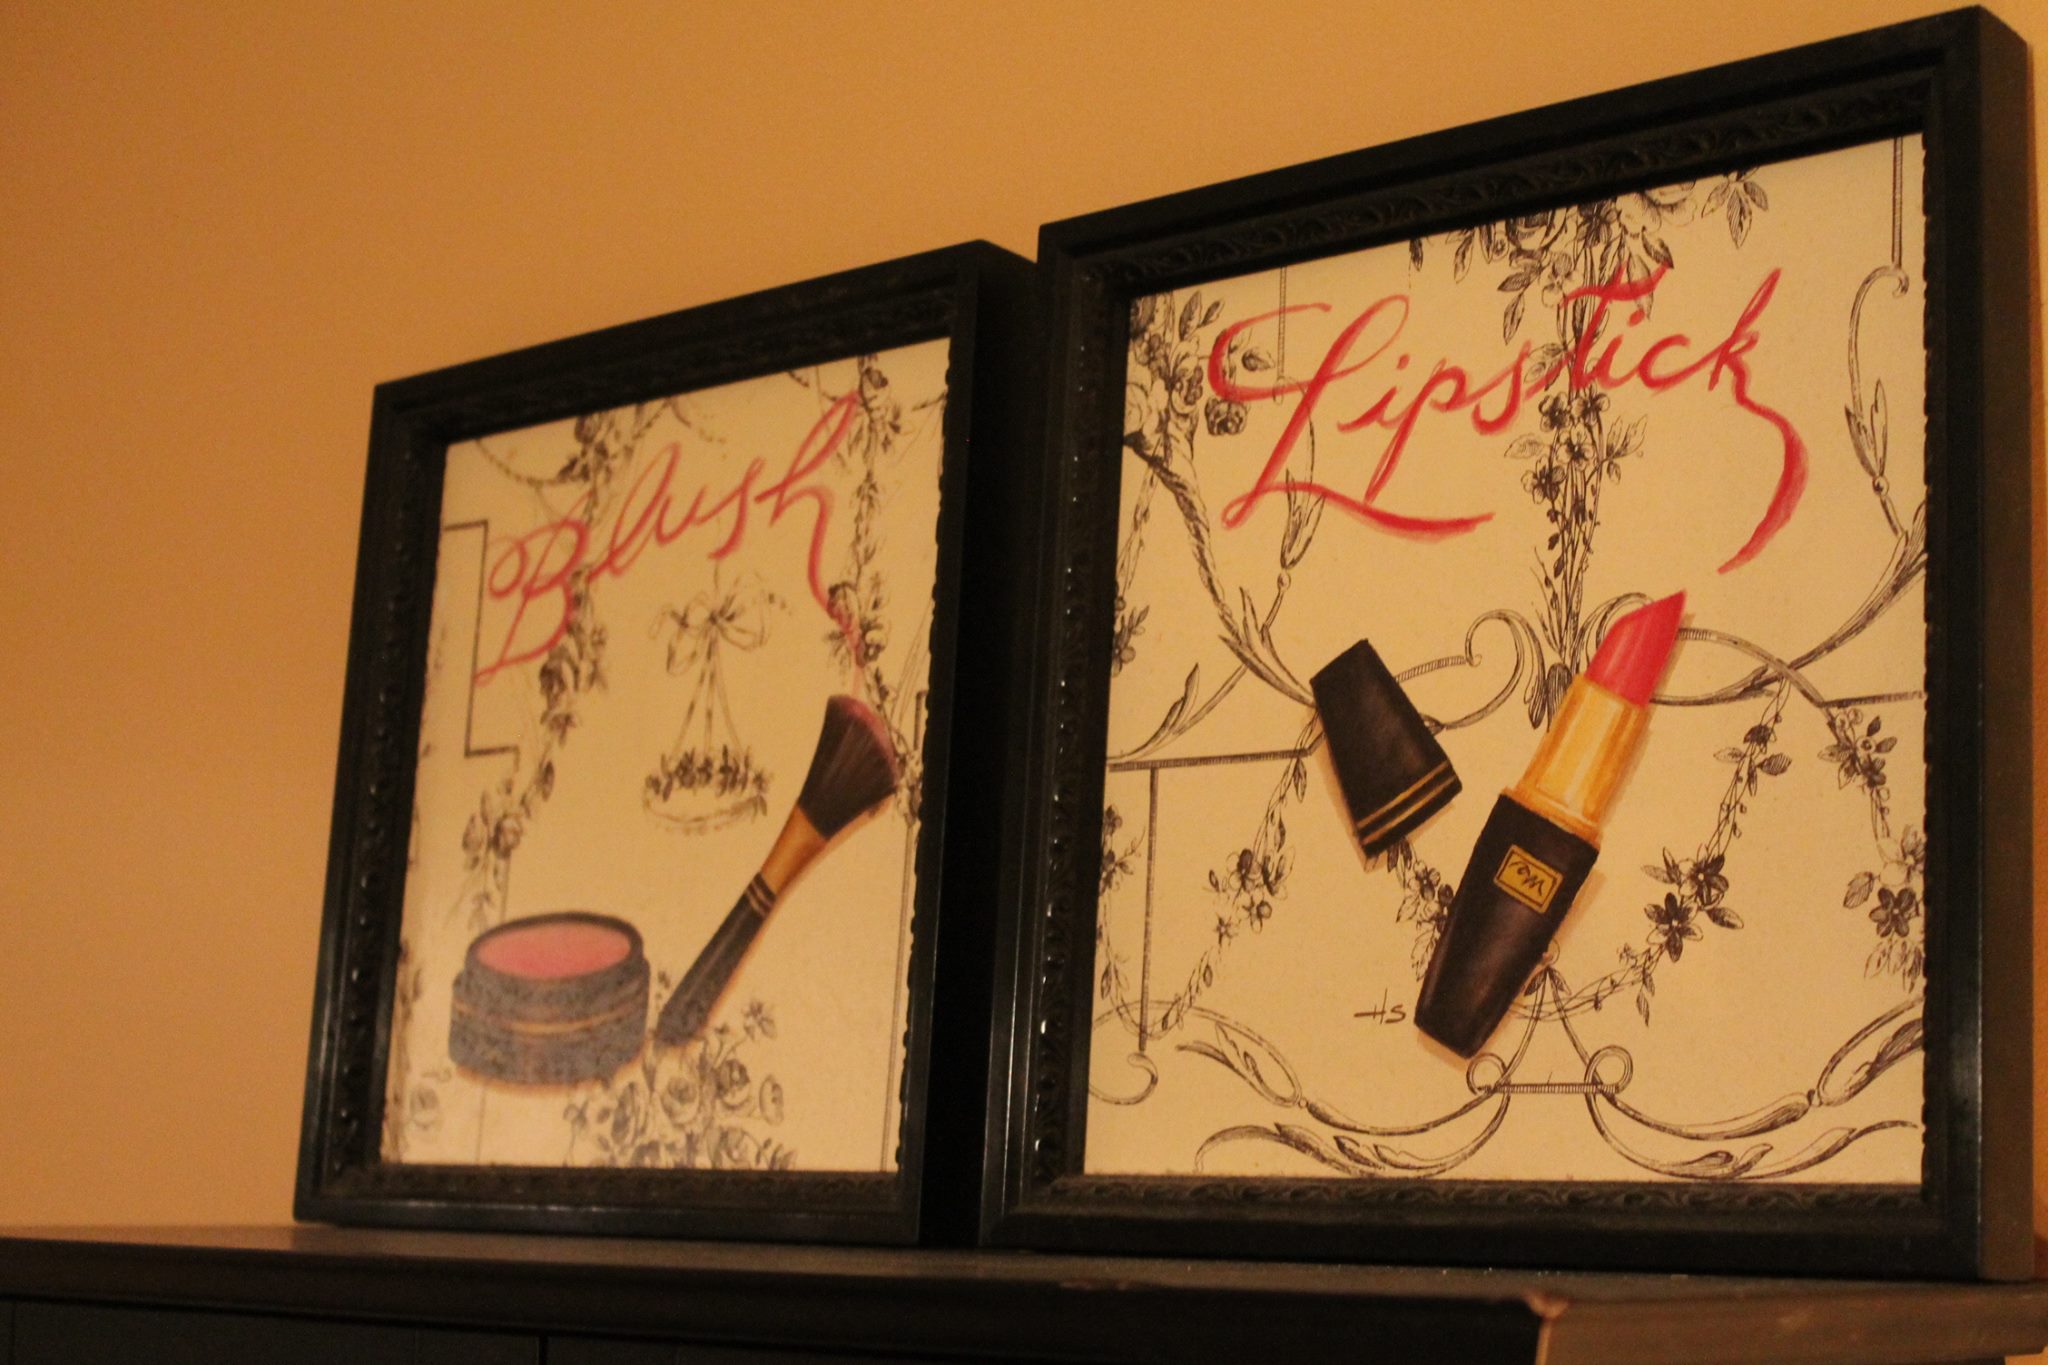
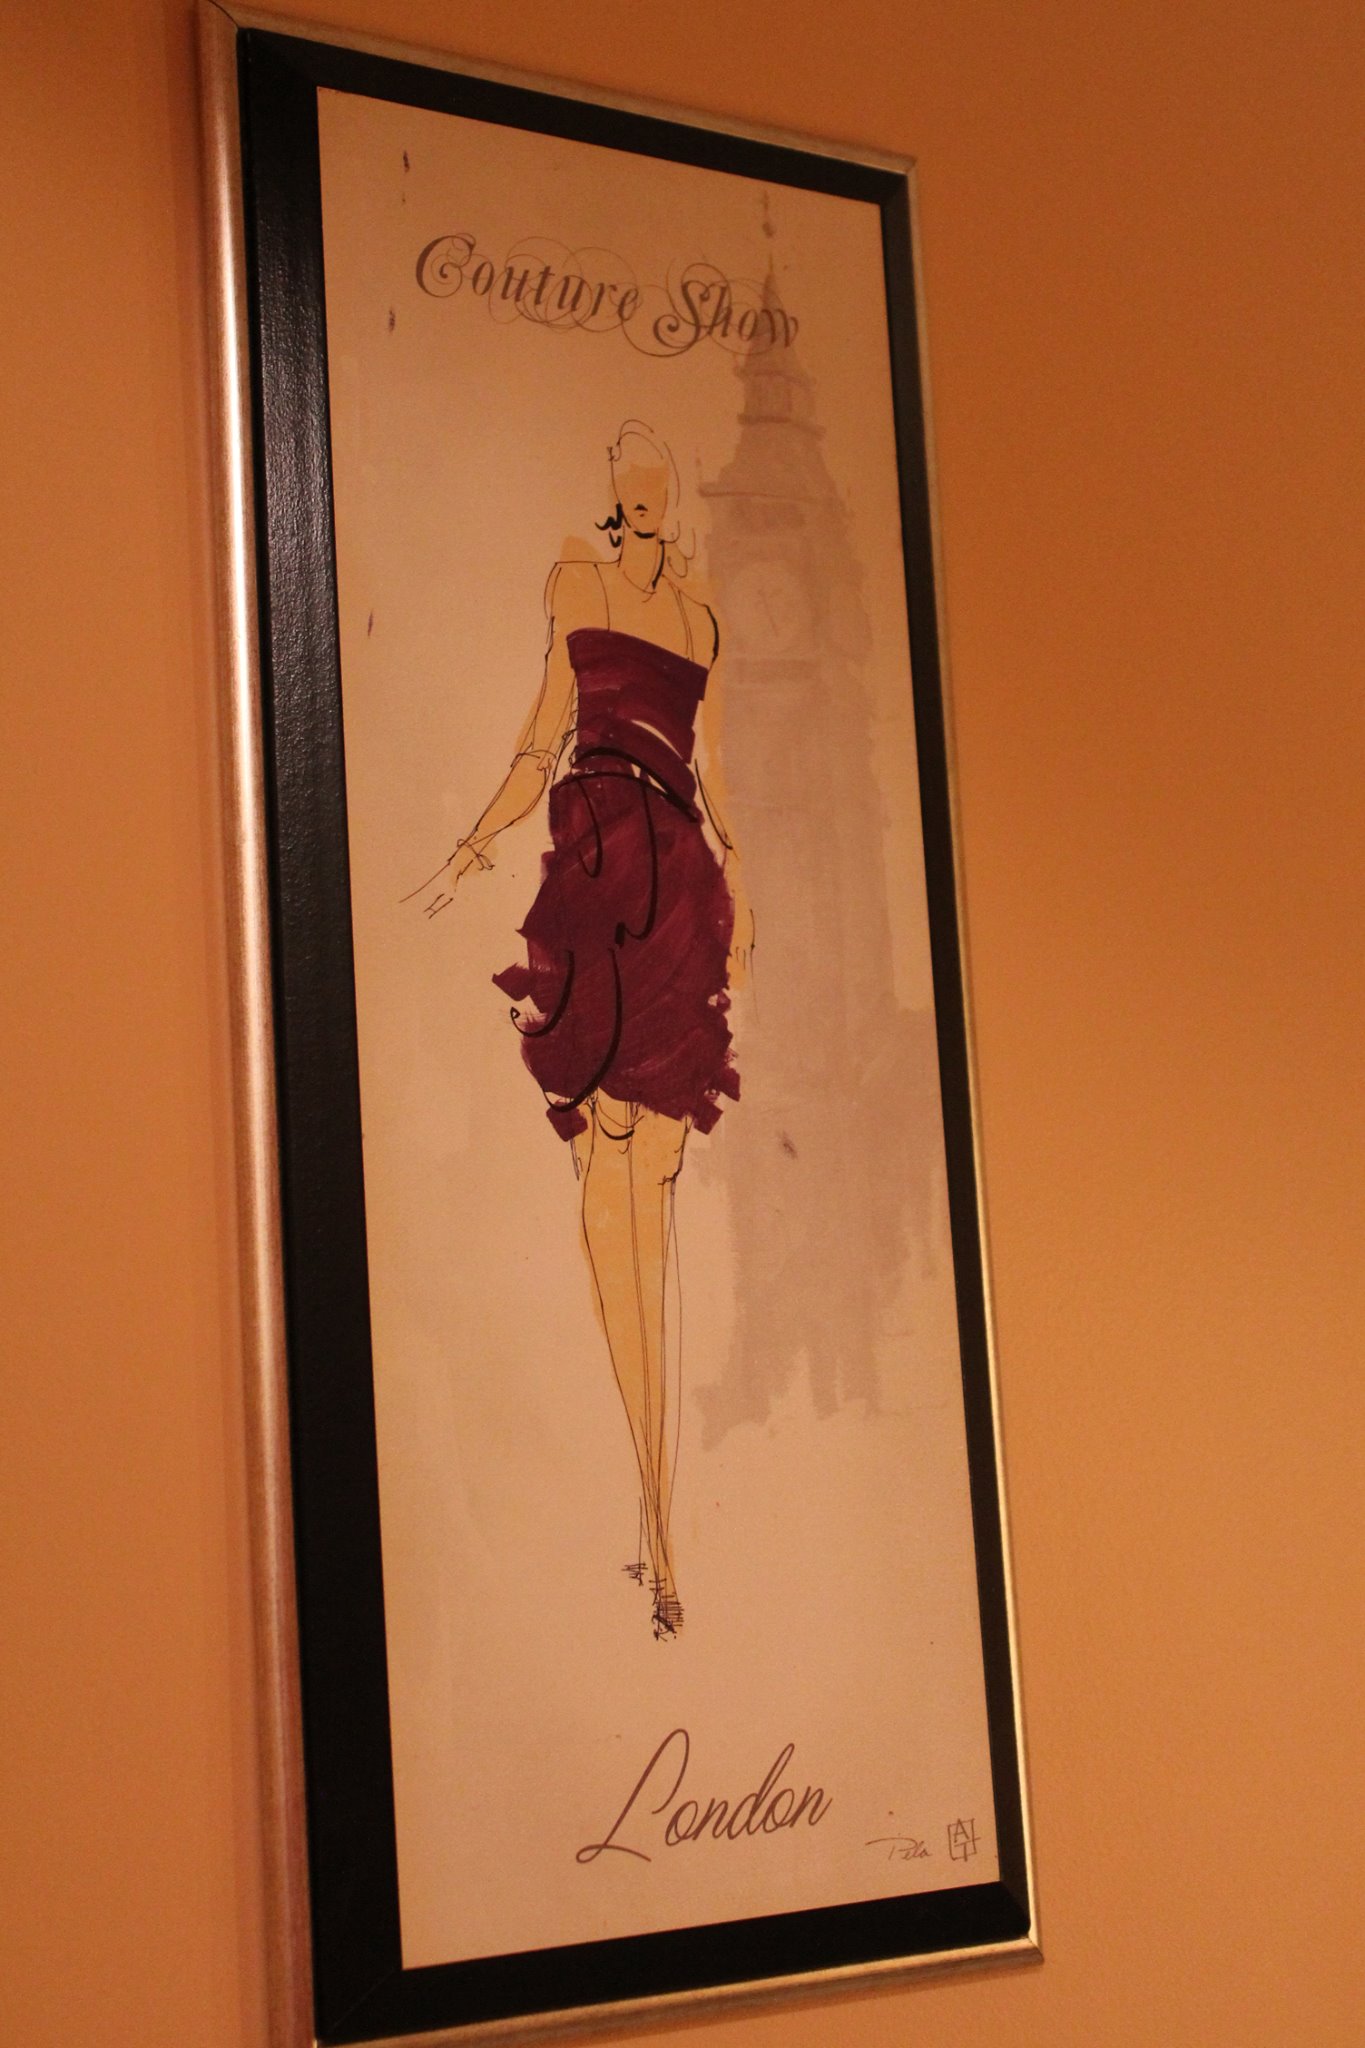
– And of course finished everything off with the perfect feminine and fashionable art work that complimented the room’s original inspiration piece.
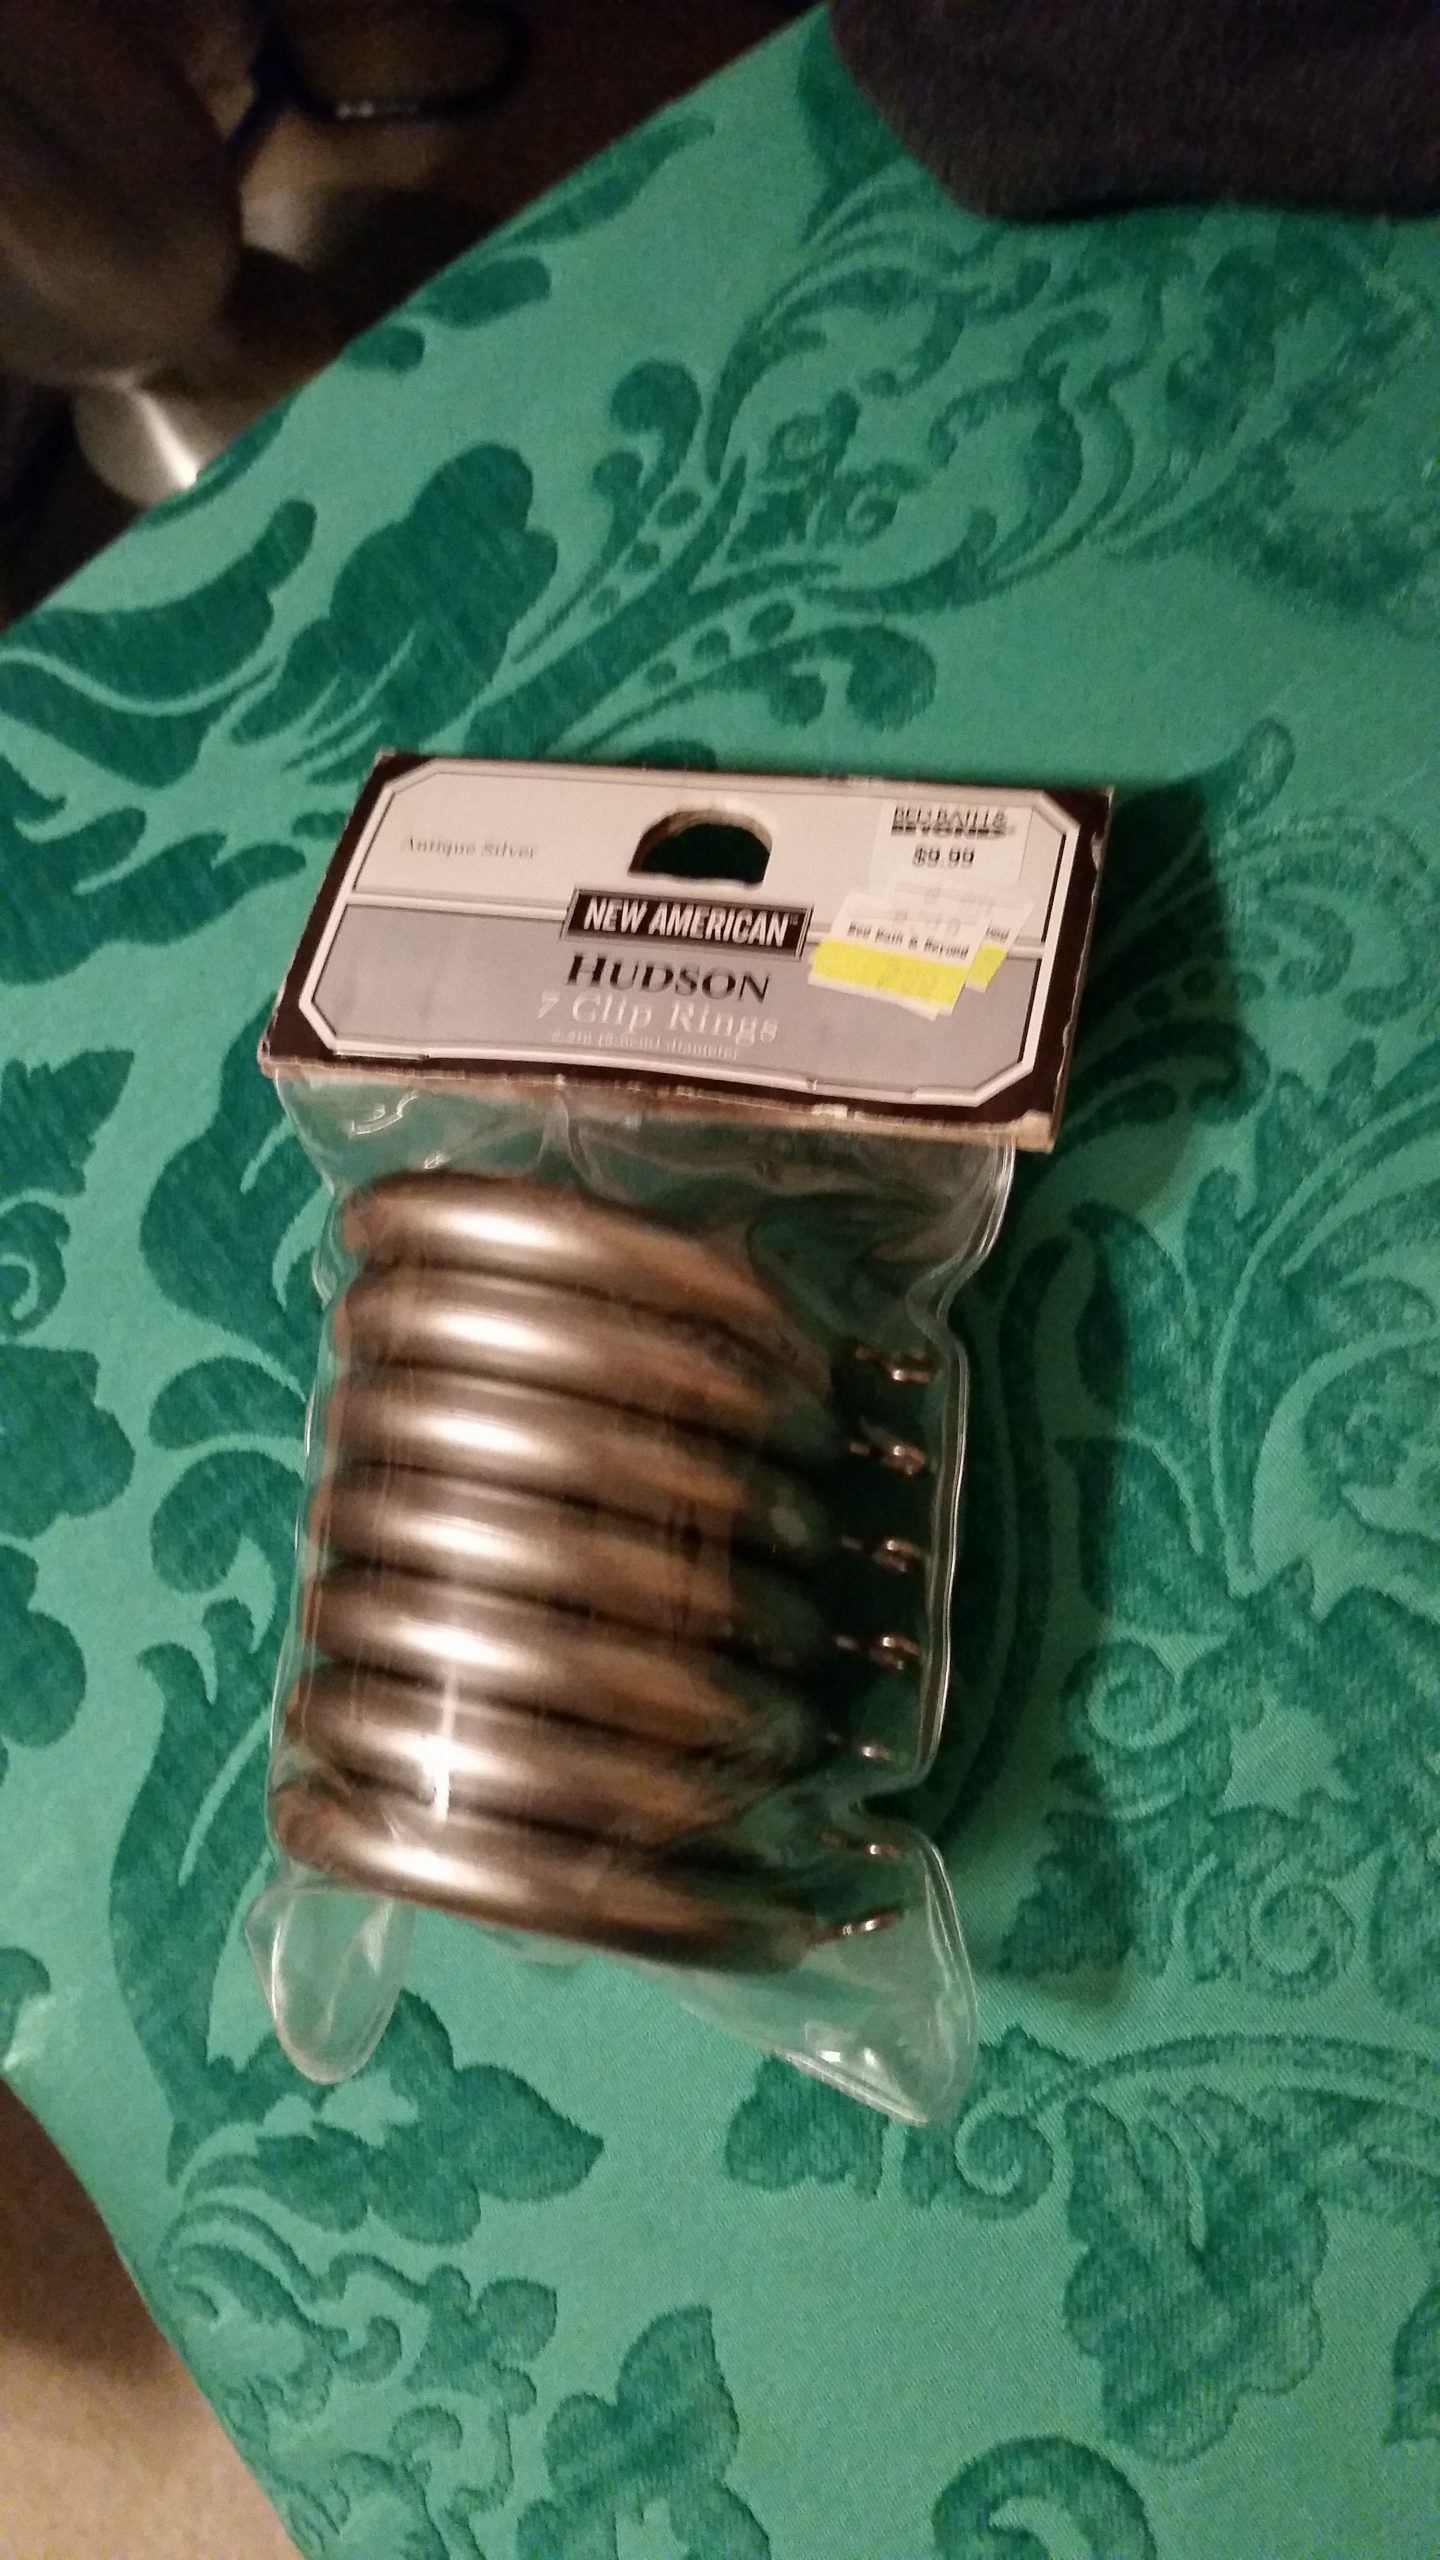
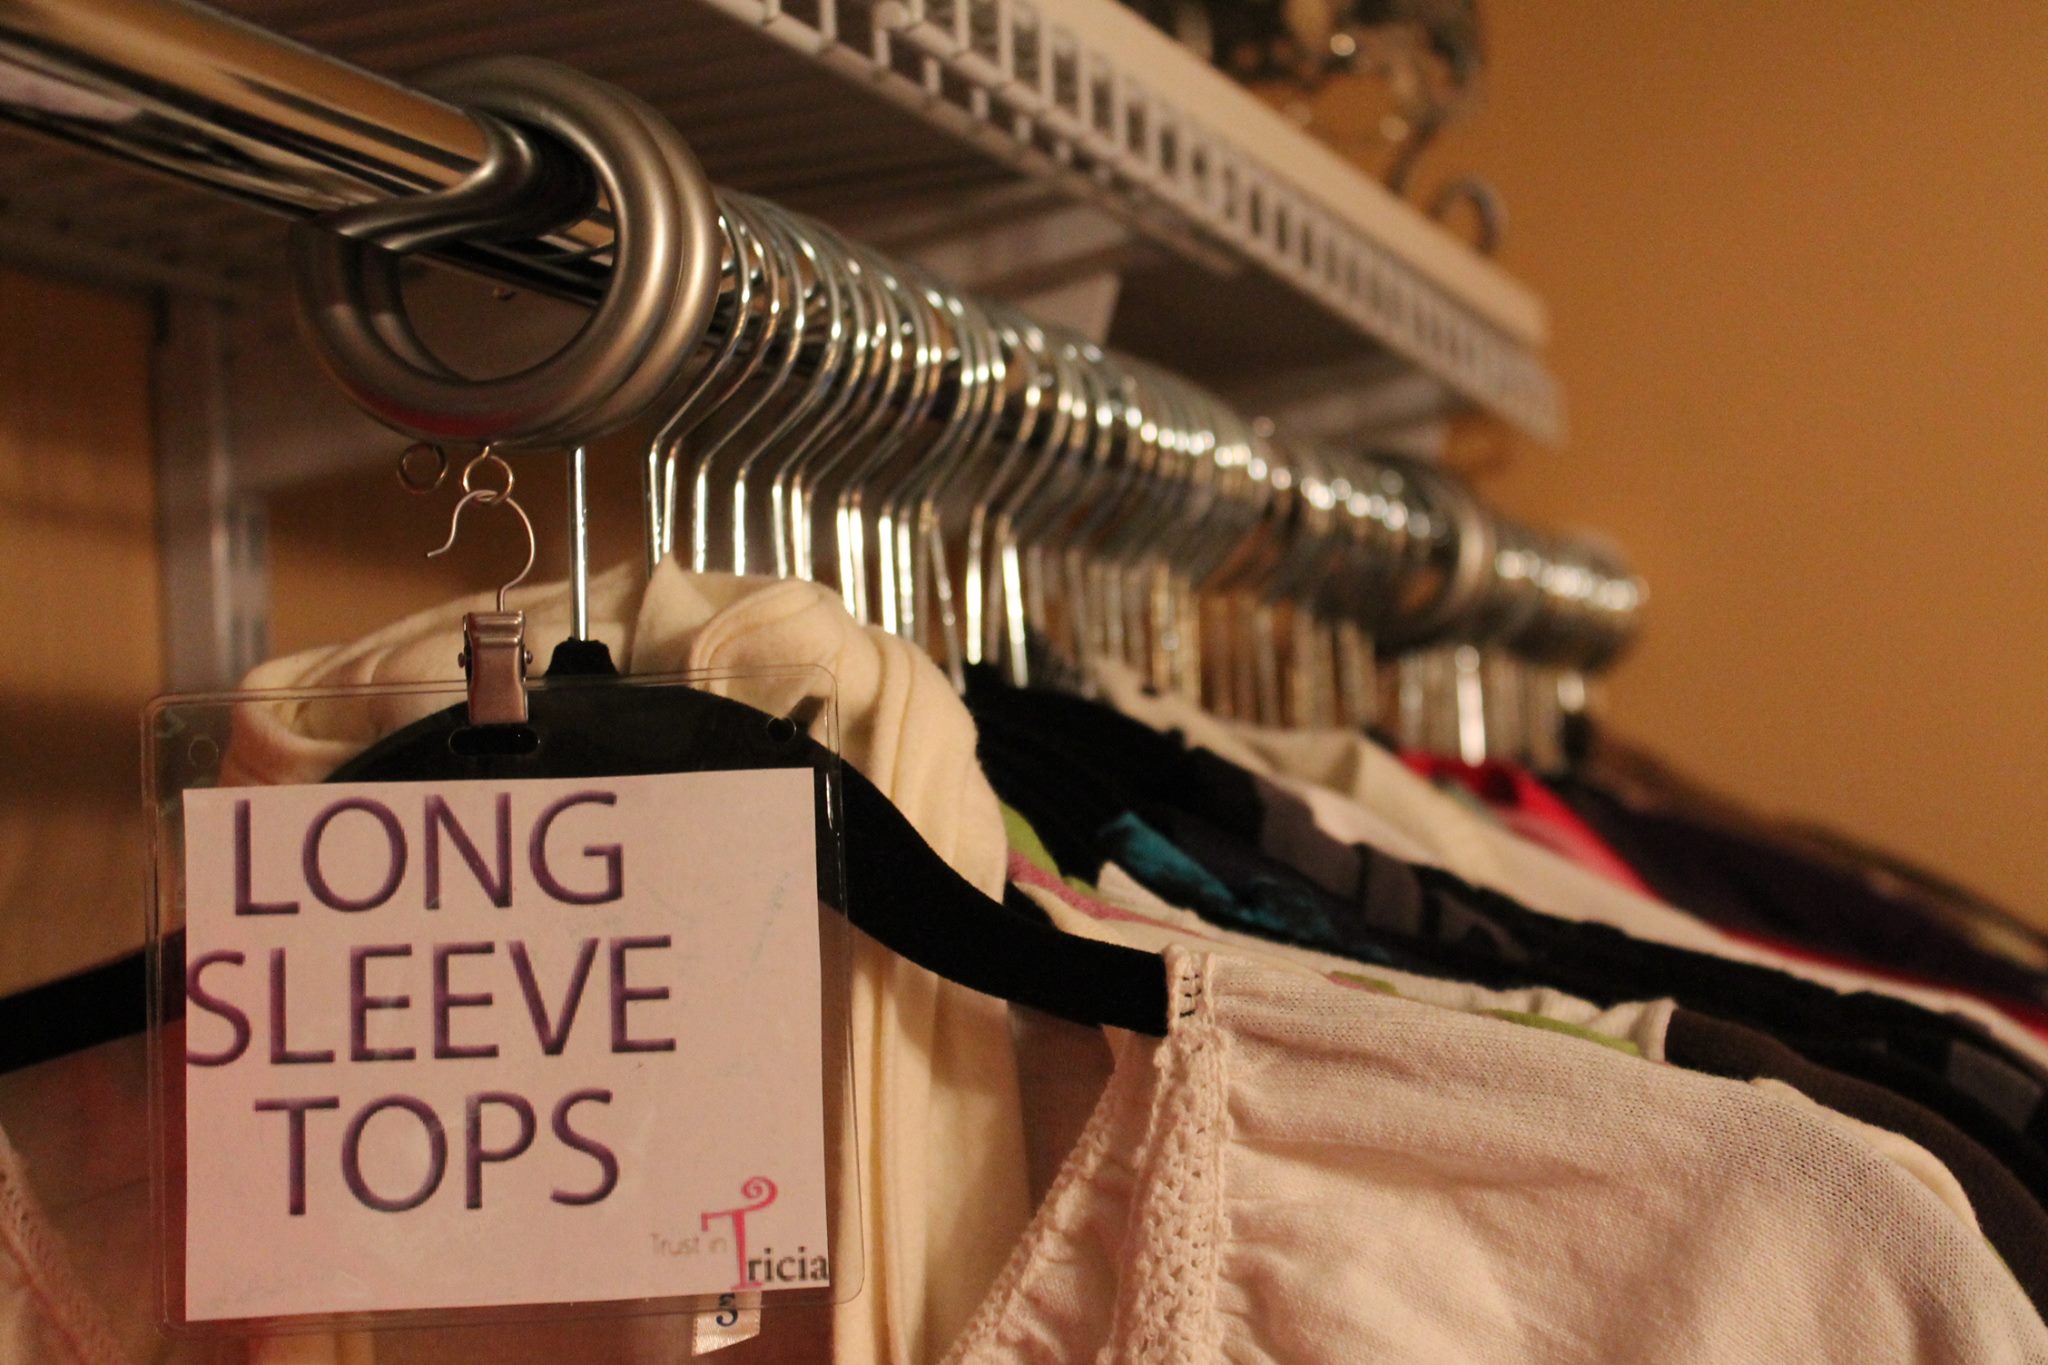
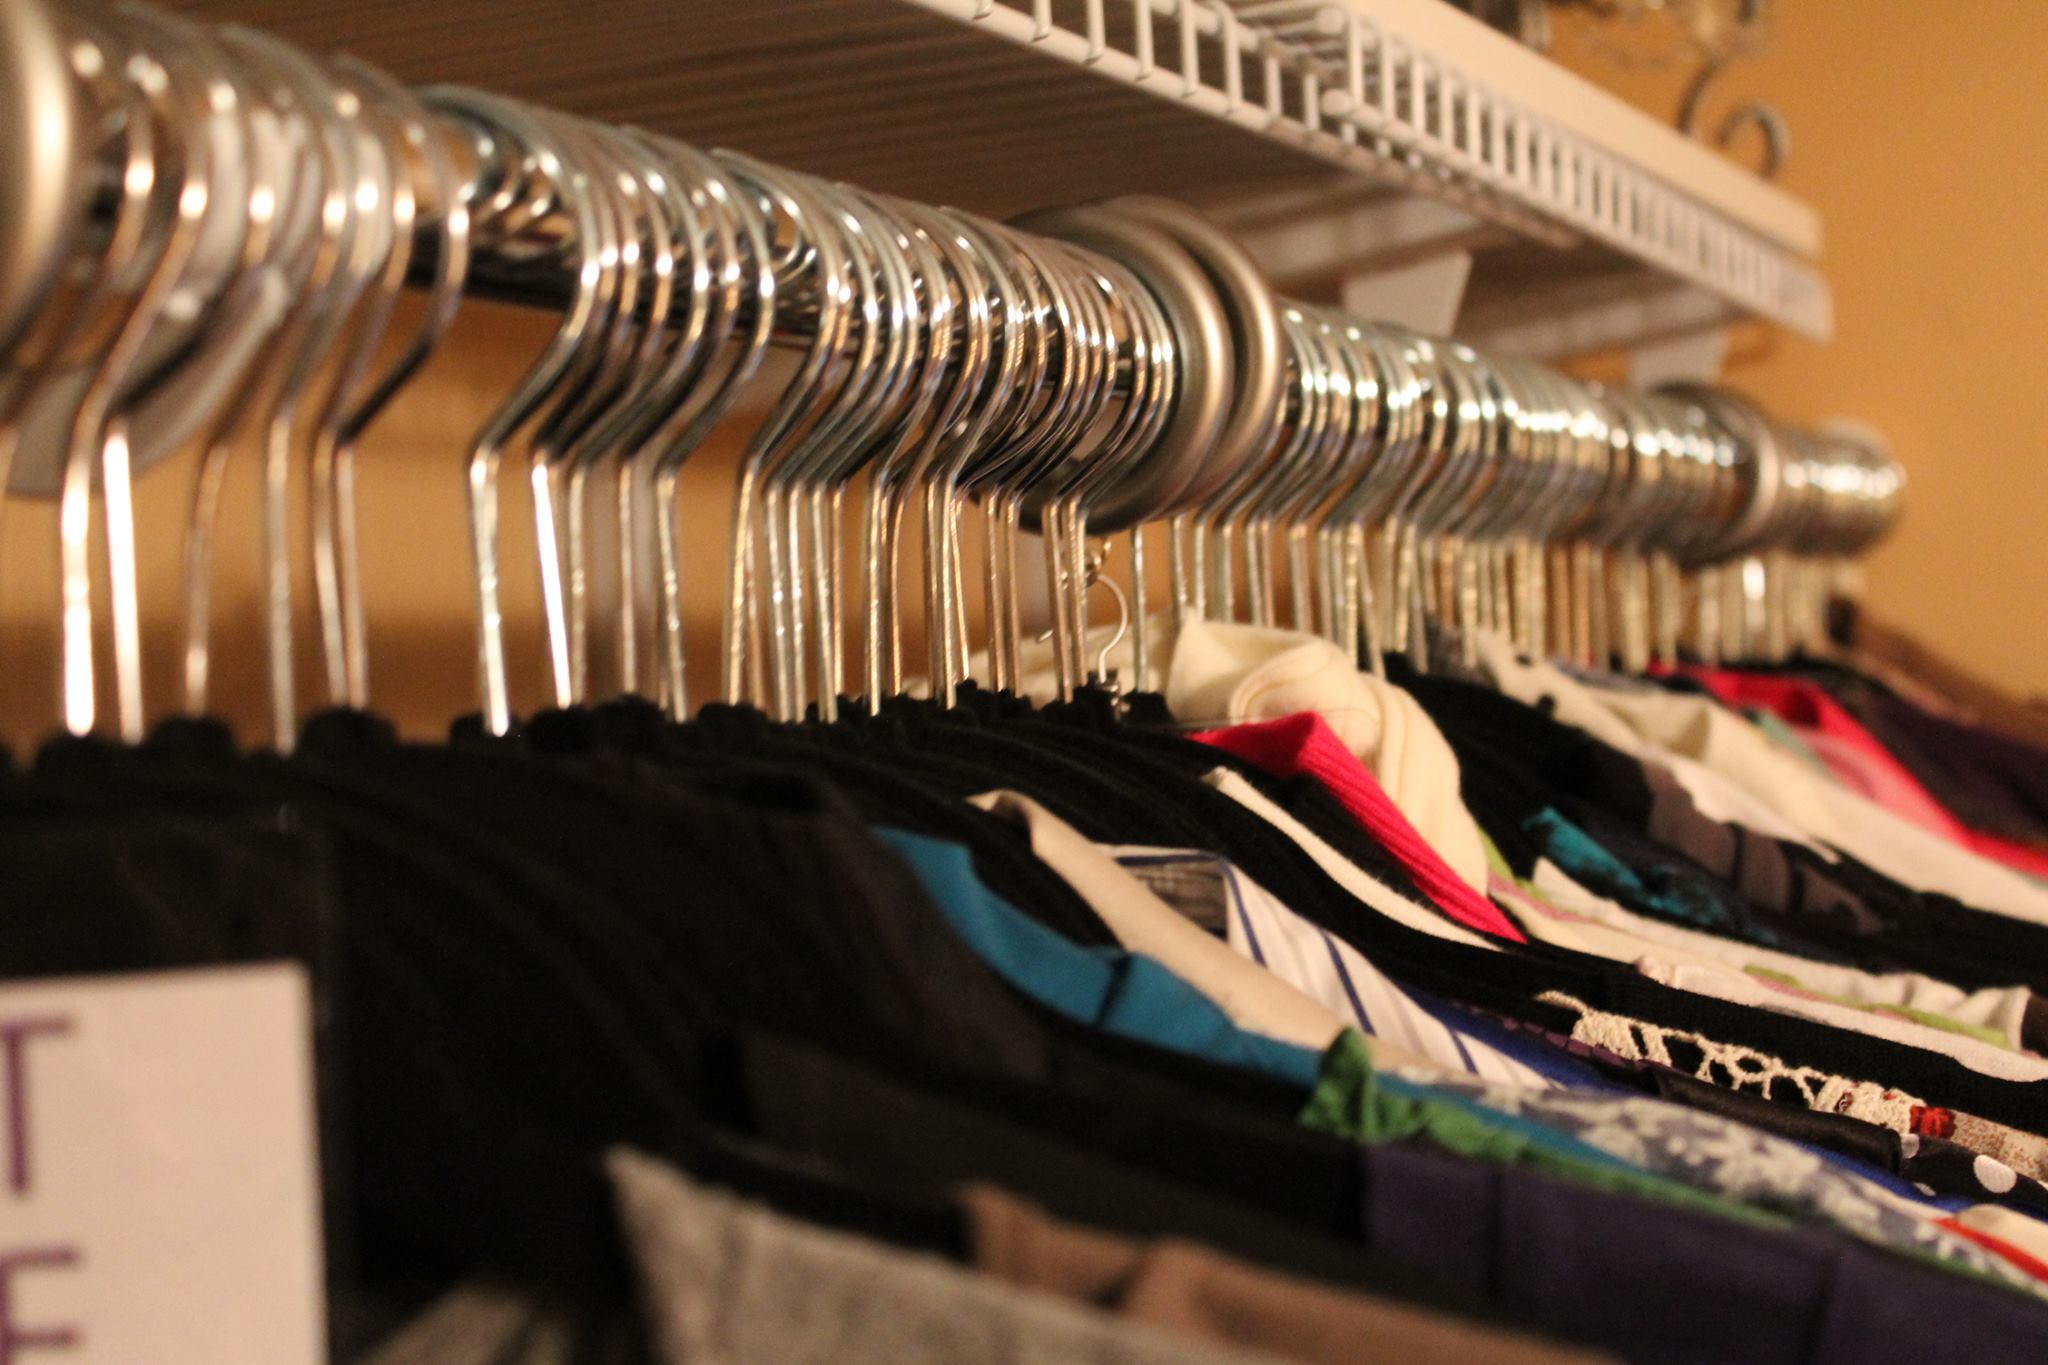
As fun as the decor aspect was, I still had to remain true to the functionality of the room and to my true first calling as a Wardrobe Consultant. It was all about the clothing here and I had to ensure organization and function were in order. First thing was to switch over 300 hangers to ensure all hangers were uniform. My client and I shopped for and purchased several slim line hangers in the same color and rehung all of her clothing. Uniform hangers help to make everything look more organized and leave the focus on the clothing. Also important to me was to break up the clothing categories, especially since the rods were so long. This would aid her in not only dressing quickly but also putting her clothing away in the right space with ease. I purchased curtain hanger rings on serious clearance at Bed Bath & Beyond and used those to separate the clothing into categories, labeling them to make everything even that much easier to navigate through and organize.

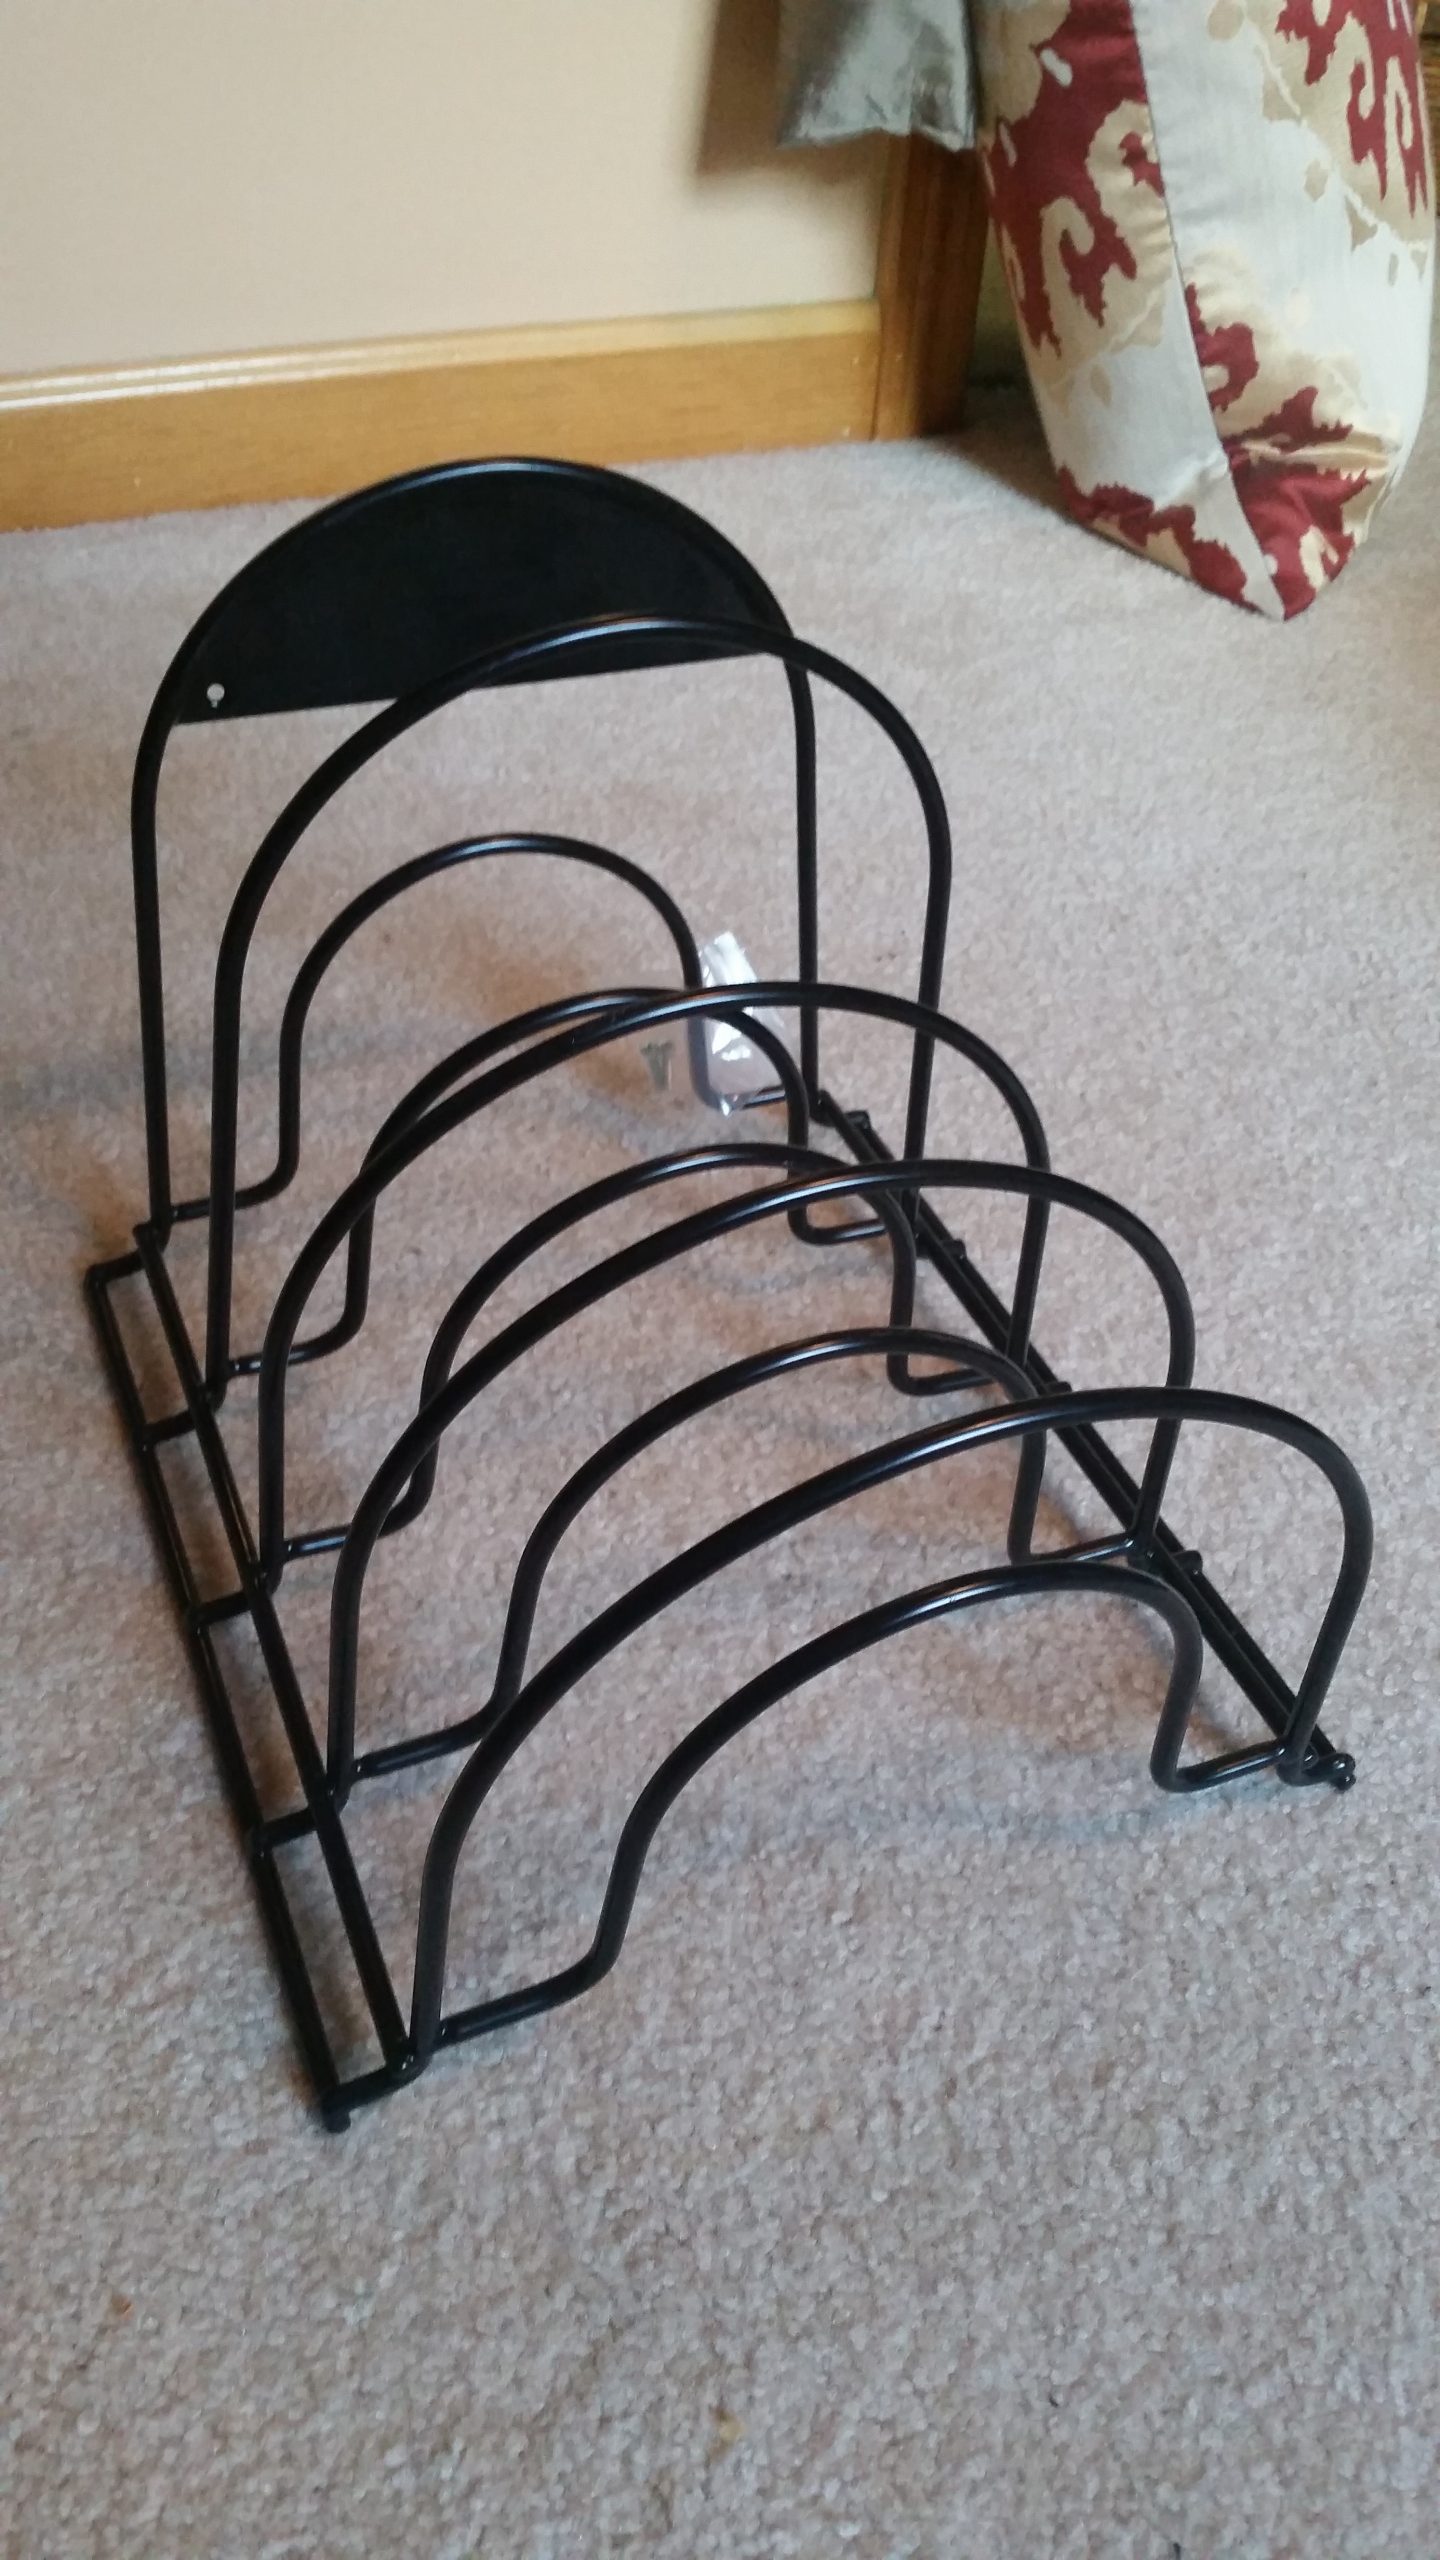
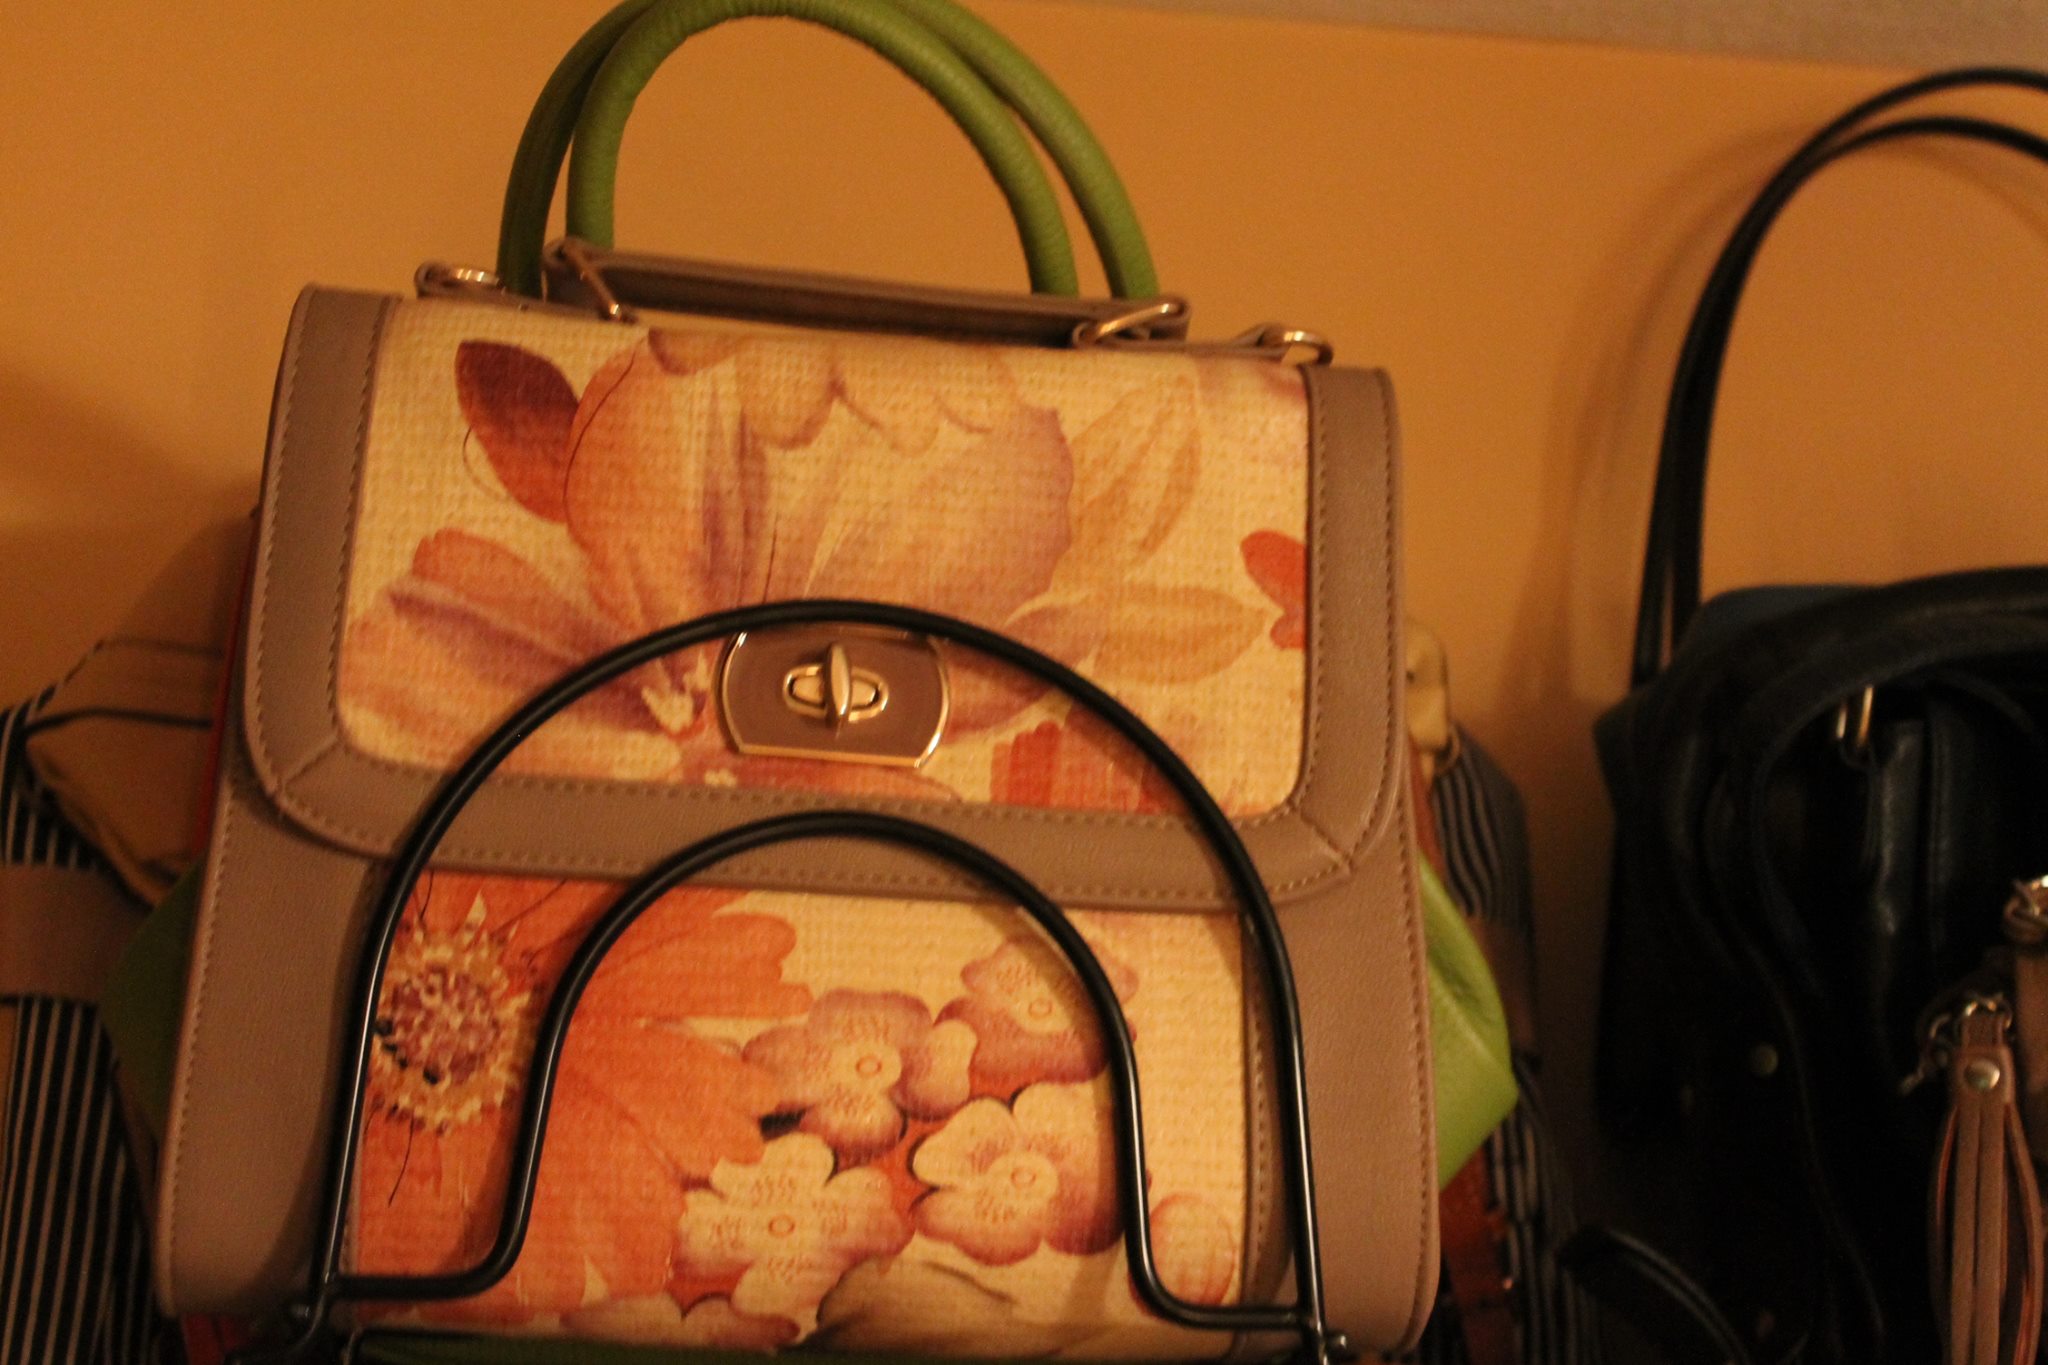
There were several “cheap tricks” I used in this walk in closet to save money and make smart use of obtainable items. Many ways my client saved money was through shopping clearance departments, off price stores and yard sales. We were also able to reuse many items from her old home and her husband created an amazing Pinterest inspired vanity mirror. Nevermind the fact that with all of her clothing and shoes laid out in plain sight she is able to quickly asses what she owns and avoid impulse duplicate purchases. I also came up with money saving ideas for displaying purses and boots. For the purses, I wanted them to be in plain view so she would be reminded to switch out more often than if they were stuck in the back of a closet somewhere. I found the perfect pan cover holders to display the purses and help them stand on their own! Also, instead of purchasing the $8 plastic boot inserts they sell at Marshalls to help your boots stand up and not fall over, I decided to recycle my very many empty Smartwater bottles. They fit perfectly and get the job done. Now that is fashionable recycling!


The end result was more than I could have dreamed of! Everything came together perfectly and we stayed well within budget. But more importantly I was able to give my client, a hardworking and well deserving woman and friend, her very own relaxation and fashion rejuvenation station! A room that any woman could dream of, and many can take tips from to recreate. And Creating and designing this dressing room also led to her husband and her sons wanting me to do their closets, me creating a walk in coat closet out of an under the stairs storage closet and designing the kids play room! Hmmm…’Trust in Tricia Accessorize Your Home’?? It may just be the next thing for me!
Click on photos to enlarge them
Hear what the proud owner of this dressing room has to say about her new space: